Broken Nail Clipper? Here’s How to Fix It Fast
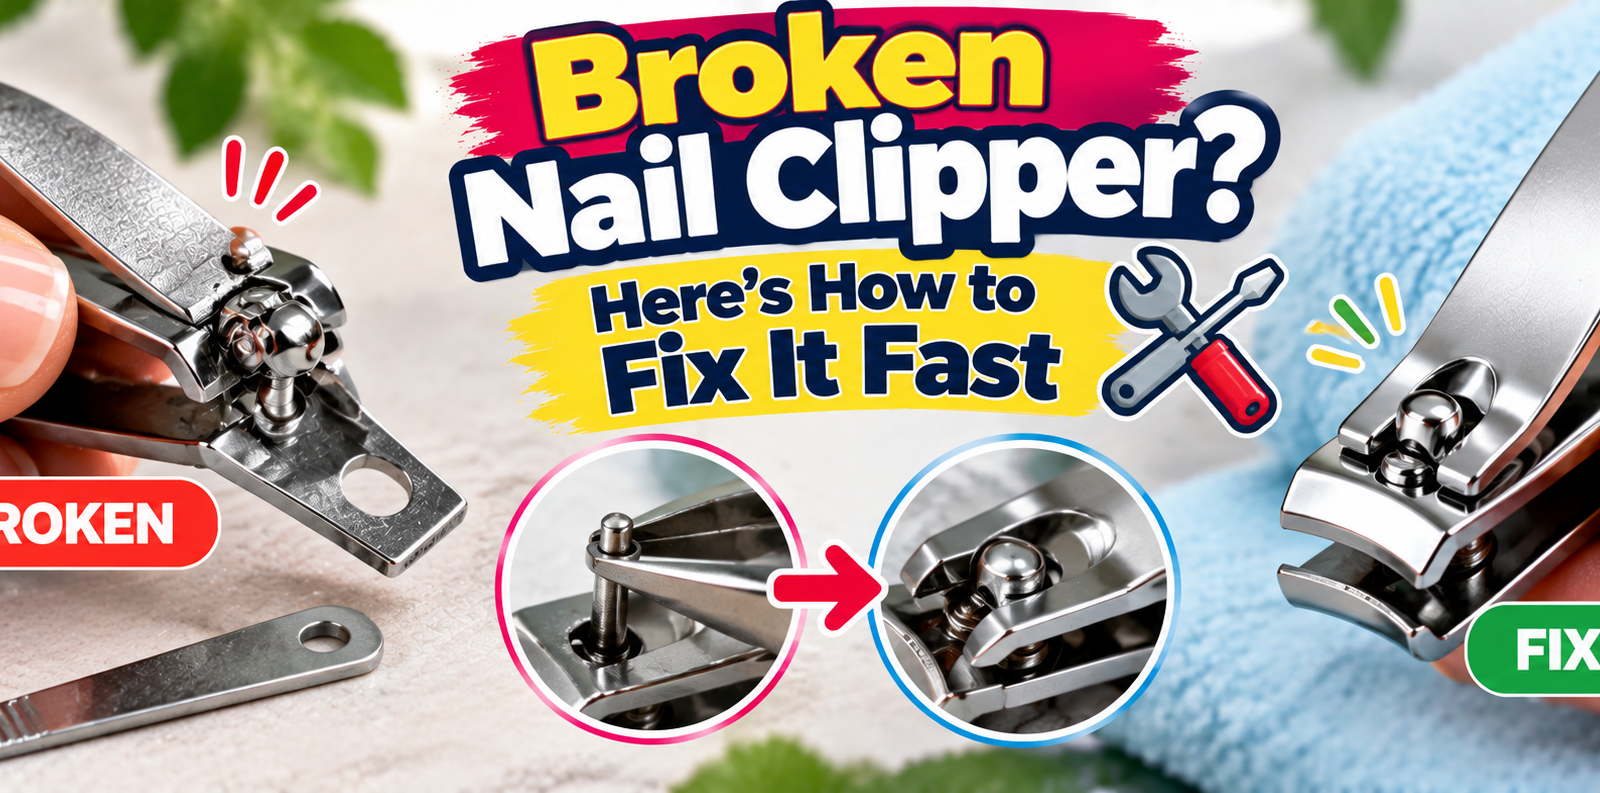
You drop your favorite nail clipper, and it falls apart. Now you're trying to figure out how to put nail clipper back together before you head to the bathroom. It's annoying, but fixing it is easier than buying a new one.
With a little patience, you can restore your tool to working order using items you likely already own.
Manufacturer specifications indicate that quality stainless steel clippers last over five years with basic care. Per U.S. Consumer Product Safety Commission data, most failures stem from simple mechanical slips rather than broken metal.
You can restore full function with just a few household items and some patience. Here is how to get started.
Quick Answer
To learn how to put nail clipper back together, identify the failed component first. Check if the spring fell off or if the hinge pin is missing. For a loose spring, use pliers to rehook the tension mechanism.
If the pin is gone, a bent paperclip can serve as a temporary pivot. Always test the action before discarding the old tool.
Diagnosing Your Nail Clipper Problem
Finding Which Part Came Apart
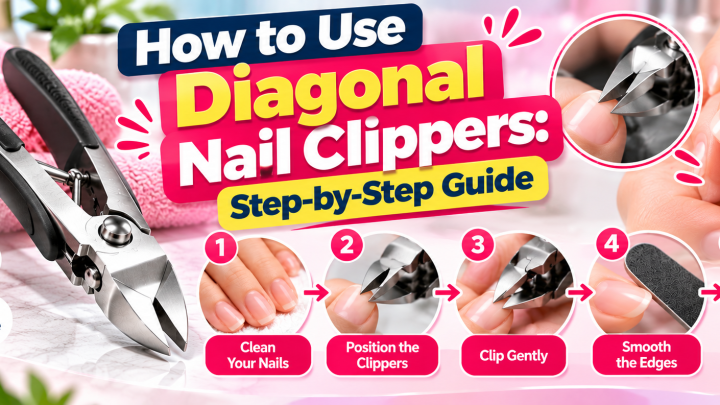
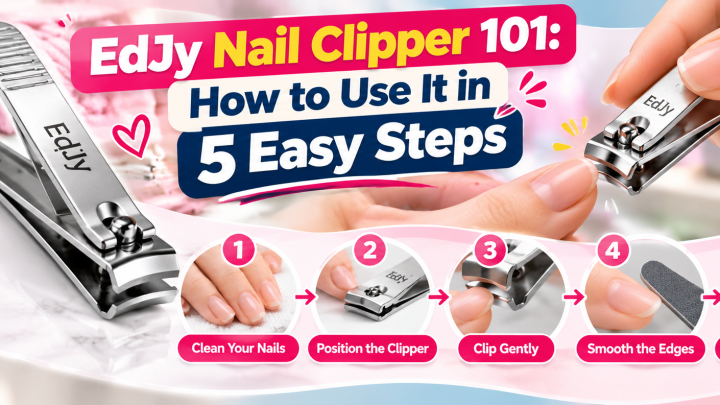
Before attempting any repair, you need to know exactly what went wrong. Most clipper breakages fall into three distinct categories. These are spring detachment, hinge pin loss, and blade misalignment.
Understanding the root cause prevents you from applying the wrong fix.
Metal fatigue is a common culprit for spring failure. Over years of use, the coil undergoes repeated stress cycles. Eventually, the metal weakens at the stress points.
A sudden squeeze or a drop can send the spring flying. This is why springs are the most frequent point of failure.
Hinge pin loss often results from impact. If you drop the clipper on a tile floor, the shock can knock the pin loose. Sometimes, manufacturing defects leave the pin too loose initially.
Without the pin, the upper blade has no pivot point. The clipper falls apart into separate pieces.
Blade misalignment is subtle but destructive. You might not hear a pop or see a lost part. Instead, the clipper will chew through nails instead of shearing them.
This happens when the upper blade shifts out of alignment with the lower jaw. Ragged cuts can lead to splits and tears. If you damage your nail trying to fix a bad clipper, you might need resources on addressing a damaged nail tip.
| Symptom | Likely Cause | Severity |
|---|---|---|
| Handles feel floppy | Spring detached | Low |
| Parts separate completely | Hinge pin missing | Medium |
| Nails are crushed or split | Blade misaligned | Medium |
| Loud clicking noise | Loose spring or pin | Low |
Image source: Wikimedia Commons / USGS Bee Inventory and Monitoring Lab from Beltsville, Maryland, USA
The Quick Fix: Reattaching a Popped Spring
If your diagnosis confirms a loose spring, you are in luck. This is the most straightforward repair and requires almost no skill. You likely have the necessary tools in a kitchen drawer.
The goal is to reconnect the tension mechanism safely.
Tools Required
Needle-nose pliers are your primary tool. Their long, thin tips allow access to the tight grooves on the lever arms. Standard pliers are often too bulky.
They might slip and scratch the finish of your clipper. Look for pliers with a serrated grip for better control.
A soft microfiber cloth is also essential. Springs are small and bouncy. They tend to launch across the room when compressed.
Placing the clipper on a cloth catches any wandering parts. It also protects the work surface from scratches.
| Tool | Function | Why It Matters |
|---|---|---|
| Needle-nose pliers | Compressing and placing spring | Precision handling |
| Microfiber cloth | Catching small parts | Prevention of loss |
| Tweezers | Manipulating tiny components | Alternative to pliers |
| Isopropyl alcohol | Cleaning metal contact points | Ensures smooth operation |
Step-by-Step: Getting the Spring Back in Place
Start by cleaning the spring and the lever arms. Dirt and oil can prevent the spring from seating properly. Dampen a cloth with rubbing alcohol and wipe the components.
If you have any sticky residue from previous repairs, using methods for removing adhesive residue can ensure a clean surface. Let the alcohol air dry completely. Moisture can cause rust if trapped under the spring.
Open the clipper handles fully. Locate the two small grooves on the inside of the lever arms. These grooves are designed to hold the spring ends.
They are often barely visible. Use a flashlight if necessary to see them clearly.
Compress the spring using the needle-nose pliers. Squeeze the coils together until the spring is shortened. Keep your fingers well clear of the spring tips.
They can pinch skin sharply. Hook one end of the spring into the first groove. Maintain compression with the pliers.
While holding the first end, maneuver the second end into the opposing groove. This requires a steady hand. You may need to rotate the pliers slightly to angle the spring into place.
Once both ends are seated, release the compression slowly. The spring should snap into tension.
Testing the Spring Tension After Repair
Test the action immediately. Squeeze the handles several times. The resistance should feel uniform.
The clipper should snap shut decisively. If the action feels sloppy, the spring is not fully engaged. Re-compress and push the spring ends deeper into the grooves.
A secure spring ensures reliable cutting performance every time.
What to Do When You Lose the Hinge Pin
Losing the hinge pin is a more significant challenge. This small cylinder acts as the axle for the entire mechanism. Without it, the upper and lower parts cannot function as a unit.
However, you can often improvise a solution with household items.
Using a Paperclip as a Temporary Pivot
A heavy-gauge steel paperclip is an excellent temporary replacement. Standard paperclips are often too thin. They may bend or snap under the pressure of cutting thick nails.
Look for a "jumbo" or "heavy duty" paperclip for best results. These provide the necessary tensile strength.
First, straighten the paperclip completely. Use pliers to pull out any curls. Measure the distance between the pivot holes on the clipper handles.
Cut a piece of wire that is approximately two millimeters longer than this distance. This extra length allows you to form the ends.
Insert the wire through the holes from the inside. The goal is for the wire to protrude slightly on both sides. Use the pliers to bend the protruding ends inward.
You can form small loops or flatten the tips against the metal body. Smooth down any sharp edges with a nail file or sandpaper. Rough edges can irritate your skin during use.
Crafting a Proper Replacement Pin
If the paperclip fails or feels insecure, you need a more durable solution. Visit a local hardware store for brass or steel pivot pins. These are inexpensive and designed for exactly this purpose.
Match the diameter of the original pin as closely as possible.
Some premium nail clippers come with a threaded pin and a small nut. If yours has this design, you can tighten the nut to remove any wobble. Loose pins cause misalignment over time.
Tightening them restores precision. If you cannot find a matching pin, consider replacing the entire clipper rather than compromising on safety.
When to Replace the Clipper Entirely
It is crucial to understand that improvised pins are not permanent. The wire can work its way out due to vibration and heat. Metal expands and contracts with temperature changes.
This movement can loosen the fit over time. If the repair feels unstable, do not risk it. Dispose of the broken clipper safely.
Tiny metal parts pose a serious risk to children and pets. Per official safety guidelines from the U.S. Consumer Product Safety Commission, keep all small hardware secured and out of reach to prevent choking hazards.
If you attempt a repair and fail, or if the clipper causes injury due to poor performance, you might find yourself dealing with accidental cuts. Having a guide for finding the right treatment for cracked nails can be helpful in such unfortunate scenarios. Prioritize safety over saving a few dollars.
Fixing Misaligned or Wobbly Blades
Misaligned blades are the sneakiest problem. The clipper appears to work, but it destroys the nail instead of cutting it cleanly. This issue stems from wear on the pivot hole or damage to the blade seating area.
Correcting it requires a delicate touch.
Identifying Blade Misalignment
Inspect the cutting edge with the clipper closed. The upper and lower blades should form a continuous line. There should be no step or offset.
Look for gaps between the blades near the cutting edge. A misaligned blade leaves a gap that crushes the nail.
Try clipping a piece of paper. A sharp, aligned clipper will slice cleanly. A misaligned one will tear or crumple the paper.
This simple test confirms whether alignment is the problem. You can also wiggle the upper blade assembly. Any side-to-side play indicates a worn pivot.
Adjusting the Upper and Lower Jaws
If the misalignment is slight, you can often correct it manually. Use a small pair of flat-nose pliers. Grip the upper blade assembly gently near the base.
Apply very light pressure to bend it back into alignment. Make micro-adjustments only. A little pressure goes a long way.
Check the alignment after each adjustment. Close the clipper and inspect the edge repeatedly. Do not force the blade.
Forcing it can crack the metal or strip the pivot hole. Patience is key when adjusting thin steel blades. Work slowly and verify your progress frequently.
Preventing Future Wobble
Regular maintenance can prevent wobble from developing. Keep the pivot area clean and free of debris. dirt buildup can act as a wedge, forcing the blade out of alignment. A drop of light machine oil on the hinge can keep movements smooth.
Wipe away any excess oil to avoid attracting dust.
If the pivot hole has become elongated due to wear, no amount of adjustment will fix it permanently. The metal has physically deformed. In this case, the clipper has reached the end of its useful life.
Attempting to pack the hole with epoxy is a temporary measure at best. It is better to invest in a high-quality replacement clipper.
After ensuring your clipper is cutting cleanly, you can move on to your nail care routine. A smooth finish sets the stage for exploring top rated nail polish picks to complete your manicure.
Making Smart Repair Decisions: Fix vs. Replace
Knowing when to repair and when to replace is a crucial skill for any homeowner. A nail clipper seems trivial, but the decision involves cost analysis and quality considerations. Sometimes repairing is the better choice.
Other times, replacement is the only sensible option.
Cost Comparison: Repairing vs Buying New
A basic nail clipper from a pharmacy costs between two and five dollars. Premium models from brands like Tweezerman or Gamma Leap range from fifteen to forty dollars. If your clipper falls apart, consider whether you can afford a replacement before attempting a repair.
If you already own a high-quality clipper, spending ten minutes on repair is clearly worth it. You are saving fifteen to forty dollars. For a cheap dollar-store clipper, the math changes.
However, repairing still prevents waste and teaches valuable skills.
| Scenario | Repair Worth It? | Reasoning |
|---|---|---|
| Expensive branded clipper | Yes | Saves significant money |
| Cheap basic clipper | Debatable | Replacement is inexpensive |
| Vintage or sentimental clipper | Yes | Emotional value exceeds cost |
| Multiple parts missing | No | Parts not easily sourced |
| Severely worn blades | No | Sharpness cannot be restored |
Quality Factors That Influence Your Choice
Not all nail clippers are built equally. Cheap models often use softer steel that dulls quickly. They may also have weaker springs and looser tolerances.
These factors mean a cheap clipper may not be worth repairing even if the problem seems simple.
High-quality clippers typically use surgical-grade stainless steel. This material resists corrosion and holds an edge longer. If you have such a clipper, investing time in repair preserves your investment.
The repair itself can extend the tool's lifespan by several years.
Consider the ergonomics as well. Some premium clippers feature curved blades designed for toenails or thicker fingernails. These designs reduce splitting and ingrown nails.
If your current clipper has specialized features, repairing it maintains those benefits.
Environmental Impact of Short-Term Fixes
Every broken item sent to landfill contributes to environmental waste. Metal tools can last decades if maintained properly. Attempting repair reduces your carbon footprint and supports sustainable habits.
Even if the repair is temporary, using an improvised fix delays the trip to the dump. A paperclip pivot might last six months or a year. That extra lifespan matters on a larger scale.
Many households discard functional items over minor repairs they do not attempt.
If you find yourself repeatedly repairing the same clipper, consider upgrading to a more durable model. Better initial construction reduces long-term waste. Look for brands that offer lifetime warranties or replaceable parts.
Some manufacturers sell spring and pin kits separately.
Before you decide, check if similar metal tools have repair guides available. Reading about methods for acrylic nail application might give you ideas about working with adhesives and small components that could apply to adhesive-based repairs as well.
Common Mistakes People Make During Repair
Most repair failures come from rushing or skipping steps. Taking your time prevents frustration and ensures the job gets done right. Below are the most frequent errors to avoid.
Losing Small Parts to Carpet or Floors
Spring-loaded mechanisms love to escape. Once released, a tiny coil spring can roll into carpet fibers or slide behind furniture. Retrieving it becomes a hours-long hunt.
This mistake happens to experienced DIYers as well as beginners.
Always work over a tray or shallow bowl. Place a clean cloth inside to catch any escaped components. If a part does escape, use a flashlight to scan the area thoroughly.
Magnets can help retrieve steel pins from carpet fibers.
Forcing Components and Causing Breakage
Nail clipper parts are precision-engineered. Forcing a misaligned piece rarely works. It often strips threads, cracks plastic housings, or bends metal permanently.
When something does not fit, stop and reassess.
Check that all parts are oriented correctly before applying pressure. The spring ends must align with their grooves. The hinge pin must pass through both holes cleanly.
If resistance occurs, remove the part and inspect it under bright light.
Skipping Cleanup Before Reassembly
Old debris, dead skin cells, and nail fragments accumulate inside clipper mechanisms. If you reassemble without cleaning, the residue acts as an abrasive paste. It accelerates wear on moving parts and can cause infection if transferred to nails.
Use an old toothbrush dipped in soapy water or rubbing alcohol to clean every surface. Pay special attention to the pivot area and the cutting edges. Allow all parts to dry completely before reassembly.
Trapped moisture causes rust that weakens the metal over time.
Improper Spring Tension
A spring that is too loose results in poor cutting action. The clipper feels mushy and requires excessive force. A spring that is too tight strains the pivot and can cause fatigue fractures.
Both extremes reduce performance and shorten lifespan.
When installing a new spring, verify that it matches the original specifications. Coil diameter, wire gauge, and free length all matter. If improvising with a paperclip, ensure the replacement wire has comparable thickness to the original spring.
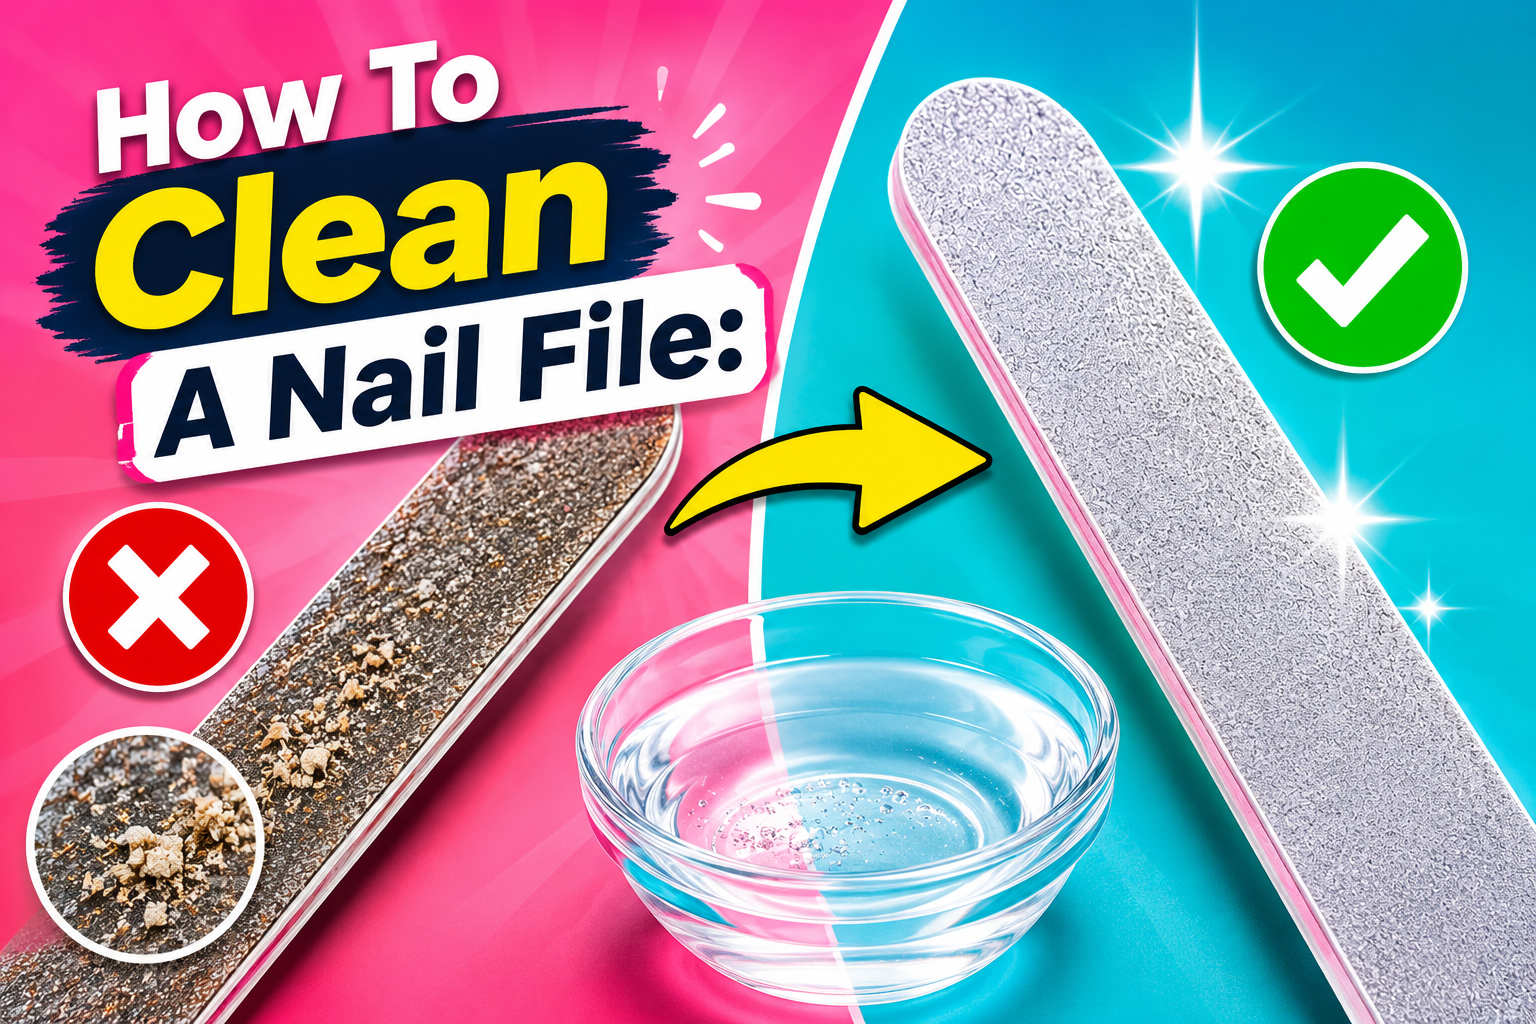
After completing the repair, consider maintaining your nail care tools properly. Knowing how to properly clean and maintain your nail files can ensure all your grooming equipment stays in optimal condition alongside your repaired clippers.
Pro Tips for a Smooth Reassembly Process
Experienced repairers share several techniques that make the process faster and less frustrating. These tips come from accumulated practical knowledge rather than manufacturer manuals.
Working Over a Soft Surface to Catch Parts
A towel spread across your workspace serves multiple purposes. It cushions dropped tools, prevents scratches on your table, and traps small parts that bounce or roll. Dark-colored fabric makes shiny metal pieces easier to spot.
If you frequently break household items, keeping a dedicated repair kit organized helps. Store spare springs, pins, and small screws in labeled containers. This habit eliminates the scramble to find replacements when disassembly happens unexpectedly.
Organizing Components by Order of Removal
Lay out every removed part in the exact sequence it came apart. Use a small ice cube tray or divided organizer. Label each compartment if necessary.
This visual map prevents confusion during reassembly.
Take photos with your phone at each stage of disassembly. Modern smartphone cameras capture sufficient detail for reference. These images become invaluable if you forget which way a part faces or where a specific notch belongs.
Using Magnification for Tiny Components
Good lighting and magnification transform difficult repairs into manageable tasks. A simple magnifying glass mounted on a stand frees both hands for manipulation. Even reading glasses can serve as makeshift magnifiers for close work.
Inspect the original spring for signs of wear before reusing it. Look for discoloration, stretching, or cracks near the coil ends. A fatigued spring may hold temporarily but fail again within weeks.
Budget for replacement springs if you perform this repair regularly.
Lubricating Moving Parts Before Use
A tiny drop of mineral oil or sewing machine oil on the pivot point improves performance. Excess oil attracts dust and debris, so wipe away any surplus with a clean cloth. The goal is thin lubrication, not saturation.
Avoid using cooking oils or household multi-purpose sprays. These degrade over time, become sticky, and can damage metal finishes. Dedicated light machine oils remain stable and protect against corrosion for extended periods.
Caring for Your Clipper After Repair
Proper maintenance after repair extends the lifespan of your work. Follow these simple practices to keep your clipper functioning optimally.
Cleaning and Sanitizing Before Use
After any repair, wash the entire clipper with warm soapy water. Use the toothbrush to reach into crevices and pivot points. Rinse thoroughly and dry immediately with a clean cloth.
Avoid air drying, which leaves water spots that can initiate rust.
For sanitation between uses, wipe the blades with rubbing alcohol. This removes biological contaminants and evaporates quickly. Alcohol also dissolves residual nail dust that soap might miss.
Let the clipper air dry completely before storage.
Lubricating the Hinge for Longevity
Apply a micro-dose of oil to the pivot once a month for active clippers. Use a cotton swab to place the oil precisely where the metal meets metal. Open and close the clipper several times to distribute the lubricant evenly.
If your clipper has a screw-type adjustment, tighten it slightly before oiling. This sets the baseline tension. The oil reduces friction on the pivot, allowing the mechanism to function smoothly without excessive force on the spring.
Storing Clippers to Prevent Future Failures
Keep your clipper in a dry place away from humidity. Bathroom cabinets are convenient but often humid. Consider storing clippers in a bedroom drawer or vanity instead.
Add a silica gel packet to absorb excess moisture.
Never store clippers loose in a drawer where they can collide with other metal objects. Use a small pouch or designated compartment. Impacts during storage gradually loosen hinges and fatigue springs over time.
If you maintain your tools well, you might find opportunities to explore more advanced nail care techniques. Learning ombre nail art techniques can complement your refreshed grooming routine beautifully.
Safety Precautions While Repairing
Safety is non-negotiable when handling sharp tools and small parts. Follow these precautions to prevent injury during the repair process.
Handling Sharp Blades Safely
Nail clipper blades are razor-sharp even when dull. Always grip the clipper by the handles, never by the blade area. Use pliers to manipulate springs and pins rather than your fingers.
Keep the cutting edge pointed away from your body at all times.
If you accidentally cut yourself, clean the wound immediately with soap and water. Apply pressure with a clean cloth if bleeding persists. For deep cuts or signs of infection, seek medical attention promptly.
Tetanus prophylaxis may be recommended for puncture wounds from metal objects.
Keeping Small Parts Away from Children
Tiny springs and pins pose choking hazards to young children. Perform repairs in a secure area where children and pets cannot access loose parts. Use containers with tight-fitting lids for storage of removed components.
Dispose of damaged or discarded clippers safely. Wrap sharp edges in cardboard or tape them securely before throwing them away. Broken metal tools can injure waste handlers if not properly secured.
Knowing When to Stop and Seek Help
Some damage exceeds the scope of basic repair. Cracked handles, severely corroded metal, and stripped pivot holes cannot be fixed reliably. Continuing to use a compromised clipper risks injury from sudden failure during use.
If the clipper pinches your skin excessively after repair, stop using it immediately. This indicates improper alignment or excessive tension. Further adjustment may be possible, but replacement is safer if the issue persists.
Prioritize safe nail care practices over forcing a marginal repair.
For comprehensive guidance on handling minor injuries at home, reviewing resources on how to care for damaged nails can provide additional context for safe nail maintenance practices.
FAQs About Putting Nail Clippers Back Together
How to put nail clipper back together when the spring comes out?
Compress the spring with needle-nose pliers. Hook one end into its groove first. Maintain compression while guiding the second end into the opposite groove.
Release slowly to engage tension. Work over a soft surface to catch any bouncing parts.
What tool is best for removing and replacing the spring?
Needle-nose pliers work best for most standard clippers. Their slim tips reach into narrow grooves without slipping. Tweezers can substitute for lighter springs.
Avoid standard slip-joint pliers because their thick jaws cannot access tight spaces effectively.
Can a paperclip really replace a broken hinge pin?
Yes, a heavy-gauge paperclip can serve as a temporary replacement. Straighten it completely and cut to the correct length. Insert it through the pivot holes and bend the ends securely.
File smooth any sharp protrusions to prevent injury during normal use.
Why does my repaired clipper still feel loose?
Looseness usually means the hinge pin is too short or the pivot hole is worn. Ensure the replacement pin is long enough to form secure ends. If the hole is elongated, the clipper may have reached the end of its structural life.
In that case, replacement is the only permanent solution.
How do you fix a bent nail clipper?
Bent clips require gentle corrective pressure. Use pliers to apply gradual counter-pressure to the bent section. Test alignment frequently during the process.
Severe bends may crack the metal. In such cases, replacement is safer than continued straightening attempts.
Use Cases & Who Should Attempt This Repair
Not every broken clipper deserves your time. Some users benefit more from quick replacement than patient repair. Understanding who should attempt this fix helps you decide where to invest effort.
DIY Enthusiasts and Home维修ers
People who enjoy fixing household items naturally gravitate toward this repair. The process requires minimal tools and offers immediate satisfaction. Success reinforces confidence for tackling more complex mechanical projects.
If you already repair things around the house, extending that skill to nail clippers feels natural. The same principles apply: diagnose first, gather tools, execute carefully, test results. Your existing toolkit likely covers everything needed for this task.
Budget-Conscious Consumers
Every dollar saved matters for households managing tight budgets. A two-dollar clipper replacement adds up over time. Mastering repair skills reduces recurring expenses significantly.
Families with multiple members maintain different clippers for various purposes. Toenail clippers, fingernail clippers, baby clippers, and precision trimmers all break eventually. Knowing how to restore each type prevents constant repurchasing.
Eco-Conscious Individuals
Environmental awareness drives many repair decisions. Extending product lifespan reduces waste sent to landfills. Even small objects contribute to broader sustainability goals when maintained properly.
Individuals committed to reducing household waste appreciate learning repair techniques. Each fixed item represents one less piece of metal ending up in environmental harm. Small actions accumulate into meaningful impact over time.
Seniors with Limited Mobility
Arthritis and reduced dexterity make some repairs challenging. However, basic clipper maintenance remains accessible with proper techniques. Simple fixes like spring reattachment often require less fine motor control than expected.
Elderly users benefit from keeping functional clippers rather than struggling with new ones that feel unfamiliar. Muscle memory developed over years of using specific tools matters more than theoretical repair difficulty. Maintaining familiar implements supports independence in daily grooming routines.
| User Type | Repair Difficulty | Time Required | Cost Savings |
|---|---|---|---|
| DIY enthusiast | Easy to moderate | 10-20 minutes | High |
| Budget conscious | Easy | 5-15 minutes | Moderate to high |
| Eco-conscious | Varies by problem | Variable | Low monetary, high environmental |
| Senior user | Easy (simple fixes only) | 10-30 minutes | Preserves familiar tools |
Costs, Pricing & Data Comparison
Understanding the financial side of repair versus replacement helps set realistic expectations. Prices vary widely based on quality, brand, and where you purchase.
Market Price Ranges for Common Clippers
Basic drugstore clippers range from $1.50 to $4.00 per unit. Mid-range options from brands like Omega or Tweezerman cost $8 to $18. Premium professional clippers can exceed $25 for single units.
Higher-priced models typically feature better steel, refined ergonomics, and sometimes replaceable parts. Entry-level clippers use softer metals that dull faster and may not survive repeated disassembly. Consider whether your current clipper falls into the budget or premium category before deciding to repair.
Cost of Repair Materials
Paperclip replacements cost essentially nothing if you already own them. Replacement springs from hardware stores run $0.50 to $2.00 per pack. Needle-nose pliers cost $5 to $15 if you need to purchase them specifically for this purpose.
If you already own basic tools, repair materials approach free. The only variable cost is time investment. Even factoring in tool purchases, repairing remains cheaper than buying multiple replacement clippers over time.
Long-term Value Analysis
A five-dollar clipper that lasts ten years through periodic repairs beats buying ten two-dollar clippers annually. Quality hinges and properly maintained springs extend usable lifespan dramatically. Simple maintenance prevents premature failure cycles.
Break-even calculations favor repair when clipper costs exceed three dollars or when environmental concerns outweigh convenience. For inexpensive import brands, replacement often makes more economic sense unless sentimental or specialized value exists.
| Clipper Category | Price Range | Expected Lifespan (No Repair) | Expected Lifespan (With Repair) |
|---|---|---|---|
| Basic drugstore | $1.50-$4.00 | 1-2 years | 2-3 years |
| Mid-range branded | $8.00-$18.00 | 3-5 years | 7-10+ years |
| Premium professional | $20.00-$40.00 | 5-8 years | 10-15+ years |
Real Scenarios & Case Examples
Concrete examples illustrate how repair decisions play out in everyday situations. These scenarios reflect common patterns observed across different user demographics.
Scenario One: The Travel Emergency
A business traveler drops their clipping kit in a hotel bathroom. The spring launches into the drain and vanishes. Without access to tools or replacements, they consider purchasing new equipment during an overseas trip.
Alternative solution: They discover a thin wire from a hotel coat hanger works perfectly as a temporary pivot pin. The improvised fix lasts through the entire trip without issues. This scenario demonstrates how creative thinking solves problems when proper parts are unavailable.
Scenario Two: The Family Heirloom
An elderly woman inherits her mother's vintage stainless steel clippers from the 1970s. These premium tools featured thicker construction than modern equivalents. When the original spring failed, replacement parts were impossible to find locally.
Solution approach: Using careful measurement and hardware store visits, they sourced near-identical replacement springs. The restored clippers performed better than new budget models due to superior metal quality. Sentimental value combined with actual performance made extensive repair worthwhile.
Scenario Three: The Bulk Purchase Failure
A family buys twenty inexpensive clippers for holiday gift giving. Within months, half develop spring problems from rough handling. Individual repairs prove tedious for bulk quantities.
Strategic decision: Rather than repairing twenty units individually, the family switches to mid-range clippers for future purchases. They salvage working parts from broken units to create spare parts inventory. This approach balances cost savings with practical repair feasibility for quantity situations.
After addressing these real-world cases, reviewing professional acrylic application methods might inspire creative solutions for dealing with broken nail care tools in similar contexts.
Frequently Asked Questions
Can I repair electric nail clippers myself?
Electric clippers rarely benefit from user repair. Their motors, batteries, and electronic components require specialized knowledge and tools. When electric clippers fail, replacement usually proves more economical and safer than attempting internal repairs.
What causes nail clippers to rust after repair?
Moisture trapped during cleaning causes rust formation. Always dry components completely before reassembly. Store clippers in dry environments away from humid bathrooms when possible.
Occasional oiling creates protective barriers against oxidation.
How do I know if my clipper blades need sharpening instead of repair?
Blades requiring sharpening show dull edges that crush rather than cut cleanly. Visible nicks, rounding, or excessive force needed indicate sharpening necessity. Bent or misaligned blades suggest structural repair instead.
Both issues sometimes coexist simultaneously.
Are there gender-specific nail clipper designs worth considering?
Some brands market ergonomic handles designed for larger or smaller hands. Curved blades suit toenail care universally regardless of gender. Choosing clippers matching your hand size and nail type matters more than gendered marketing categories.
How frequently should I disassemble clippers for maintenance?
Annual inspection prevents most failures. Remove, clean, lubricate, and reassemble once yearly for active users. Less frequent use allows longer intervals between maintenance sessions.
Regular inspection catches wear before catastrophic failure occurs.
Amazon and the Amazon logo are trademarks of Amazon.com, Inc, or its affiliates.
Author


Similar Posts