Acrylic Nails for Black Women: Styles, Tips & Care
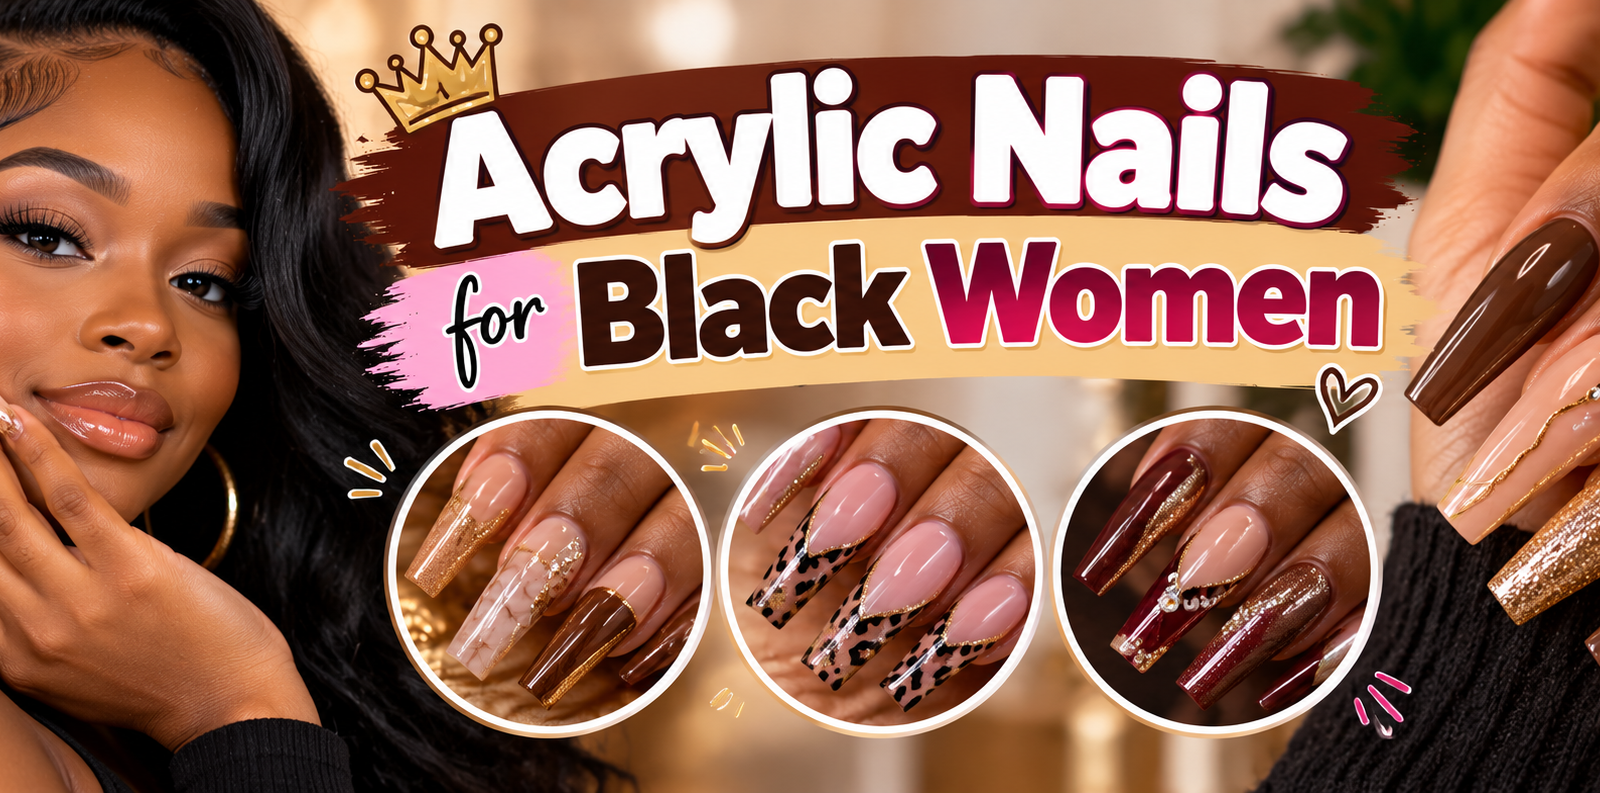
Deep brown nail beds do not need to disappear under one generic “nude” shade. Acrylic nails can look powerful, polished, playful, or natural on Black women, but the best set starts with the condition of the natural nail, not just the color on the sample tip.
My rule is simple: match the shade to the nail plate, choose a shape that suits the finger, and keep the product off the skin. Those three decisions affect the look more than almost anything else. Proper preparation, a compatible acrylic system, and timely care protect the natural nail and reduce lifting, irritation, and costly repairs.
What Acrylic Nails Are—and What They Aren’t
Acrylic is a hard nail enhancement made by combining a polymer powder with a liquid monomer. The liquid softens the powder, and the two harden through a chemical reaction called polymerization. Most traditional acrylic systems do this at room temperature and do not require a UV or LED lamp.
A tech can create the enhancement in two common ways:
- Acrylic overlay: Acrylic is applied directly over the full natural nail to add strength or a little length.
- Tip and acrylic overlay: A plastic tip extends beyond the free edge, then acrylic blends the tip to the natural nail.
The finished set can be thin and natural, bold and highly sculpted, square, coffin-shaped, almond-shaped, or somewhere in between. Acrylic can also carry color, glitter, metallic powder, or traditional nail polish.
The main benefits are customization and durability. A well-placed full set can support a growing nail, disguise minor unevenness, repair a broken nail, and create precise color or shape. It also grows out gradually, so you can change the length or design without replacing the entire set each time.
Acrylic is not harmless by definition, though. Damage can occur when the natural plate is filed too thin, the cuticle area is flooded with product, a nail is repeatedly filled after it has lost its apex, or removal is rushed. Monomer contact and poor ventilation can also cause irritation or allergy.
Acrylic vs. Similar Nail Enhancements
Navigating the market means understanding how each popular nail enhancement system works. The following table outlines the fundamental differences among acrylic nails, gel extensions, dip powder, and press-ons, comparing their composition, hardening methods, and application processes.
| Enhancement | How it works | Key distinction |
|---|---|---|
| Acrylic nails | Polymer powder is shaped with liquid monomer and hardens without light | Usually air-hardens and is customized directly on the nail |
| Gel extensions | Gel is shaped over the nail and hardened with a UV or LED lamp | Requires a compatible lamp and light-curing gel system |
| Dip powder | Powder is applied over a liquid bonding layer | Does not use a liquid-and-powder acrylic bead |
| Press-on nails | Preformed nails are attached with adhesive | Does not polymerize in the application |
While traditional acrylics air-harden and are customized directly, the other systems depend on distinct curing processes or adhesives. This distinction matters because application time, product handling, and removal methods vary significantly between these different types of nail enhancements.
Gel polish placed over a finished acrylic set is a separate color system. It may add shine and durability, but its removal method may affect the surface of the acrylic.
Acrylic is also different from an artificial nail tip by itself. A tip provides length, while properly applied acrylic creates the structure and strength that support it.
How to Choose Acrylic Nail Colors for Black Women
Black women have an enormous range of skin tones, undertones, and natural nail colors. A person with a medium-brown complexion may have a warm, cool, or neutral nail plate. Someone with very deep skin may have visible natural pigment, strong contrast, or a wide range of translucent tones.
That means there is no single “best nail color for Black women.” The right choice depends on your personal style and the look you want, not your ethnicity alone.
The nail plate can look different from the skin on your finger. It may be more pink, brown, gray, mauve, or yellow. Skin also shifts with lighting and sun exposure, while the natural nail often stays closer to one tone.
For this reason, I recommend choosing acrylic color by the nail bed first and using the complexion only as supporting context.
Four Questions to Ask Before Choosing a Shade
How visible do you want the natural nail to remain?
Sheer shades let the nail bed show through. Medium and opaque shades create a cleaner, more solid look. If you want the acrylic to disguise discoloration or create a dramatic French tip, opacity may be useful.
Do you want the nail to blend, contrast, or sit between the two?
- Blend: Sheer nude, beige, rose, taupe, mocha, or cocoa.
- Contrast: White, cobalt, cherry red, cobalt blue, emerald, or a sharp burgundy.
- Balance: Muted rose, dusty blue, lavender-gray, soft copper, or a sheer neutral that still shows the nail plate.
Which undertone flatters you best?
Warm shades contain more red, orange, or yellow. Cool shades contain more blue, purple, or green. Neutral shades sit between them.
Skin tones do not always fit neatly into these groups, so use color as a flexible tool rather than a rule.
Visible blue or purple veins may suggest a cool undertone, while golden or green-toned veins may suggest a warm one. The test is not perfect because nail thickness and lighting can change the result.
How will the set look as your nail grows out?
A dark border can appear if the natural nail reappears before the next fill. A thin neutral transition near the cuticle can soften the contrast. A sheer-to-deep ombré can make regrowth less noticeable because it starts close to the natural nail tone.
Color Guide by Desired Finish
The table below serves as a color guide, matching specific finished looks to the most effective acrylic shade families.
| Desired look | Shade families to consider | Why it works |
|---|---|---|
| Natural extension | Sheer rose, nude beige, taupe, light mocha, soft mauve | Keeps the nail bed visible and extends the finger without a hard color break |
| Deep nude | Sheer cocoa, chocolate, chestnut, neutral brown | Gives a natural look on deeper nail beds without trying to copy the skin exactly |
| Soft contrast | Milky beige, almond, muted rose, dusty lavender | Defines the nail while remaining understated |
| Crisp French tip | White, black, burgundy, or deep red | Creates a clean line with strong visual contrast |
| Deep, dramatic color | Oxblood, plum, wine, espresso, black, navy | Gives rich, even coverage and works well on medium and long nails |
| Bright color | Cobalt, cherry, tangerine, emerald, violet | Offers strong contrast against brown and deeper complexions |
| Soft metallic | Champagne, bronze, rose gold, pewter | Reflects light without the hardness of a high-chrome effect |
| Soft fade | Neutral taupe through chocolate or rose through burgundy | Makes growth less obvious and creates dimension |
By selecting the appropriate shade family for the intended finish, whether seeking a natural extension, deep dramatic color, or crisp French tip, clients can effectively manage color contrast, dimensionality, and the appearance of nail growth over time.
You can compare rich, long-wearing color ideas after the acrylic color and finish have been chosen. If you enjoy warm neutrals, shade ideas for medium-brown skin can also help narrow the palette.
Nude Does Not Have to Mean Beige
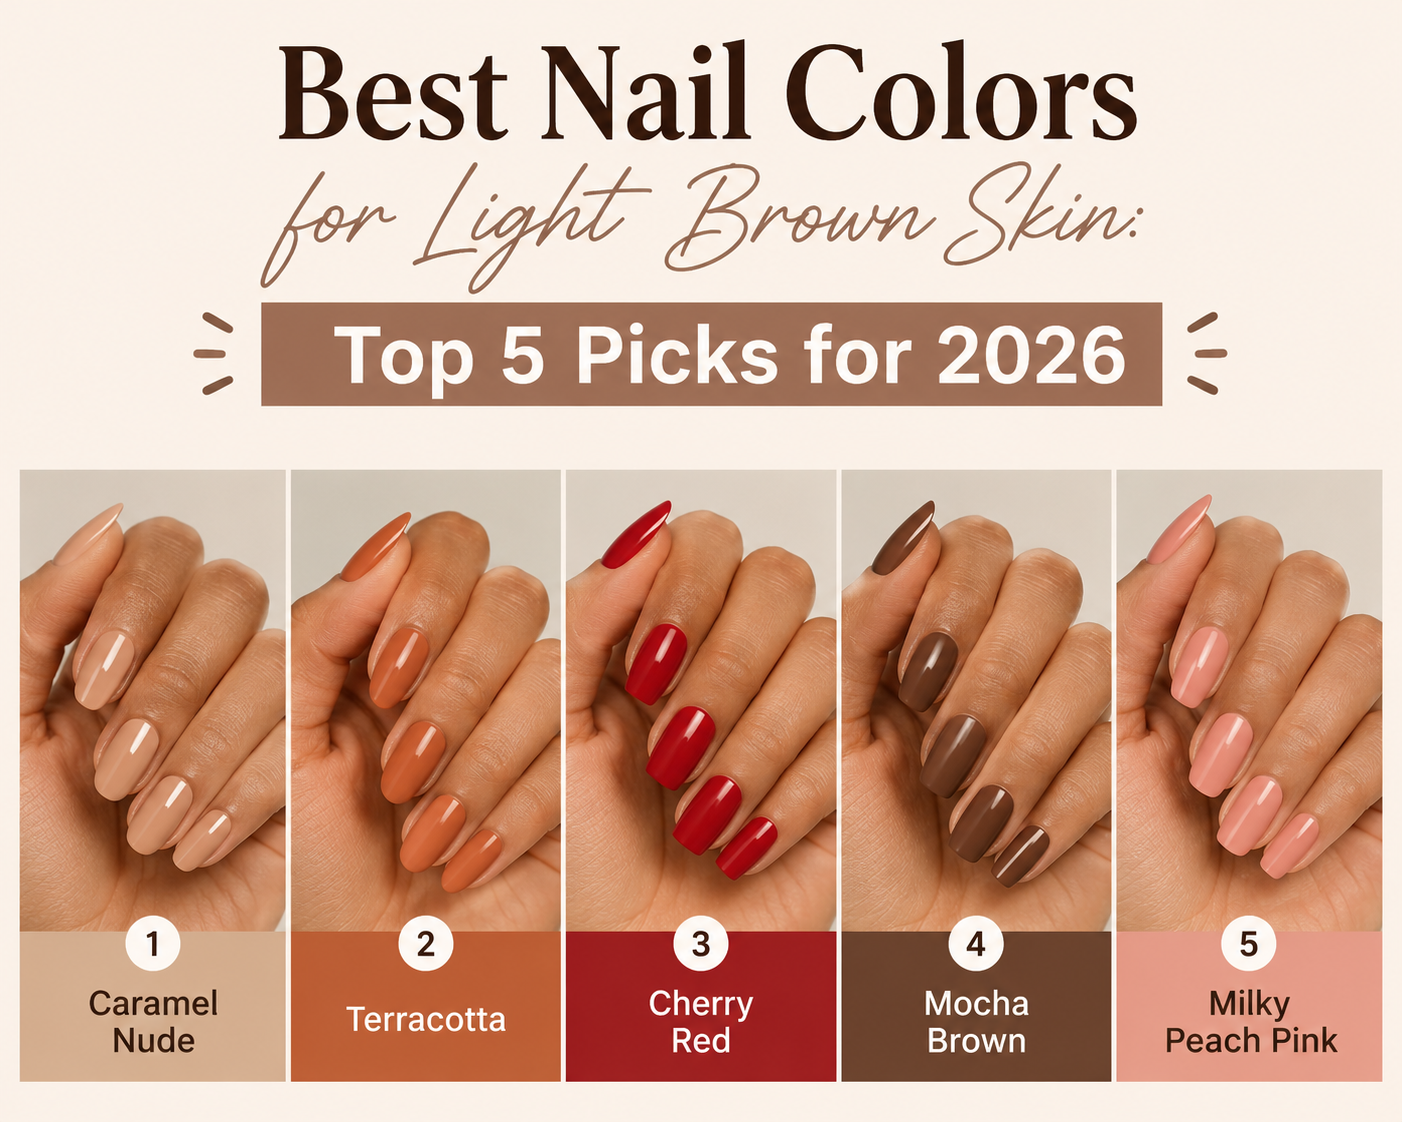
Many people use “nude” for a pale beige shade that has little contrast on light skin. On brown and deep skin tones, nude can mean much more. Sheer mauve, rosy cocoa, milky almond, cool taupe, deep caramel, and translucent brown can all look nude.
The best test is simple. Compare the shade with the free edge and nail bed, not the darkest or lightest patch of skin on the hand. Hold the sample under daylight and check the color from several angles.
A shade that seems subtle indoors may look warmer in sunlight. A metallic powder may reflect cool or warm light differently than a cream color. Deep nail beds can also make a color appear richer at full opacity, so asking for a slightly lighter shade is sometimes reasonable.
Black and French Tips on Dark Nail Beds
Black acrylic can look clean and sophisticated, especially on medium-length nails with a strong shine. It can also highlight every speck of dust, lint, chip, and uneven patch. If your nails are short, a black micro-French tip can look sharper because it creates contrast without covering the whole nail.
Other strong French options include:
- Classic white: Crisp, clean, and bold against most natural nail tones.
- Micro-French: A very thin line that gives a neat, grown-out appearance.
- Black tip: Dramatic, especially when paired with a sheer or neutral nail bed.
- Burgundy tip: Deep but softer than black.
- Metallic tip: Gold, silver, or bronze can create a jewelry-like finish.
- Tinted tip: A sheer color is harder to see; opaque pigment gives the cleanest line.
Keep the smile line slightly irregular so it follows the natural cuticle. A perfectly straight line across curved nails can look harsh. If you apply a French tip at home, use a thin guide and check the line from the top and side before the acrylic fully hardens.
Common Color Mistakes
The first mistake is choosing a “nude” from a name alone. Ask to see the powder or polish in daylight, and compare two close shades when possible.
The second is covering the entire nail in a color that makes the nail look shorter. Leave some clean visible nail near the cuticle, especially if your natural nail grows out quickly.
The third is picking a very dark color for short nails when a medium or lighter shade would preserve length. Deep color can work, but contrast at the tip can make the nail look more compact.
The fourth is assuming every rich shade needs a dramatic design. Burgundy, chocolate, espresso, plum, and deep navy can be polished on their own. Sometimes a solid color is more elegant than adding art to every nail.
Shapes That Work With Different Hands and Nail Beds
The best acrylic shape is not determined by ethnicity. It is determined by nail-bed width, fingertip shape, sidewall strength, natural length, and lifestyle.
Black women commonly wear every major nail shape, but a shape that looks balanced on a long almond nail may need a different version on a short, wide nail plate. A custom shape often looks better than forcing a standard template onto an unusual nail.
Acrylic Nail Shape Comparison
To match individual anatomy and personal style, the following comparison chart evaluates major nail shapes according to their appearance, who they often suit, and their practical considerations.
| Shape | Appearance | Often works well when | Practical consideration |
|---|---|---|---|
| Round | Softens the look of short and wide nails | Someone wants a low-maintenance shape with a balanced tip | Can look overly short if the extension is too small |
| Square | Clean, flat tip with distinct corners | Medium-length nails with enough width for a strong shape | Corners may catch on clothing if they are not softened |
| Soft square | Square with lightly rounded corners | Someone wants a classic shape without harsh edges | Requires precise symmetry without over-rounding |
| Oval | Rounded sides and a gentle tip | Shorter nails and people who want a softer, balanced appearance | Can make a very short nail look longer if the extension is controlled |
| Almond | Tapered sides and a narrow, rounded tip | Longer nails and elegant, hand-defining styles | Usually needs more length than a soft oval |
| Stiletto | Dramatic taper with a pointed tip | Someone wants a high-fashion statement | Not practical for many work routines and can place more pressure on the nail plate |
| Coffin or ballerina | Tapered sides with a flat or softly squared tip | Longer nails and bold, sculpted styles | Needs careful balancing; poor symmetry is easy to see |
| Short almond | Soft, tapered shape with minimal length | Someone wants definition without a dramatic extension | Works best when the sidewalls remain strong |
The key is proportion. A wide nail may look best with more taper or a modest extension. A narrow nail may look better with a wider, softly squared tip.
Long fingers can carry more length, while shorter fingers may benefit from a rounded or almond shape.
Choosing a Shape Without Damaging the Sidewalls
Deep nail beds often have broad nail plates that can support medium and long enhancements. Yet breadth alone does not mean the sidewalls are strong. If the natural nail has deep ridges, splits, or thin areas, a long extension may create leverage on a weak spot.
Avoid shaping the extension so narrow that the sidewalls curve inward. That pinched shape looks sleek at first, but it can make the acrylic press against the skin after a few weeks. The edge should feel balanced when you look straight down at the nail.
Both side lines should follow a controlled taper.
Very pointed stiletto shapes create the most dramatic line but demand the most length and careful balancing. If your natural nail grows close to the fingertip, the shape can place extra pressure on the tip. For daily wear, a short almond, oval, or rounded square is often easier to manage.
Length: A Practical Decision
Length is personal, but it should also match your routine. Short nails are easier to type, handle tools, cook, clean, play instruments, and care for children. Medium nails offer a noticeable extension without dramatic length.
Long nails can look striking and help fingers appear more elongated, especially with an almond or coffin shape.
If you are new to acrylic, a short extension is a sensible starting point. It lets you test the feel of the nail without committing to a long shape that changes every task you do.
A good starting point is an extension that extends just beyond the free edge, with enough acrylic structure to support the shape. Longer lengths need a stronger blend and more precise weight distribution. The goal is not merely to add millimeters.
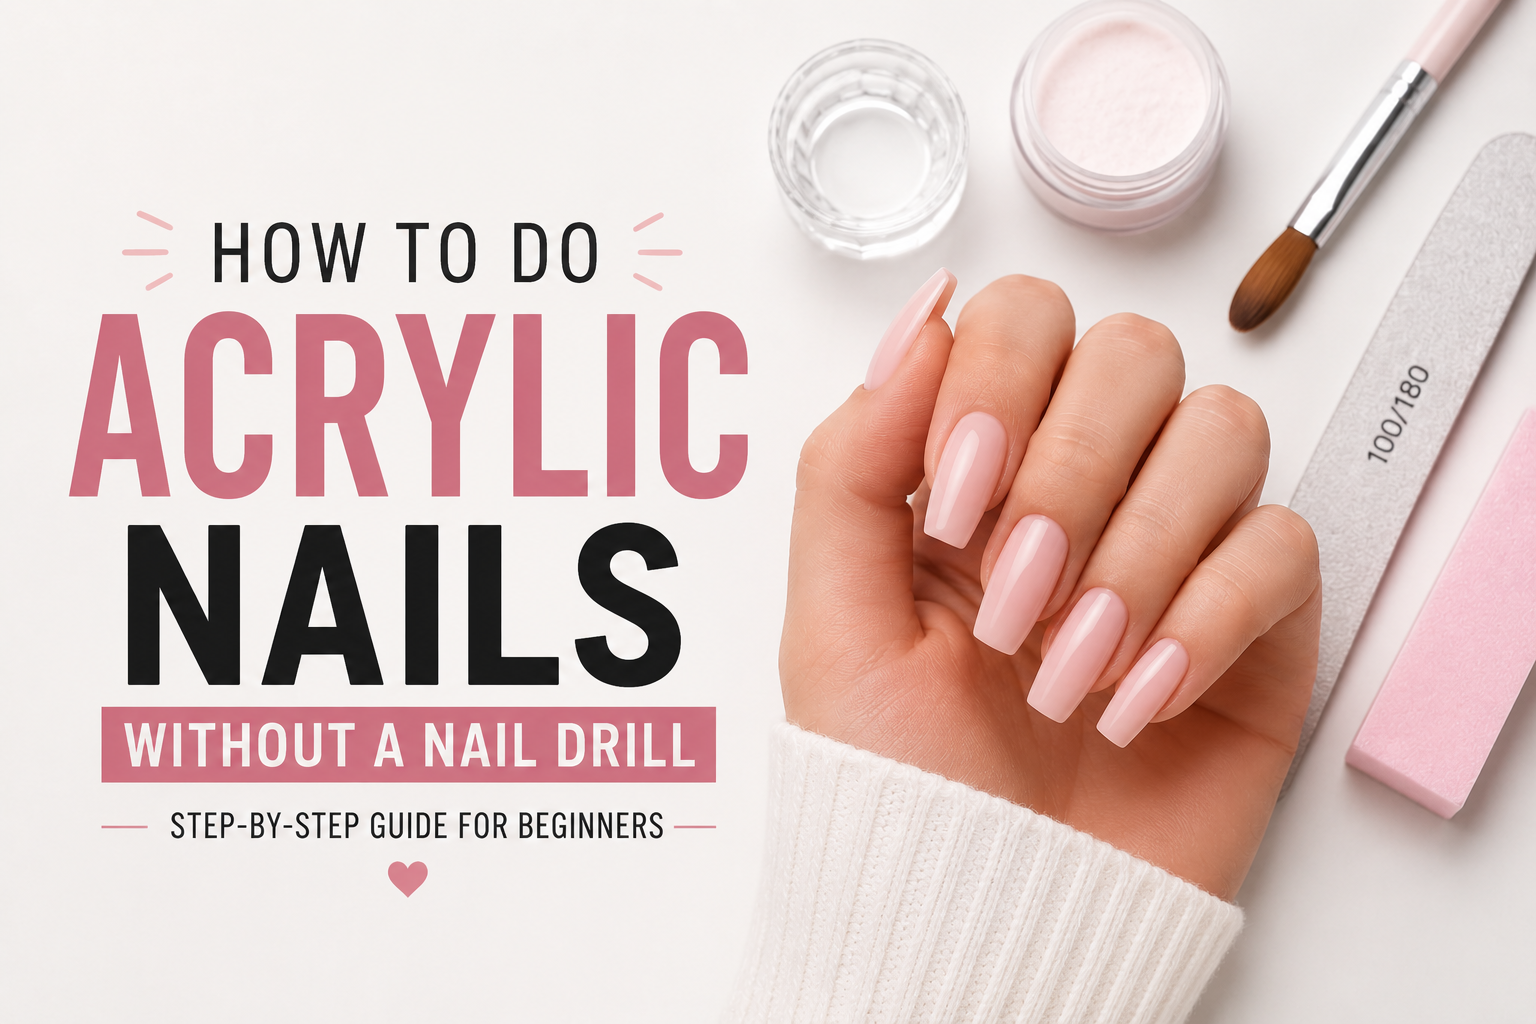
You can review a drill-free shaping method if hand filing is your preferred process. For a set that already feels too long, safe shortening at home can help you avoid changing the whole manicure unnecessarily.
Acrylic Nails at a Salon: What to Ask For
A salon appointment should begin with a conversation, not an immediate color choice. A nail professional should assess the natural nail and ask how much length you want. If they do not, explain what you want in clear terms.
You can say:
“I’d like a medium-short extension with a soft almond shape. Please keep the acrylic off my skin and make sure the natural nail isn’t filed thinner than it needs to be.”
That sentence communicates length, shape, and your concern without asking for a specific technical process that may not suit the nail.
Questions Worth Asking During Your Appointment
Can you match the color to my natural nail bed?
Ask to see the shade in daylight or under bright salon lighting. A good match should remain believable as your nail grows out.
Is my natural nail strong enough for this length?
If your nail is split, bitten, very thin, or already irritated, a short set or overlay may be safer than a dramatic extension.
Is this an overlay or a tip and acrylic set?
An overlay adds structure without extending the free edge. A tip set adds length. Knowing the difference helps you set expectations before the appointment.
How much product will go near my cuticle and skin?
The answer should be “as little as necessary.” A clean smile line and slim cuticle area are signs of controlled application.
What is the plan for removing it later?
Your technician should be able to explain that acrylic generally needs to be removed carefully with the right tools and products, rather than forcefully peeled off.
What Good Salon Work Looks Like
A well-applied set usually has:
- A close but controlled fit at the free edge.
- No excessive acrylic under the cuticle.
- A smooth transition from the natural nail to the enhancement.
- No flooding or product stuck to the skin.
- A stable structure without excessive filing.
- A cuticle line that can be inspected as the nail grows.
- An even surface without exposed natural nail ridges.
- Balanced sidewalls and a shape that matches the finger.
The nail should feel firm, but “firm” does not mean thick or rigid. An overly thick set can lift, look bulky, and place more pressure on the nail plate. A properly shaped set supports the nail without creating a heavy block.
At-Home Acrylic Nails: A Careful Beginner’s Process
You can apply acrylic at home, but the first few attempts are better treated as practice. Acrylic application is a chemical process, and mistakes are not automatically fixable by adding more product.
If you are starting from bare nails, a beginner-friendly acrylic guide can help you set up the workspace and understand the sequence. If you already have a nail kit, make sure the powder and liquid are compatible. Not every powder is designed for every monomer, and mixing unrelated systems can lead to poor adhesion or unpredictable curing.
What You Need
Before beginning, gather the following supplies to ensure a safe and uninterrupted application:
- Acrylic powder and compatible liquid monomer
- A nail dehydrator or bonding liquid made for your chosen system
- A base product that is compatible with acrylic
- A topcoat or finishing product
- Nail files and a buffer
- A cuticle pusher
- A dust brush
- A clean, well-lit work surface
- Paper or cloth for wiping accidental skin contact
- Optional cotton swabs, tape, and a shade guide
Keep the workspace ventilated and away from flames. Acrylic monomer is flammable and should not be stored or used near heat sources.
Step 1: Do Not Apply Acrylic to an Unhealthy Nail
Inspect each natural nail. Do not cover a nail that has active infection, open sores, marked inflammation, a deep split, or a strong foul odor. A dark or green nail can come from moisture, staining, or infection, but the cause is not always clear.
If you are unsure, wait or seek professional medical advice.
If your nails are bitten, very thin, or peeling, an overlay may still be possible once the surface is stable. More length, however, may put extra force on a weak nail. Do not try to create a long extension simply to hide damage.
Step 2: Prepare the Natural Nail, Not the Nail Bed
Remove old polish and lift-ons according to their own instructions. If a previous enhancement remains, do not place acrylic directly over a thick, uneven layer and hope it will correct itself.
Use a file to remove shine from the surface of the natural plate. The aim is a clean, dry surface, not a thin nail. Stop if you feel heat, pain, or see deep damage.
Push back softened cuticles gently. Do not cut living skin unless a trained professional has determined it is necessary. Aggressive cuticle cutting can cause irritation and infection.
The nail plate, the hard surface beneath the nail, should not be aggressively cut or scraped. Your natural nail should not feel sore after preparation.
Step 3: Dehydrate the Surface
Use a nail dehydrator according to its instructions. This removes surface oils and moisture that can interfere with adhesion. Do not use so much product that the natural plate becomes dry, brittle, or painful.
Skip oil, lotion, and hand cream until the acrylic application is finished. Oils can interfere with the bond between the natural nail and the enhancement.
Step 4: Use a Compatible Base Product
Some systems use a base coat that bonds with the acrylic. Some do not. Follow the manufacturer’s system rather than assuming that any “base coat” will work.
Do not apply a gel base that requires curing over the natural nail and then place traditional air-drying acrylic directly on top. The acrylic may not adhere correctly because the underlying gel surface has a different chemistry. Likewise, use a gel topcoat only if it is approved for the acrylic finish you have created.
A UV or LED lamp cannot cure every ordinary acrylic product.
Step 5: Practice the Bead First
Pour a small bead of acrylic onto a practice surface using the recommended liquid-to-powder method. The bead should be smooth and workable, not watery or chalky.
- A bead that spreads into a flat, sticky puddle is usually too wet.
- A bead that breaks into dry powder or rough chunks is usually too dry.
- A good bead holds together, has a slightly tacky surface, and shapes without falling apart.
The correct ratio depends on the exact system. Do not judge a bead only by its size. A larger bead can be too wet even if it looks smooth.
If the liquid runs onto your skin, wipe it away promptly. Do not spread it across the cuticle or sidewall hoping that it will soak in later.
Step 6: Place the Acrylic
Set the acrylic near the base of the nail without flooding the cuticle. Work from the cuticle area toward the free edge in small, controlled passes. For a full set, keep the product inside the natural nail boundaries and blend it into the tip.
Many beginners use too much product and then try to correct it with the drill. Instead, use a smaller bead and add a little more if needed. A second thin bead is easier to control than one oversized bead.
Pay attention to the underside of the free edge. Do not let acrylic build into a thick shelf beneath the nail. That edge can snag clothing and make the set feel bulky.
If you are using a no-drill method, choose an emery board or a hand file with enough control to shape the set without heating the natural nail. Move in one direction, lift frequently, and check the shape from above and from the side. Detailed drill-free filing steps can help you avoid pressure on the plate.
Step 7: Refine the Shape While the Acrylic Is Workable
Let the acrylic reach the point where it is firm enough to shape but has not become completely rigid. The exact timing depends on the system.
File the free edge, sidewalls, and surface with light, even strokes. Do not file into the cuticle or skin. Keep the sidewalls consistent and preserve a smooth transition from the natural nail to the extension.
A thick set may require an electric file in a professional setting. At home, hand filing is slower but gives you more control. Do not substitute force for speed.
Step 8: Finish the Surface
Smooth the surface with a fine file or buffer. Remove dust with a brush so it does not become trapped beneath polish or topcoat.
If you want traditional nail polish, apply thin coats and allow each coat to dry. A gel color or gel topcoat can add a different finish, but it must be compatible with the acrylic and cured with the correct lamp. A hybrid system should not be assembled from products merely because they are all called “gel.”
Let the acrylic harden fully before applying products that may soften the surface. Follow the directions for every product you use.
Common Beginner Mistakes
Applying a bead too close to the cuticle is one of the most common problems. It creates a thick edge, makes the nail look shorter, and increases the chance of irritation or lifting.
Another common error is using too much liquid to slow down the acrylic. Excess liquid can leave a soft, porous bead that is more likely to peel. Try changing the bead ratio instead of flooding the nail.
Failing to prepare the natural plate creates another frequent issue. Polish or oil left on the surface can prevent adhesion. Dehydration, light surface filing, and a clean nail plate give the acrylic a better chance to bond.
Choosing an extension that is too long is another common mistake. If your new nail catches on your shirt, presses awkwardly into a keyboard, or feels difficult to use, the design may need to be shortened.
Finally, applying multiple beads in the same thin area can create a lumpy set. Use smaller beads and build the structure gradually.
Skin Safety, Allergies, and Product Handling
Acrylic nail products can cause irritation even when the application is careful. Monomer contains chemicals that may irritate the skin and airways in some people. Powder dust can also become airborne when the nail is filed.
A nail allergy is not always obvious at the first appointment. Some people notice burning, itching, redness, swelling, or a rash around the nail. Others develop sensitivity after several exposures.
Once a contact allergy develops, it can remain active even with a product that previously worked without symptoms.
Patch-testing on a small area cannot guarantee that you will not react later. It is also not a substitute for careful application. If you develop a persistent reaction, stop using the system and consult a healthcare professional.
Severe swelling, breathing difficulty, or rapidly spreading symptoms require urgent medical attention.
The FDA provides an overview of cosmetic products and ingredients on its cosmetics information center. Product labels, ingredient lists, and manufacturer instructions matter, especially when comparing monomer systems and finishes.
Keep Product Off the Skin
Before starting, push back the cuticles and wipe the skin around each nail. Keep liquid away from the fingertip and sidewalls. Use a barrier film or liquid latex product only if you tolerate it and follow its directions.
Do not use nail glue remover, acetone, or monomer to clean the skin. Those products can irritate or burn. If acrylic touches the skin, blot it away with a dry wipe and clean the surrounding area with a suitable cleanser after finishing.
Avoid applying acrylic over skin that is already irritated. A small gap may look less “perfect,” but it is better than a seamless application that leaves the cuticle swollen.
Ventilation and Dust Control
Open windows, use a clean local exhaust system, or place a fan near the work area to move air away from the face. Ventilation is not the same as pointing dust directly at another person. OSHA’s general ventilation guidance explains the role of controlling airborne contaminants in the workplace; nail salons need the same principle even when the exposure is on a small scale.
When filing, use a dust brush frequently and avoid creating heavy dust. A suitable respirator can help with particles, but it does not protect against monomer vapor. Gloves can help with skin contact, although they must be changed if product gets inside.
A salon should not treat odor as proof that ventilation is adequate.
Do not pour unused monomer into a household drain or trash. Store and dispose of nail products according to local and manufacturer instructions. Keep liquids away from heat and ignition sources.
Maintaining Acrylic Nails on Black Skin Without Constant Refills
Acrylic nails do not stay exactly as they were on the day of the appointment. Your natural nail grows, the free edge moves, and the cuticle area changes. The best maintenance routine is less about making a set last forever and more about keeping it comfortable and intact.
Watch the Gap at the Cuticle
A small gap between the cuticle and acrylic is normal as the nail grows. A wide gap can collect lotion, polish, moisture, and debris. It may also expose more of the natural nail and make the manicure look unfinished.
Do not repeatedly fill every tiny gap with acrylic. Excess buildup in the cuticle area can create a thick ridge and increase irritation. A trained technician can decide whether the set needs a full fill or only a small repair.
Fill From the Wear, Not the Calendar
Many people schedule fills on a fixed date, but the right timing depends on growth rate, nail health, and the style. A person who grows quickly may need more frequent maintenance than someone whose nails grow slowly.
A full set may last several weeks, but the natural nail can become visible before the extension loses its structure. If you wait for the acrylic to lift, the new nail underneath may be weak or uneven, and the repair may take longer.
If the set is lifting at the sidewall or cuticle, address it soon. Use glue only on clean, dry nails. Do not flood adhesive under the acrylic or onto the skin.
If the nail is already lifted and the gap is large, a professional fill is usually safer than adding more product at home.
Use Oils for the Skin, Not as a Cure-All
Cuticle oil can make the surrounding skin feel more comfortable and reduce dryness. It does not repair an acrylic extension or make the natural nail plate grow faster. Apply it after the manicure is fully set and wipe away any oil from the nail plate before applying polish.
A natural oil such as coconut oil can be used according to personal preference, but no oil replaces a stable enhancement and sound nail care. If you want to compare different approaches, see using coconut oil for nails for the role it can play.
Clean Under the Free Edge
Dirt and moisture can collect under a long acrylic nail. Clean the underside gently with a soft brush when needed, and dry it completely. Avoid sharp tools that could scratch the nail or snag the acrylic.
Do not soak the acrylic nail in water for a long time while the extension is still attached. Repeated exposure can affect adhesives, polish, or the surface, depending on the products used.
Protect the Set During Everyday Tasks
Wear gloves for dishwashing, heavy cleaning, gardening, and work that involves chemicals. Gloves are particularly useful when the nail is still drying or when moisture is likely to sit underneath.
Use a clean file when touching up a rough edge. Do not bite or tear the acrylic. If one nail breaks, ask for a repair before the entire set separates, because a small repair may be much easier than rebuilding a damaged nail.
Acrylic Fills, Repairs, and Replacements
A fill refreshes the growth gap and rebuilds the area near the cuticle. It does not require changing the whole extension if the existing acrylic remains stable. A repair addresses a crack, split, or broken section.
A replacement is the removal of the old set and creation of a new one.
Common Problems and What Usually Helps
This troubleshooting table outlines common acrylic nail problems, their likely underlying causes, and the practical steps needed to restore the integrity of the manicure.
| Problem | Likely cause | Practical response |
|---|---|---|
| Lifting at the sidewall | Moisture trapped underneath, bulky product, too much filing, or poor adhesion | Clean the nail and ask for the lifted edge to be repaired; do not flood glue underneath |
| Lifting at the cuticle | Excess product or a changing nail edge | Trim the old acrylic and rebuild with a clean, thin cuticle line |
| Peeling polish | Poor nail prep, oily residue, or a surface that was not fully prepared | Repaint with clean nails; do not solve adhesion by applying a thicker base coat |
| Yellowing | Age, polish, smoke, staining, or moisture beneath the set | Clean beneath the nail and address the cause rather than bleaching the natural plate |
| Nail bed pain | Too much filing, pressure, a growing gap, or an infection | Stop wearing the set and have the nail assessed |
| A single nail breaks | Trauma or a weak spot | Repair promptly so the stress does not spread through the sidewall |
| The whole set feels too long | Length was not matched to lifestyle | Shorten the acrylic without thinning the natural nail |
| Brown or green discoloration | Staining, moisture, or infection | Do not assume it is simply the acrylic color; seek advice if it spreads or smells strong |
By recognizing the causes of lifting, peeling, yellowing, and pain, you can address issues like trapped moisture, excessive filing, or infections safely. This knowledge ensures you can respond promptly to minor trauma without causing further damage to the natural nail.
If nails are peeling after a set is removed, stop exposing them to harsh products and focus on protecting the remaining nail plate. For a broader guide to protecting nails after acrylics, focus on gentle care rather than hard growth products.
Safe Acrylic Nail Removal
Removal can cause more damage than the initial application. The natural plate is not indestructible, and acetone can soften both the enhancement and the keratin in the nail. Pulling or prying a set off can tear the plate or lift the nail from its bed.
When a Professional Is the Better Choice
Choose a professional removal when:
- The acrylic is very thick.
- The nails are short or tightly attached.
- You have visible damage, infection, or severe pain.
- The set was applied over gel or dip and you are not sure which products are present.
- You cannot control the tool or keep the nail stable.
- Your natural nails are weak and you have a history of tearing or peeling.
A trained professional can use a controlled file-and-product approach instead of trying to peel the whole set at once.
If You Remove It Yourself
Work on one nail at a time and keep the product away from your skin. Remove polish first if present. If the acrylic is thick, do not use a coarse file aggressively on the natural plate.
File only the enhancement, and stop if you reach soft, thin, or painful nail.
Use a compatible remover according to its label. Avoid long soaking sessions, especially if your natural nails are already weak. Acetone can make the plate feel soft and fragile.
Do not scrape aggressively with metal tools or use a knife.
Once the acrylic loosens, lift only what separates without forcing it. If you must pull hard, stop. The safest choice is to let a professional finish the removal.
What Healthy Regrowth Usually Looks Like
Temporary peeling, roughness, or sensitivity may occur after removal, but a healthy nail plate should gradually become smoother. Some nails take several weeks to feel normal. A nail that remains deeply ridged, cracked, discolored, or painful needs professional attention rather than another enhancement.
You can also review ways to repair nails after gel damage if your acrylic set was previously finished with gel.
Common Acrylic Nail Myths
Myth: Black women should wear only nude, bright, or red colors
False. The color choice is personal. Some Black women prefer a near-invisible extension, while others choose black, white, silver, neon, soft pink, or graphic art.
The key is to choose a shade and finish that look good on your natural nail bed and suit your routine.
Myth: A nude shade should match the skin on the hand exactly
Not usually. Acrylic sits on the nail plate, which may look different from the surrounding skin. Comparing the nail bed is more useful than comparing the palm or arm.
Myth: Longer acrylic nails automatically look more feminine or attractive
There is no universal standard. Length can be beautiful on one person and impractical for another. A polished short set can be just as sophisticated as a dramatic extension.
Myth: Acrylic nails grow the natural nail
No. Acrylic can protect the visible nail plate from some daily wear, so it may look longer, but it does not change the speed or direction of growth. The natural nail grows from the matrix beneath the cuticle.
Myth: If the set lifts, more glue will fix it forever
Not always. Glue may hold the enhancement for a short time, but it does not repair a weakened natural nail or remove trapped moisture. Frequent lifting can signal that the set needs a proper fill or replacement.
Myth: Nail polish alone makes an acrylic set stronger
Polish can add color or shine, but it is not structural adhesive. A thick coating cannot replace a poorly blended acrylic extension. If the structure is unstable, changing the polish will not solve the problem.
Myth: A nail drill is mandatory for every full set
No. Many nail professionals can create a full set with hand filing, while others use an electric file selectively to shape and refine the acrylic. The tool and the person using it both matter.
The goal is controlled shaping without thinning the natural plate.
Myth: Dark polish always stains dark skin or dark nails
Staining can occur under nail polish, especially if polish is left in place for a long time. It can also occur beneath nail enhancements. Color alone does not determine whether staining will happen.
Use a protective base when appropriate and remove color before it becomes tenacious.
Myth: Acrylic allergy symptoms always appear right away
No. Some reactions are immediate, while others develop after repeated exposure. A product that worked before can become troublesome later.
Persistent burning, itching, swelling, or rash deserves attention.
Myth: Using a nail hardener fixes a weak natural nail
A hardener cannot rebuild a torn, infected, or severely weak nail. It may improve the appearance of some minor surface issues, but it is not a substitute for stabilizing the natural plate and letting it grow.
How to Prevent Damage Before the Next Appointment
Damage prevention begins with a realistic length and shape. Avoid asking for the longest possible nail if you know you will be irritated by it every day. Start with one or two extra millimeters beyond the free edge, then add length gradually if you enjoy the feel.
Ask about the removal plan before application. A nail professional who cannot explain how the set should come out without excessive force is not offering you a complete maintenance plan.
Choose a color that you can live with as the nail grows. If your natural nail will show within two weeks, a gradual shade or sheer neutral may be more satisfying than a sharply defined French line.
Bring your own product knowledge only as a guide, not as a substitute for assessing the nail. Product names and systems vary. Use the instructions supplied with the powder and liquid, and do not assume that a product from a different line will behave the same way.
Do not pick at the set when a small lift appears. Use a clean file to smooth an edge if needed, then arrange a repair. Avoid cotton, hair, or glue strands sticking to the acrylic; they can create a stain that is difficult to remove.
Finally, take signs of discomfort seriously. A nail should not require constant pressure, create a sore spot, or make you feel ill. Pain is information, not a normal part of the acrylic lifestyle.
A Practical Checklist for Your First Acrylic Set
For your first acrylic set, ask yourself: Are your natural nails intact and free of infection? What length will I actually use? Is the shape balanced from above and from the side?
Is the color transparent, opaque, or intentionally dramatic? Will the cuticle area stay clean and comfortable? How will I remove the set later if I dislike it?
If the technician cannot answer these questions, slow down. A beautiful manicure is not worth compromising the natural nail.
You can use the same checklist for home applications. Work in small sections, use a compatible system, and change the bead ratio before you change everything else. If the acrylic spreads too much, reduce the liquid.
If the bead is chalky, increase it gradually. If the nail feels painful, stop.
What to Do If a Nail Looks Irritated
Stop adding product and remove any glue or residue that is touching the skin. Do not apply another coat over a swollen cuticle. Keep the area clean and dry, and avoid strong chemicals, nail polish remover, and friction from tight shoes or gloves.
A nail that is mildly sore after a new application may need a day or two without pressure. Persistent pain, increasing redness, swelling, warmth, pus, a spreading rash, or a dark streak should be assessed promptly. A strong odor, green or black color, or rapidly worsening symptom also deserves professional attention.
A salon is not a medical clinic. You do not need to diagnose the problem yourself, but you do need to stop treating an unknown problem as a cosmetic issue.
Acrylic Nails for Every Age and Lifestyle
The same acrylic principles apply whether you are 18, 35, or 65. A teenager may prefer short rounded nails for school and sports, while an adult may choose long sculpted nails for a celebration. A parent may want a durable set that does not catch on a stroller.
A professional may need moderate length for keyboard work. A retired hobbyist may enjoy a design that is easy to maintain.
The best style changes with the person’s priorities. Some people care more about clean, natural-looking nails. Some want the visual impact of bold color.
Some want nail art. Some want one dependable set that travels well. Acrylic can suit all those preferences when the application respects the natural nail.
Black women are not one aesthetic group. The market’s tendency to reduce Black nail preferences to “nude” or “bright” can feel limiting. Treat your nail as part of your personal style, then choose the exact shape, shade, length, and finish that make you feel like yourself.
How to Keep a Long-Lasting Acrylic Set Looking Fresh
A fresh fill should not look like a completely different nail. Keep the same color family when possible, and blend the new growth area smoothly. If your color has changed dramatically, remove or reshape the old enhancement rather than building an unpredictable layer over it.
For polished color, consider:
- A sheer neutral at the base with a deep solid tip.
- A French line that follows the natural smile curve.
- A warm bronze or gold that catches light without looking flashy.
- A rich burgundy or plum that changes from cool to warm in different lighting.
- A neutral base with a single accent nail.
- A glossy finish for a clean, formal look.
- A matte finish for a softer appearance.
- A fine shimmer that shows movement without large glitter pieces.
For the drying step, follow the directions of the polish or gel you use. The quick-drying method that fits your chosen product should support that process, not replace curing or create heat on the nail. Avoid leaving a nail under a lamp or dryer when the product does not require it.
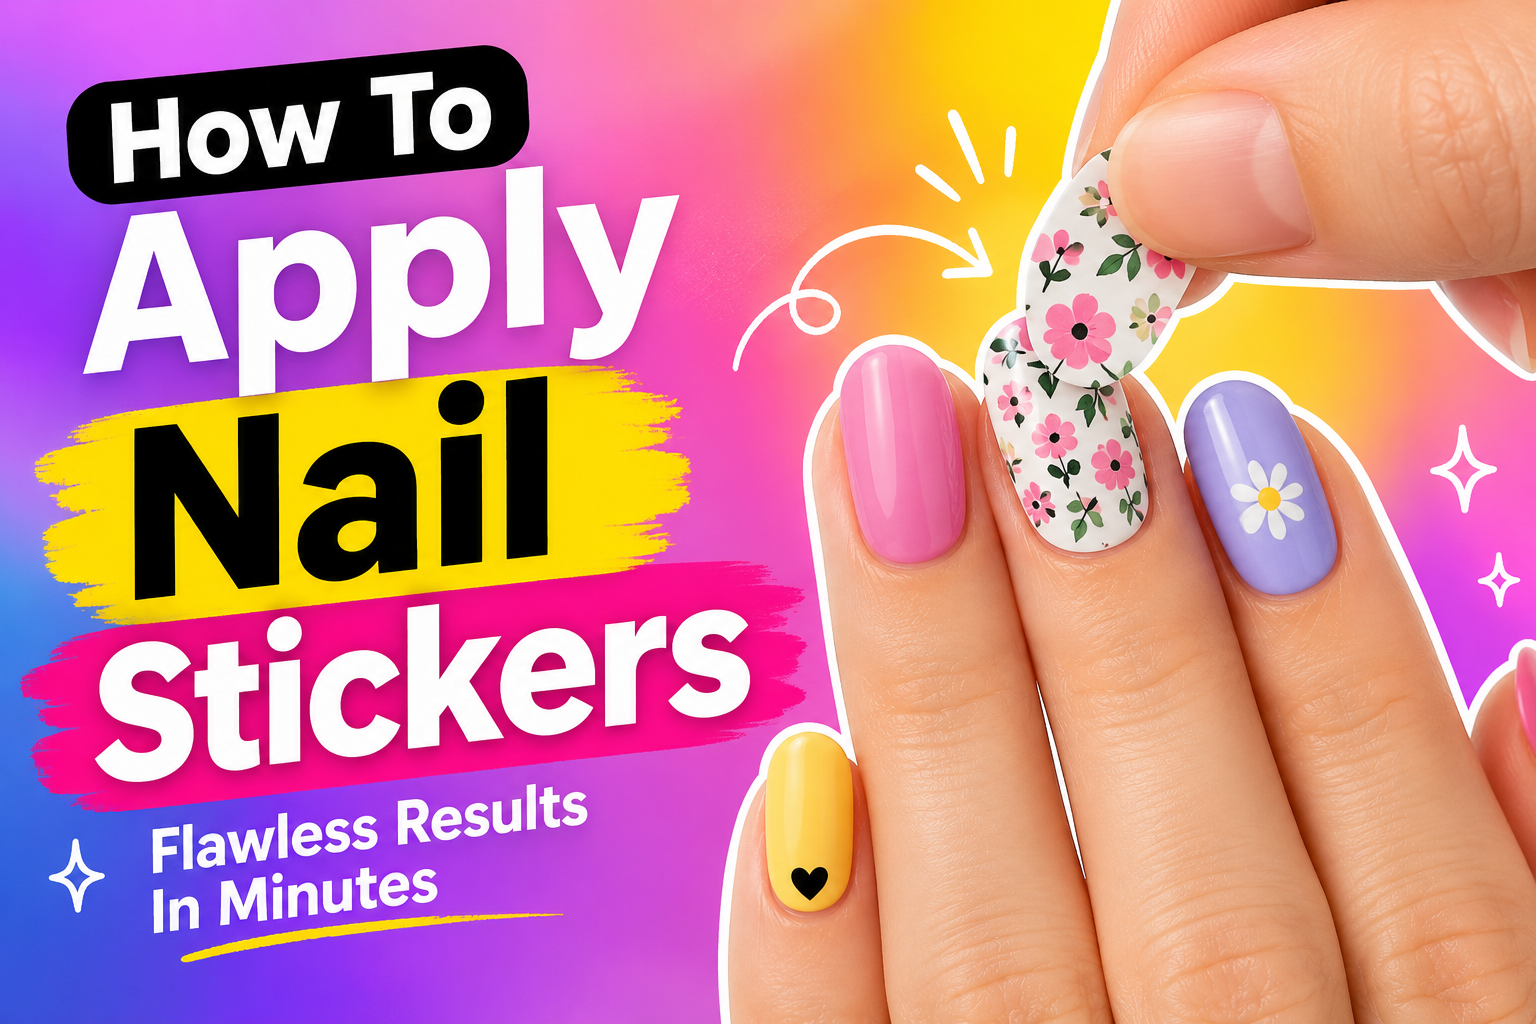
If a nail sticker or decal appeals to you, apply it only when the acrylic surface is clean, dry, and compatible with the adhesive. Applying nail stickers properly can give you a quick design without placing extra pressure on the set.
What Makes an Acrylic Set Look Expensive and Intentional
The most polished results are usually restrained. The cuticle line is clean. The sidewalls match.
The free edge is balanced. The color is consistent. The shine is even.
None of these details requires a dramatic design.
Before committing to a look, view the nails in more than one light. Check them in daylight, under salon lighting, and in the lighting you usually use at work. Deep brown and black shades can show dust and unevenness more than sheer shades.
Bright colors can look very different against different nail beds.
If you are choosing a set for an event, consider the length and shape in relation to what you will be doing. A long stiletto may photograph beautifully but be frustrating during travel. A short almond or oval can still look elegant while giving you more freedom.
The best manicure is not the one that looks most complicated. It is the one that feels comfortable, matches your hands, and suits the life you live.
Frequently Asked Questions
What is the best acrylic nail color for Black women?
There is no single best color because natural nail beds and personal styles differ. Look for shades that complement the nail plate, skin undertone, and desired contrast. Sheer rose, nude beige, taupe, mocha, cocoa, milky almond, deep red, black, cobalt, plum, and metallic shades are all viable options.
The best color is the one you enjoy and that looks good as your nail grows out.
Can I wear nude acrylic nails if I have dark skin?
Yes. “Nude” can include sheer rose, mauve, taupe, cocoa, chocolate, or a milky beige. The shade does not need to disappear into your skin. Many Black women prefer a nude that gives definition while still keeping the nail bed visible.
Which acrylic nail shape looks best on deep or dark nail beds?
Shape depends on nail width, fingertip length, sidewall strength, and style. Round, oval, soft square, almond, and coffin can all work. A narrow almond may suit long, slender fingers, while a short round or soft square can look balanced on shorter or wider fingers.
How short should acrylic nails be for everyday wear?
Choose a length that does not catch on clothing, press painfully into surfaces, or interfere with typing. Just extending beyond the free edge is a practical starting point. The best everyday length is the shortest one that still gives you the look you want.
How long should a full set of acrylic nails last?
A full set can last several weeks, but the natural nail will grow out before the extension does. Fill timing varies by nail growth, hand, product, and lifestyle. Some people need fills sooner than others.
Schedule based on the visible gap and the condition of the set, not only the date.
Can I get acrylic nails over bitten or damaged nails?
Only after the natural nail is stable enough to support the product. A short overlay may be possible when a long extension would add pressure. Do not cover an active infection, deep split, open sore, or badly peeling nail just to hide it.
Do acrylic nails ruin natural nails?
A well-applied set does not have to ruin the natural nail. Damage is more likely when the plate is filed too thin, product floods the skin, the set is repeatedly filled without correction, or removal is rushed. Choose a technician who protects the natural plate and explains the removal plan.
Are dark or black acrylic nails harder to apply?
The color itself should not determine the difficulty. Dark powder may show dust and small gaps more clearly, so clean the surface and work with small beads. Do not add extra liquid to make a dark shade smoother, because excess monomer can weaken the finish.
Can I use gel polish over acrylic nails?
It depends on the acrylic system and the gel product. Gel polish can be used as a color or finish when it is approved for the surface underneath and cured correctly. A gel base that is not compatible with traditional air-hardening acrylic can prevent proper adhesion.
Follow the product directions and tell your technician exactly what has been applied.
What should I do if my acrylic nail lifts?
Stop picking at it or flooding it with glue. Clean and dry the natural nail, then have a professional trim, fill, or replace the lifted area. If you notice pain, swelling, odor, spreading discoloration, or infection, remove the enhancement and seek advice.
How can I get acrylic nails without a nail drill?
Choose hand filing or a controlled no-drill process. Use an emery board, keep the natural plate protected, and make small, even strokes while the acrylic is workable. An electric file may still be useful for some refinement, but it is not mandatory if your nail professional can shape the set by hand.
How do I remove acrylic nails at home?
Use a compatible remover and work slowly on one nail at a time. Do not pry, use a knife, or aggressively scrape the natural plate. Avoid soaking for long periods, and stop if the nail becomes painful or starts to tear.
Professional removal is safer for thick sets, weak nails, or close-to-the-skin extensions.
Acrylic Nails for Black Women: The Bottom Line
Black women can wear acrylic nails in every shade, length, and shape. The most flattering set starts with the natural nail bed, respects the cuticle, and matches your daily life. Choose color by the nail plate, not by a racial stereotype.
Ask for a balanced shape, controlled product placement, and a safe removal plan.
For a natural look, try a sheer rose, mauve, taupe, cocoa, or deep neutral. For a dramatic look, choose crisp black, white, burgundy, cobalt, emerald, or a rich metallic finish. For the easiest first appointment, choose short almond, oval, or soft square nails and build length only after you know how the set feels.
The right acrylic manicure should complement your hands, support your natural nails, and make getting through your day easier, not demand constant repairs or constant compromises.
Amazon and the Amazon logo are trademarks of Amazon.com, Inc, or its affiliates.
Author


Similar Posts