Cruise-Ready Acrylic Nails: Tips for a Perfect Vacation Look
Acrylic nails can look polished at dinner, hold their shape through warm-weather ports, and avoid the damage that frequent polish changes can cause. But the best set isn’t necessarily the longest or most elaborate one. A good cruise manicure needs to suit your itinerary, your natural nails, and the limited repair options at sea.
The main decision is where to get them. Some cruise ships offer acrylic services in their onboard salons, while others provide only basic manicures or gel color. Availability can change by ship, sailing date, and salon schedule.
I recommend booking before you board, and arranging a pre-cruise backup, rather than waiting until you’re already aboard.
Can You Get Acrylic Nails on a Cruise?
Yes, but only if the salon on your specific ship offers them. Not every cruise line provides acrylic nails, and not every ship that does offers full sets, refills, sculpting, or removal.
If you want the service, confirm these four points before sailing:
- The salon offers acrylic nail service, not just gel, dip powder, or press-ons.
- The service is available on your exact ship and sailing date.
- You can reserve a time early enough to finish before formal dinners, excursions, or embarkation.
- The salon can remove or repair the nails if a problem develops.
My practical recommendation is to get a full set about 5, 10 days before departure. That gives you time to shorten, reshape, touch up, or replace a lifting section without rushing. A longer gap is smart if you need an old set removed first or are giving damaged nails time to recover.
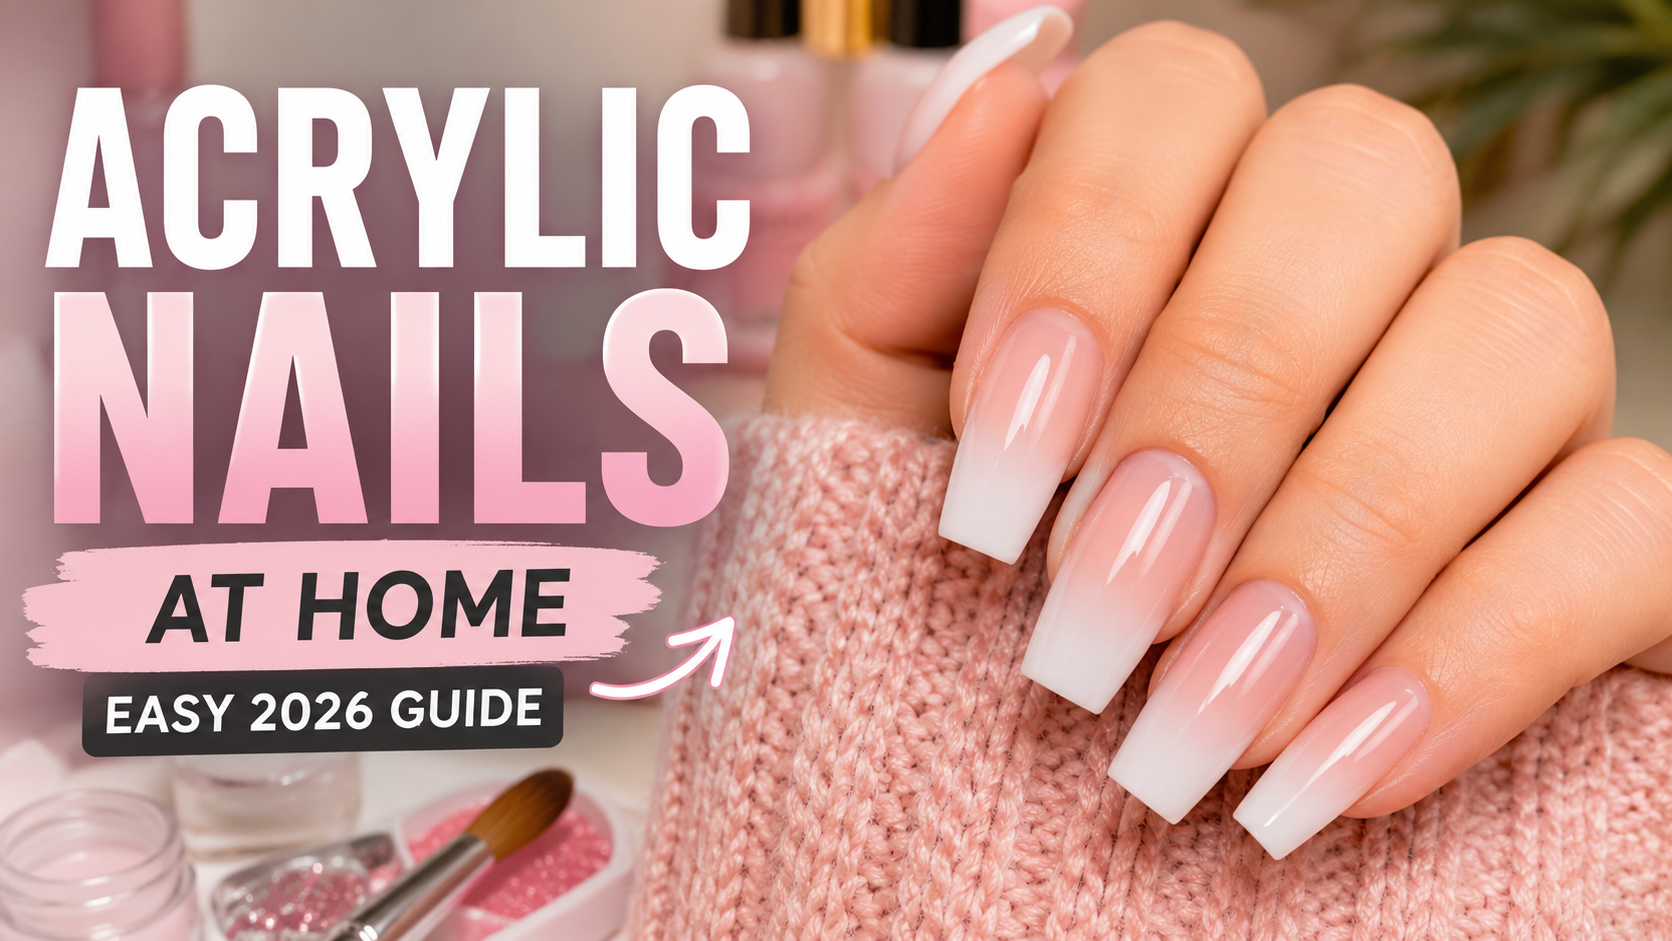
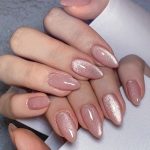
For the safest and most comfortable result, choose a short-to-medium length with a rounded, soft square, almond, or moderate coffin shape. A neutral, French-inspired, or glossy solid color will work with nearly every cruise wardrobe. Pack a small repair kit, and avoid planning the appointment for embarkation day.
Before the Cruise or Onboard?
Getting acrylic nails before the cruise usually offers more control. An onboard salon is convenient, but appointments may be limited, expensive compared with a local salon, or unavailable on the day you need them.
| Option | Best For | Main Advantages | Main Drawbacks |
|---|---|---|---|
| Local salon 5–10 days before sailing | Most travelers | More appointment choices, easier follow-up, time for a repair | Requires a land-based appointment before departure |
| At-home application several days before sailing | Experienced DIY users | Flexible timing and lower salon cost | Technique, product handling, and ventilation matter |
| Onboard salon with advance reservation | Confirmed availability | No need to schedule another appointment | Limited slots, ship-specific restrictions, fewer design choices |
| Onboard salon on short notice | Flexible travelers | Convenient if a slot opens | You may get the wrong length, limited color, or no repair |
| Salon during a port call | Cruise travelers needing flexibility | May offer a local price range or style choice | Appointments, local standards, and sailing delays can be unpredictable |
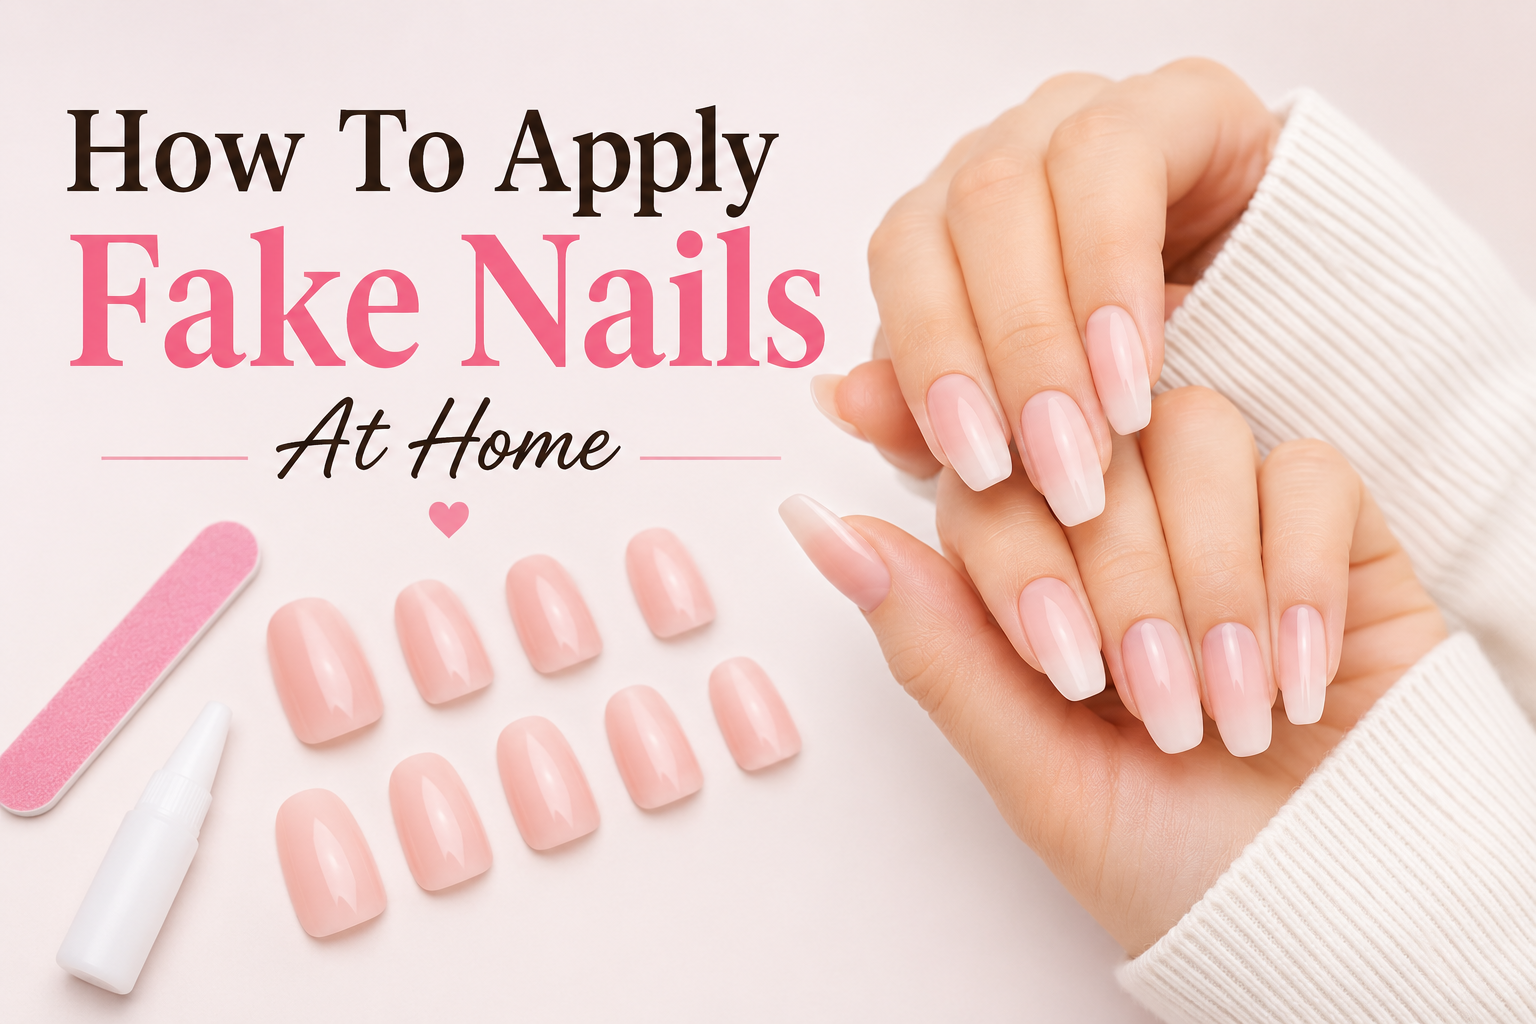
A local appointment is usually the stronger choice when the acrylic set is important to you. You can discuss the exact design, bring reference photos, and return to the same technician if something needs attention. The beginner at-home walkthrough can help you compare that option with professional service before sailing.
An onboard salon can still be a good choice. Cruise guests may be short on time, and the salon already knows the ship’s ventilation and operating setup. Book early, arrive on time, and keep the design simple.
If the ship’s salon cannot guarantee your preferred length or appointment, treat it as a bonus rather than the foundation of the trip.
How Far Ahead Should You Get Acrylic Nails?
When you already have a healthy full set
Get a refill while the existing acrylic is still secure. Don’t wait until large sections lift, because your nail plate may be exposed and the repair can take longer than a normal refill.
When an old set needs to come off
Schedule removal and a new set as separate appointments if your natural nails are weak. Don’t plan to remove a full set and apply another one immediately in a single rushed visit. The technician needs time to inspect the nail plate, address rough areas, and decide whether another full set is appropriate.
When your natural nails are short or damaged
Acrylic can add visible length without waiting for the natural nail to grow. It can’t safely correct a damaged nail plate, however. If the nails are extremely thin, split, peeling, sore, or bitten, wait until they are stable or ask a qualified healthcare professional for advice.
When you’re taking a long cruise
Plan around your itinerary rather than assuming the original set will remain perfect for the whole voyage. Strong sun, frequent swimming, cleaning, and constant use can shorten the life of a manicure. A second appointment near the later part of the voyage may be useful, especially if you have formal events.
Book it before the first event, not after you notice lifting.
When you’re sailing in warm weather or spending time at ports
Keep the length practical. Longer nails snag on tote handles, excursion latches, clothing, and seat backs. A low-profile design is easier to live with when you’re carrying luggage or moving between ships, buses, and beaches.
Know Which Acrylic Service You’re Booking
“Acrylic nails” can describe several different services. Ask for the exact type before the appointment.
| Service | What It Involves | Who It Suits |
|---|---|---|
| Full set with tips | Tips or forms create length, then acrylic is applied over the natural nail | Most people who want dependable length |
| Full set with forms | Acrylic is shaped on paper forms, then attached to the natural nail | Experienced technicians and guests who want customized shaping |
| Full overlay | Acrylic is added over the natural nail with little or no free-edge extension | Short or fragile nails that need coverage but not maximum length |
| Refill | New product is added to the growth area and any missing structure | Guests whose current set is healthy and still well attached |
| Repair | A lifted, cracked, or broken area is rebuilt | Small, recent problems that don’t involve infection or deep nail damage |
| Removal | Existing product is softened and removed carefully | Guests changing systems, changing length, or allowing natural nails to recover |
| Nail enhancement | A broad term that could describe tips, an overlay, or a sculpted set | Anyone who needs the technician to explain exactly what’s included |
Dip powder, gel nails, press-ons, and nail glue are different systems. Don’t book a dip appointment when you want an acrylic overlay, and don’t assume a product can be layered over a set of press-ons. A salon should be able to explain the material, removal process, and expected maintenance.
If you’re new to acrylic, a short overlay or a full set with modest length is a sensible first trial. A long sculpted set is more likely to require adjustments, especially if you haven’t had a technician map your nail shape and growth direction before.
Best Length and Shape for a Cruise
The most useful cruise manicure is one you can forget about. If you’re constantly protecting your hands, you’ve probably chosen too much length or an overly dramatic shape.
Length
| Length | Cruise Advantages | Possible Problems |
|---|---|---|
| Short | Comfortable, low-snag, good for formal and active itineraries | May show less of the color or design |
| Short-to-medium | Balanced for formal events, ports, and daily tasks | Needs a careful shape to avoid looking unfinished |
| Medium | Gives more visible color and creates an elegant appearance | More likely to catch on clothing or luggage |
| Long | Dramatic and noticeable in photos and at formal dinners | Snagging, pressure, splitting, and constant maintenance |
| Extra-long | Best reserved for a highly planned, dress-focused occasion | Not practical for ports, chores, or hands-on excursions |
If you spend time lifting suitcases, opening restaurant doors, using gym equipment, or caring for children, stay close to the fingertip. For a more refined look, choose a length that ends at or just beyond the natural fingertip. If you want dramatic nails for formal dinners, that can be fine, but bring a file and plan the active parts of the day around the length.
Nail-bed length and strength are also more important than the length of the extension. You can’t safely make a weak, very short nail carry a heavy extension simply because you want a dramatic shape. If you have short nail beds, an overlay with light length is often more comfortable than a long sculpted set.
For a shorter set, the safe shortening technique can help you keep the set practical, but shortening should be done with the right file and a light hand. A quick trim before a formal night is not the same as trying to reshape a thick, cured extension at the cabin desk. If a set is already lifting or the nail underneath feels thin, leave major reshaping to a technician.
Choose a Shape You Can Live With
A cruise manicure has to work in more places than a formal dining room. You’ll use your hands to open doors, carry a phone, handle a passport, pull a suitcase, prepare sunscreen, and steady yourself on a moving ship. The best shape is comfortable in all of those situations.
Round
Rounded nails are usually the least noticeable choice. They rarely catch on clothing, and they work well for anyone who spends time swimming, walking through ports, or attending informal excursions. A medium round shape can still look polished for dinner.
Soft square
A soft square gives a neat, groomed appearance without the sharp corners of a classic square shape. It works well for a traditional cruise manicure and suits medium-length nails. Keep the corners rounded and the free edge even.
Almond
Almond nails look elegant and lengthened without the same visual weight as a coffin set. They can work beautifully for formal dinners, but the tapered tip is more likely to catch on a shirt cuff or suitcase handle. Choose a slightly wider almond if you want a practical length.
Coffin or ballerina
A moderate coffin shape can make a strong style statement. It suits a dressy itinerary, but the straight sides and pointed end are less convenient for ports, beach excursions, and chores. If you choose this shape, bring a file and keep the length conservative.
Stiletto and other pointed shapes
Long stiletto or very narrow pointed nails are the least practical option for a cruise. They can snag, split, or press into the nail bed. They’re better suited to a special occasion where appearance matters more than handling luggage and spending a day at a port.
Match the shape to the nail bed
A long extension can look attractive on a long, strong nail bed, but the same length may pull on a short nail bed. Ask the technician to assess the natural nail before deciding on the final shape. The extension should follow the direction of the natural growth instead of forcing the nail upward.
If your natural nails are very short, bitten, uneven, or weak, an overlay with minimal length may be more comfortable than a sculpted extension. It can give you a polished appearance while leaving the nail plate with less leverage. No amount of thickness can safely replace a healthy natural nail.
Pick a Color and Design That Works All Day
A cruise gives you more reasons to experiment with color than an ordinary workweek. You may have one outfit for embarkation, several casual daytime looks, and multiple formal dinners. A versatile color lets you change your accessories without scheduling a new manicure.
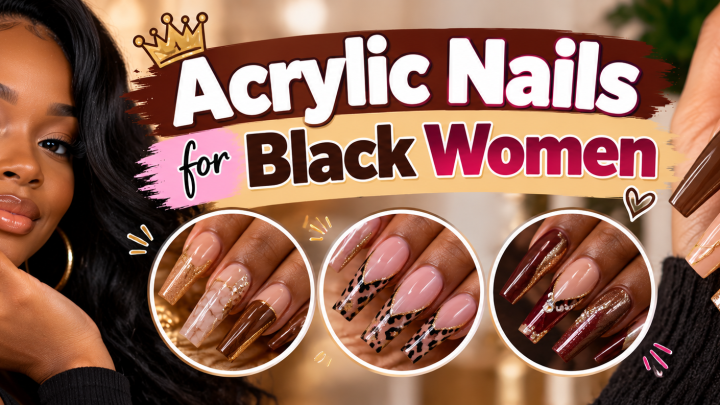
Neutral and classic colors
Sheer pink, milky white, soft beige, pale rose, and clear gloss are easy to wear with almost any clothing. They also make the nail look neat without drawing attention to the length. A neutral set is a good choice if you plan to wear metallic jewelry, white dresses, bold prints, or varied colors throughout the sailing.
French-inspired designs
A French manicure remains a popular choice because the pale tip can look clean and refined. For a cruise, a thin or softly curved French line may be more manageable than an extremely precise, high-contrast design. Ask the technician whether the tip color will be painted or formed with material; each method has a different appearance and maintenance routine.
Bright and seasonal colors
Coral, red, ocean blue, lavender, mint, sunflower yellow, and bold pink can make a simple outfit feel more intentional. Choose a shade you’ll enjoy when you’re carrying a beach bag, not just one that looks good in a photograph. A bright color also makes small chips and edge growth easier to notice, so a polish touch-up kit can be useful.
Dark and metallic shades
Navy, black, burgundy, deep green, silver, and gold work well for formal evenings. Metallics can make a modest length look more dimensional. Keep in mind that dark polish can make a small separation at the edge more noticeable, especially when the nail is wet.
A clean application and a thin topcoat help the finish last.
Nail art and embellishments
Small, flat details usually work better than bulky decorations on a cruise. A few thin lines, a simple accent nail, or a small metallic shape can look elegant without catching on clothes. Large rhinestones, raised 3D charms, and long dangling pieces are more likely to snag or come loose.
If you’re getting regular polish, a thin color coat and compatible topcoat are usually easier to refresh than a heavy sculpted design. If you want a gel finish, ask the salon to explain how it will be applied over the acrylic and how removal will work. Product systems differ, so don’t assume every gel or topcoat is compatible with every acrylic set.
Choose two or three reference photos rather than relying on a vague request such as “make them elegant.” Show the technician the exact length, tip shape, color depth, and amount of decoration you want. A clear reference is especially useful when you are visiting an onboard salon that you haven’t used before.
Prepare Your Nails Before the Appointment
A good appointment starts before the technician opens the product. Proper preparation can improve adhesion and make the final set more comfortable.
Remove old polish and product
If you have polish on your natural nails, remove it before the appointment. Oil-based products, lotion, and cuticle balm can remain on the nail plate even after washing, and residue can interfere with adhesion. Wash and dry your hands, but avoid applying heavy moisturizer immediately before the service.
If you have an old acrylic, gel, or dip set, don’t try to peel or pry it off at home. Removal can take more product with it than the original application did. If the old set is lifting, bring that fact to the appointment.
A technician may need to remove only part of it, reinforce a healthy section, or allow the natural nail to recover before applying a new full set.
Leave cuticle work to a professional
Don’t cut your cuticles or push them deeply back immediately before the appointment. Irritated skin can make the experience uncomfortable and may complicate the service. A light trim of rough cuticle edges is different from aggressive cutting or deep pushing, but it’s still best handled by someone trained for the procedure.
Avoid rough natural-nail prep
You do not need to buff the natural nail until it is thin. Excessive filing can remove protective layers and make the nail more vulnerable. If your nails are unusually ridged, peeling, or rough, let the technician decide whether an overlay is appropriate.
A full extension may not solve the underlying problem.
Bring reference images
A small set of references can prevent misunderstandings. Include:
- The approximate length you want
- A front view of the shape
- A side view of the profile
- The color or design
- Whether you want subtle or dramatic details
- Examples of both your preferred and least-preferred options
If your natural nails are unusual in shape, show the technician examples of sets that suit your nail bed. A photo of very long nails on someone else may not translate safely to your own nail structure.
Plan the timing around your itinerary
Don’t schedule a full set immediately before boarding if you can avoid it. Embarkation day can be busy, and luggage, security procedures, and an uncertain schedule leave little room for a last-minute repair. A set applied several days before departure also gives you time to identify any lifting or discomfort before the cruise begins.
If you want a dramatic change for the first formal night, schedule the appointment earlier in the voyage and keep the first few days for settling and maintenance. That also leaves time to visit the salon if the shape or color needs adjustment.
What to Bring on the Cruise
A compact manicure kit can handle small cosmetic problems without turning every chip into an emergency.
A nail file
A clean, medium-grit file can smooth a rough edge or shorten a snagging extension slightly. File in one direction and avoid sawing back and forth. Don’t try to cut through the full thickness of acrylic with ordinary household scissors.
Protective gloves
Cotton-lined or well-fitting gloves help protect the set while cleaning the cabin, handling food, washing dishes, or doing other wet work. Choose gloves that fit properly. Forcing long nails into a tight glove can stress the nail and may damage the extension.
Cuticle oil and hand cream
Cuticle oil can make the skin around the nail feel more comfortable, especially in cool or dry indoor air. It doesn’t repair the acrylic itself, so apply it mainly to the surrounding skin and wipe away any oil that could collect at the edge. A hand cream with a fragrance you already tolerate is usually easier to use than several new products at once.
A compatible polish for touch-ups
If you want to refresh chips before a formal dinner, carry a small bottle of the same or a compatible color. Check the cruise line’s current rules before packing liquids or removers. Don’t assume an item that’s allowed in a carry-on at home is allowed in your cabin.
Allow regular polish to dry fully before putting hands into gloves or bags. A quick-drying routine can help with a topcoat, but rushing an acrylic repair or removing a lifting section is never a good idea.
A spare outfit or hair tie
Long nails can make rings, watches, bracelets, and certain clothing fasteners difficult to manage. A spare hair tie, soft gloves, or an easy-on jacket can be more useful than another manicure product. Keep nails from catching on the drawstrings and toggles of formal clothing.
Avoid packing household superglue as a “quick fix.” Cyanoacrylate products can stick to skin, irritate the nail area, and make professional removal harder. If adhesive gets on the skin, follow a careful skin-safe glue removal approach rather than pulling aggressively.
Booking an Onboard Salon
An onboard appointment is convenient, but availability is the main constraint. A ship may have one main salon, limited technicians, and a full book during formal-night preparations. The earlier you contact or reserve, the better your chance of getting the service and length you want.
Confirm the exact service
Ask:
- Do you offer full-set acrylic nails?
- Do you provide overlays and refills?
- Can you apply extensions over a short natural nail?
- Do you remove old product?
- Can you repair a lifting or broken set?
- How long does the appointment take?
- Is there a separate fee for removal or repair?
- Are appointments refundable if the ship’s schedule changes?
A salon that offers gel manicures, dip powder, or press-ons may not offer traditional acrylic nails. Don’t rely on the word “nails” alone when booking.
Choose a time away from the busiest days
Embarkation day, the day after a port-heavy itinerary, and the evening before a formal dinner are often poor choices for a full set. If the salon has limited availability, a midweek appointment may be easier to secure. A short appointment earlier in the voyage can also give the technician time to see how your nails respond.
Ask about hygiene and ventilation
A proper salon should have a clean workstation and a sensible approach to implements and ventilation. Many acrylic liquids and related products can produce a noticeable odor, so a properly ventilated area matters. Ask what the salon uses for its products and how it handles cleanup.
You can also ask whether the technician is comfortable working on your nail length or nail shape. A salon that discourages an unsafe length is doing you a favor.
Treat the onboard salon as a backup
If the ship’s salon doesn’t offer acrylics, don’t assume you’ll find a suitable appointment at the next port. Port availability, local booking systems, language, payment methods, hygiene practices, and sailing schedules can all create uncertainty. A pre-cruise appointment gives you more control.
If you do choose a port salon, book it only after confirming the return time and allowing a generous buffer. A full acrylic appointment can take longer than a quick polish change, and a delayed shore excursion or changed port schedule can leave you with no time for a repair.
Should You Apply Acrylic Nails at Home?
An experienced DIY application can be useful if you want to save money or control the timing. It’s not a good last-minute project before a cruise. The first few mistakes often involve application timing, product consistency, filing, and lifting at the cuticle.
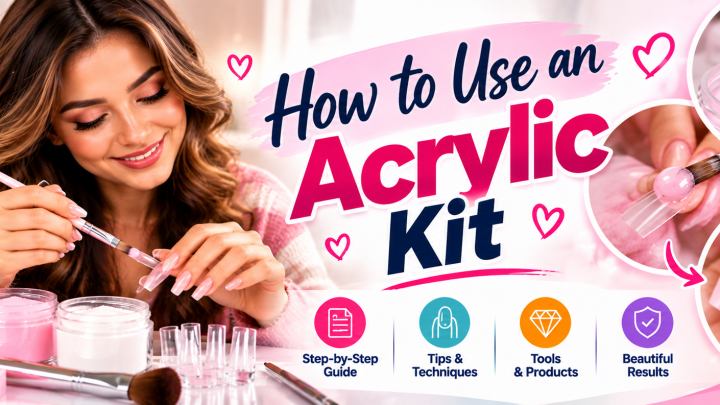
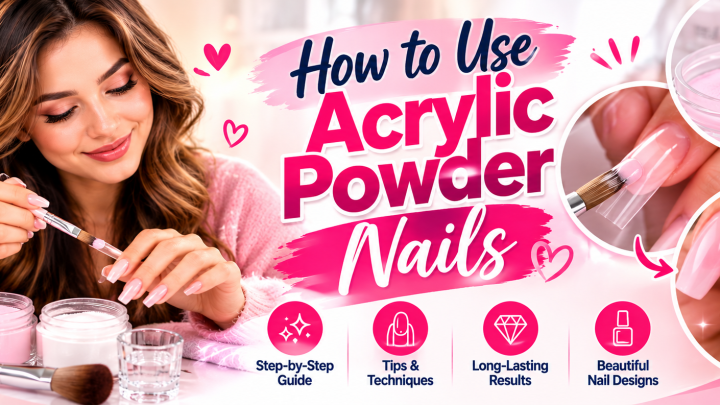
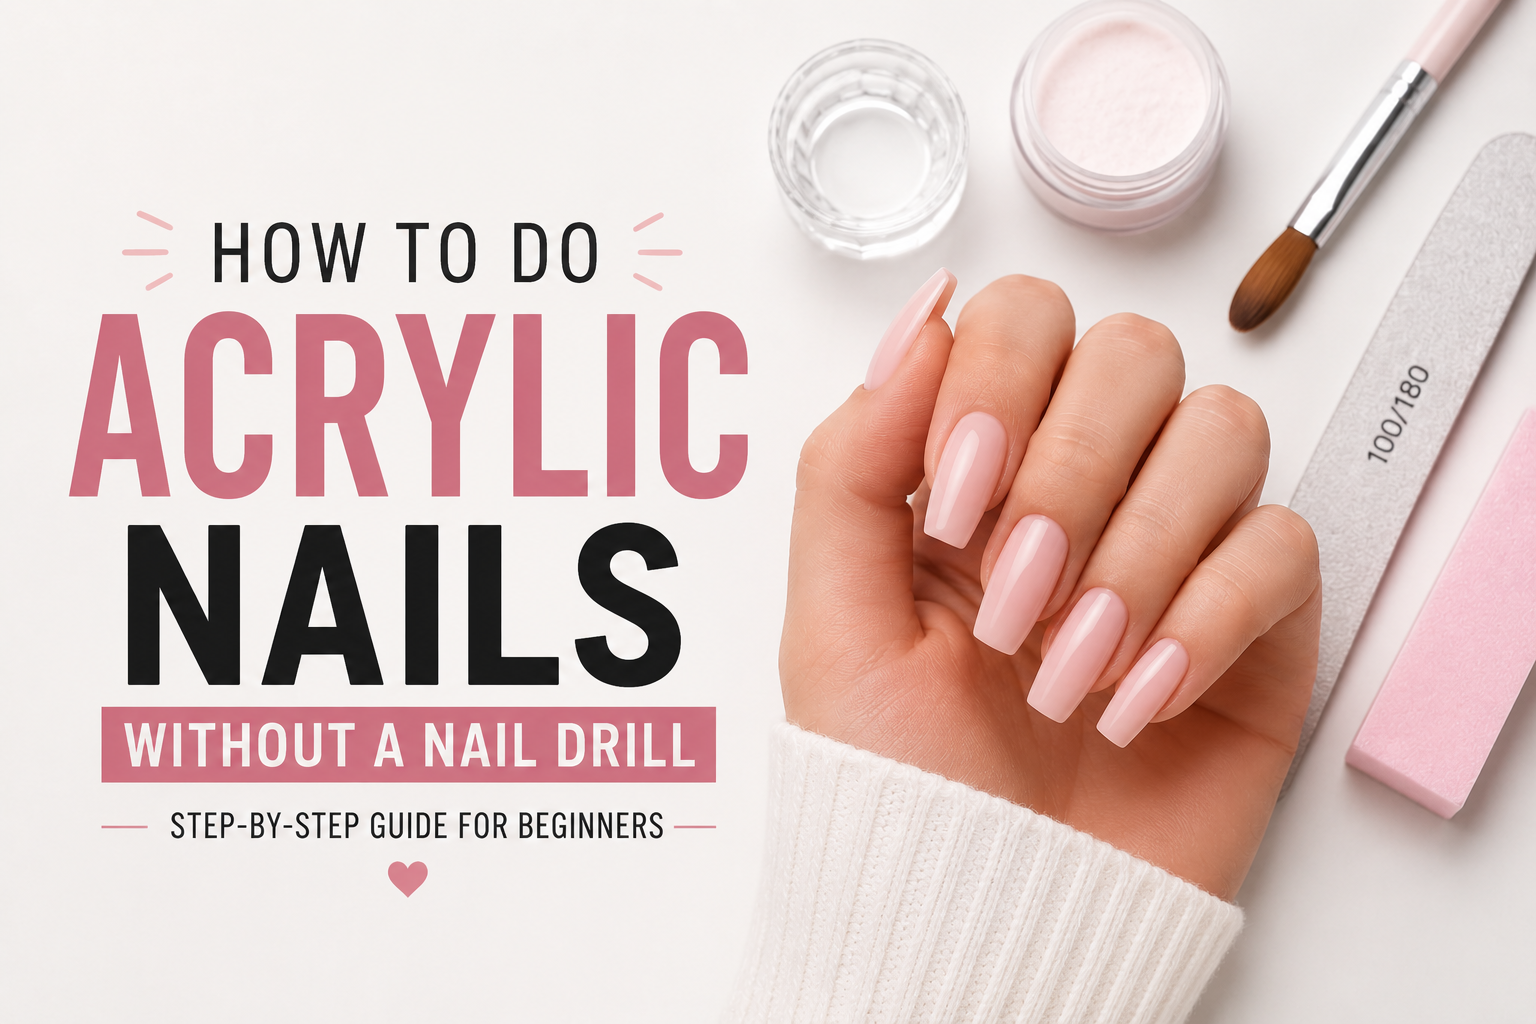
If you already know the system, work in a ventilated space, follow the product instructions, and allow enough time for the set to harden and settle. If you’re using an electric file, choose the right grit and light pressure. The drill-free acrylic application guide can help you understand a gentler filing approach, but avoiding the drill doesn’t justify aggressive hand filing.
Don’t test irritating products directly on skin. A reaction to uncured monomer or adhesive can leave you uncomfortable for the entire cruise, and a “patch test” at home isn’t a reliable substitute for medical evaluation. If you’re not confident in the application, a local salon appointment is safer than gambling on a full set the night before sailing.
Avoid applying acrylic over a nail that has an open wound, active infection, severe splitting, or unexplained pain. An enhancement can add leverage and make the problem worse. Let the nail or skin recover, and seek medical advice when the symptoms are significant.
How to Care for Acrylic Nails During a Cruise
Good maintenance is simple, but consistency matters more than a complicated product routine.
Wash and dry carefully
Wash your hands with lukewarm water and mild soap, paying attention to the area around the cuticles and underneath the free edges. Dry thoroughly, especially after washing your face, showering, or handling food. Moisture trapped beneath a lifting edge can worsen irritation and encourage a technician visit.
Use gloves for wet work
Gloves are useful for cleaning, laundry, dishwashing, cooking, and any task involving prolonged water or cleaning products. Dry your hands before putting the gloves on, and take them off as soon as practical. A pair of thin cotton gloves under protective gloves can reduce irritation.
Avoid cutting or tearing at the edge
Don’t bite, pick, or tear at a small chip. Those habits can turn a cosmetic issue into a split. If the free edge catches on clothing, use a clean file to smooth it.
If the whole extension is moving, leave it alone until a professional can assess the attachment.
Moisturize the surrounding skin
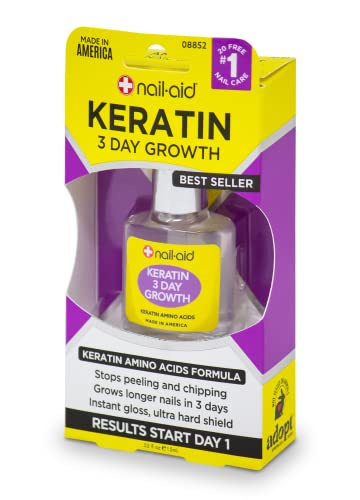
Apply hand cream and cuticle oil to dry cuticles, then wipe away excess oil from the nail plate. This is especially helpful if you spend several hours in cool, air-conditioned rooms or move between warm ports and chilly weather. If your natural nails are weak, a gentle strengthening routine can support them between salon visits, but it won’t replace an acrylic repair.
Touch up polish instead of stripping everything
When regular polish chips, remove only the loose material and apply a thin fresh coat where needed. Avoid repeatedly removing the whole manicure if a small area can be fixed. For a gel or specialty finish, ask the original salon what removal method is safest.
If the acrylic itself is intact, polish maintenance is usually straightforward. Don’t soak the nails for long periods just to make the surface look new. Repeated soaking can leave the surrounding skin and cuticles dry.
Inspect before a formal event
Check the set after swimming, before applying gloves, and before a dinner or show. Look for lifting, a growing gap, a crack, or a sharp edge. A small polish chip can wait until you have a free moment.
A lifting section should be evaluated sooner.
Swimming, Salt Water, Chlorine, and Sun
Acrylic nails can handle an ordinary vacation, but they aren’t maintenance-free. A cruise may include a pool, a hot tub, a beach, a water slide, a kayaking excursion, or several days of outdoor walking. The finish may dull or a polish color may wear faster, even when the acrylic structure remains sound.
Rinse after every swim
After pool or ocean swimming, rinse your hands and nails with fresh water and dry them gently. Pay attention to the underside of the free edge and the sidewalls. Don’t scrub the acrylic with a stiff brush or use a rough file to remove sand.
A soft towel and mild soap are enough.
Be cautious around spa water
Warm pools and hot tubs can make polish and skin feel softer. Rinse afterward and avoid using the set as a reason to leave it in the water longer. The structure may be fine, but the polish can wear unevenly and the skin around the nails may become dry.
Protect the finish during excursions
For kayaking, paddleboarding, hiking, or beach activities, keep sand and grit from collecting under the nails. Don’t use the nails as tools to pry open shells, scrape dirt, or lift heavy objects. A small snag can become a larger crack if the extension catches on fabric or equipment.
If you wear sunscreen on your hands, apply it carefully and allow it to dry before putting on gloves. Sunscreen is not a substitute for nail protection, and no cosmetic product should be presented as making acrylic nails sunproof. Reapply sunscreen as directed and keep the set from making it difficult to spread the product evenly.
Watch for staining and harsh chemicals
Hair color, henna, strong cleaning products, and some spa chemicals can mark polish or the surface of an extension. Wear gloves where practical and wipe residue from the nail promptly. Don’t use acetone, paint thinner, or household solvents to clean a discolored set.
They can damage the finish and irritate the skin.
Safety: Product, Skin, and Nail-Plate Protection
A good manicure should feel better at the end of the appointment than at the beginning. If you notice burning, itching, redness, swelling, blistering, or pain that continues after the product is removed, stop using the set and seek medical advice.
Many acrylic systems combine a powder with a liquid material, but formulations differ. The liquid and other nail adhesives can cause irritant or allergic reactions in some people. A previous successful application doesn’t guarantee that a future one will be reaction-free, especially if the brand or product system has changed.
Product ingredients and safety information can also differ by brand and country; the FDA’s nail-product information is a useful place to check general information, though it can’t diagnose an individual reaction.
Tell the technician about allergies
Before the appointment, mention any known allergy to acrylates, adhesives, metals, fragrances, or cosmetic ingredients. Don’t hide a reaction because you’re on vacation. The technician can then decide whether the requested system is appropriate and whether an alternative is safer.
If a product touches bare skin, rinse the area promptly and remove contaminated clothing or jewelry if needed. Don’t try to neutralize a nail product with another household chemical. Neutralizing can create additional heat or irritation.
Keep products away from flame
Some monomers, solvents, and adhesives are flammable. Don’t use them near cigarettes, candles, flames, sparks, or other heat sources. This matters in a small cabin as much as it does in a salon.
Store products in their original containers and keep them sealed when not in use.
Ask about clean implements and ventilation
A reputable salon should use a clean workstation and handle implements in a way that reduces the chance of cross-contamination. You can ask how tools are cleaned and whether the area is ventilated. You don’t need to interrogate the technician, but you should feel comfortable with the setup before the product is applied.
Don’t use household glue on the nail
Super glue and other cyanoacrylate products aren’t designed for cosmetic nail repair. They can bond to skin, create painful traction when the nail flexes, and make later removal more difficult. If acrylic is already lifting, gluing the edge down may trap moisture or increase stress on the natural nail.
Protect the natural nail plate
The main nail plate should be protected from excessive filing, drilling, pressure, and repeated trauma. Acrylic adds structure, but it can’t make a weak nail invulnerable. Keep the set at a comfortable length, avoid using it as a tool, and give the natural nail a break when the extension is removed if it feels thin or sore.
If you have diabetes, poor circulation, a healing injury, or another condition that affects nail or wound care, ask your healthcare professional before getting elective enhancements. A salon technician can assess the nail, but a clinician is better placed to advise on a condition that affects healing.
Know when a medical issue may be involved
A lifting nail is usually a maintenance problem. Increasing pain, spreading redness, warmth, swelling, pus, a bad odor, rapid discoloration, or a fever can point to a problem that needs medical attention. Don’t assume every nail issue is caused by acrylic.
If symptoms are severe or progressing, contact the ship’s medical center or arrange prompt medical evaluation. A medical visit may be more useful than another salon appointment.
Special Situations to Discuss Before the Appointment
If you bite or pick your nails
A nail biter may be able to wear acrylic, but the technician should know about the habit. A short, rounded set or a light overlay can be easier to live with than a long sculpted extension. Keep the nails trimmed as they grow and avoid creating a long free edge that your teeth can catch.
If your nails are very short
Very short nails are not a problem if the nail plate is healthy. A full set or overlay can create visible length without waiting several months for natural growth. The technician should still choose a length that suits your nail bed and lifestyle.
A short extension that looks elegant is safer than a long one that causes immediate discomfort.
If your nails peel or split
Peeling or splitting nails can come from many causes, including dryness, trauma, product damage, or a health issue. Don’t assume a thick acrylic overlay will solve it. Have the nails assessed and avoid building excessive product over a weak area.
If the peeling is severe, painful, or changing quickly, pause the enhancement.
If you recently wore gel or extensions
Tell the technician about the previous system and how it was removed. A nail that has been under gel or another enhancement may have a different surface and strength profile. Don’t aggressively scrape or peel the old product yourself.
If you’re planning to strengthen natural nails after removal, a post-acrylic strengthening plan can help you prepare for a future appointment without rushing it.
If you have an upcoming wedding or special event
Avoid a major new set on the event day. You want the design to be right before the photographs, not after the event starts. Get the set several days ahead, wear it for a short time, and confirm that the length feels comfortable.
If you’re planning another manicure mid-cruise, book it before the event rather than relying on a walk-in.
If you want very long nails
A dramatic length can be fun for a dress-focused cruise, but it changes the way you handle every object. Test a medium length first if this is your first long set. You can always add a little length at a later appointment, while repairing a split or damaged nail bed takes much more time.
A Practical Cruise Manicure Checklist
Use this list when you’re deciding whether your planned set is actually cruise-ready.
Two to four weeks before sailing
- Decide whether you need a refill, repair, removal, or a new full set.
- Check whether the ship’s salon offers traditional acrylic nails.
- Book a local appointment if onboard availability is uncertain.
- Photograph your current nails if they are damaged, lifting, or unusually weak.
- Stop picking or biting at a lifting edge.
- Review the current cruise-line rules for products you might pack.
Several days before the appointment
- Remove old polish and clean oils from the nail plate.
- Gather references for length, shape, and color.
- Choose a design that suits formal dinners and daytime ports.
- Allow enough time for a correction before departure.
- Ask about removal, repair, and aftercare if you’re booking locally.
Before boarding
- Inspect every nail for lifting, cracks, or sharp edges.
- Keep the set at a length that doesn’t interfere with luggage or clothing.
- Pack a file, gloves, hand cream, and any permitted touch-up product.
- Confirm the onboard salon’s hours and reservation details.
- Don’t schedule a full application during embarkation if you can avoid it.
During the cruise
- Rinse and dry your nails after swimming.
- Wear gloves for wet and cleaning tasks.
- Avoid using long nails as tools.
- Touch up polish rather than picking at the set.
- Schedule repairs early rather than waiting for a formal night.
- Give sore, swollen, or visibly damaged nails professional attention.
What to Do When Acrylic Nails Break at Sea
A small cosmetic problem doesn’t always require a major repair. The right response depends on whether the acrylic is still attached, whether the natural nail is damaged, and whether the ship’s salon can help.
| Problem | What to do first | When to see a technician or clinician |
|---|---|---|
| Small polish chip | Keep the acrylic dry and cover the chip when convenient | If the acrylic under the polish is also chipped |
| Rough or sharp edge | Smooth it gently with a clean file | If the entire extension is moving or splitting |
| Small lift at the side or cuticle | Keep water and chemicals away from the gap; don’t glue it down | If the lift is widening, painful, or exposing the natural nail |
| Crack in the acrylic | Stop putting pressure on it and avoid further filing | If the crack reaches the stress area or separates the tip |
| Broken free edge | Protect the nail from snagging and keep the area clean | If the break is large, jagged, or close to the natural nail |
| Prolonged burning or swelling | Remove the product if safe and stop using the set | Seek prompt medical advice, especially if symptoms spread |
| Nail bed pain after a set removal | Leave the area free of pressure and avoid further enhancement | A clinician should assess severe or persistent pain |
Don’t use a knife, saw, or household scissors to cut the set. Don’t soak the nail and then force the extension off. If a repair is needed, the safest route is usually to let a qualified salon remove the product cleanly.
How to Extend the Life of Your Set
You can make acrylics last longer by reducing the kinds of stress that cause lifting and cracking. The goal isn’t to keep your hands perfectly still. It’s to avoid obvious damage.
Use the nails as gently as practical
Avoid prying open packages, scraping food off plates with a nail, and picking at tape or labels. Carry a small tool or ask for help when a task is likely to catch. At a formal dinner, don’t force long nails into a glove or a narrow sleeve.
Keep moisture out of lifting areas
If you notice a small gap, dry the nail thoroughly and don’t repeatedly run water over it. A protective glove can reduce further contamination. Don’t cover a lifting nail with a thick layer of glue.
That can make the visible problem look worse and make a professional repair more involved.
Keep the cuticles comfortable
Daily hand care helps you notice small changes early. Apply product around the cuticle, not heavily on the nail plate. If you have very dry skin, use a moisturizer you’ve tolerated before.
A new fragrance or harsh product can create irritation that has nothing to do with the acrylic itself.
Choose a color you can refresh
A solid or lightly detailed design is often easier to maintain than a set with multiple contrasting layers. If you plan several formal dinners, a classic color may also be more versatile. For a chip-prone holiday schedule, a good long-wear polish option can be useful, though the acrylic and polish systems still need to be compatible.
Plan maintenance before the damage happens
If your set is usually worn for several weeks, inspect it as the trip progresses. A small gap can be repaired before it becomes a large loss. On a long cruise, you might schedule a refill near the end so the nails look fresh for the last formal evening.
Don’t book a maintenance appointment for the same time as a shore excursion or an important event.
Common Questions About Acrylic Nails for a Cruise
Can I get acrylic nails on a cruise?
You can if the salon on your specific ship offers traditional acrylic services. Confirm that it provides full sets or overlays, not just gel, dip powder, or press-ons. Book in advance, and have a local appointment as a backup if the onboard salon can’t guarantee your preferred service.
How far in advance should I get acrylic nails before cruising?
For most people, 5, 10 days is a good range. That gives the set time to settle and leaves room for a short repair or adjustment. If an old set needs removal, your natural nails need recovery, or you want a major change, schedule more time.
A last-minute appointment is best reserved for a simple refresh.
Are long acrylic nails good for a cruise?
They can be, but they’re less practical. Short or medium lengths are easier to use with luggage, excursions, restaurants, and formal clothing. Choose a dramatic length only if appearance is the priority and you’re comfortable protecting the nails throughout the day.
Can I swim with acrylic nails?
You can wear them in a pool or ocean, but rinse and dry them afterward. Salt, chlorine, sand, sunscreen, and warm water can make the polish look worn and can irritate the skin around the nails. Don’t use swimming as a reason to leave a lifting edge wet or to test a repair.
What should I do if the ship’s salon doesn’t offer acrylics?
Get the service at a reputable local salon before departure. That gives you more control over timing, design, and repairs. If you’re already aboard, ask whether the salon can refer you to a suitable service, but don’t rely on a port appointment if you need the nails for a formal night soon.
Can I change my nail length during the cruise?
Possibly, but only if the ship’s salon offers reshaping and has an available appointment. Don’t try to cut through a thick acrylic set at home. A technician can trim the extension and rebalance the shape without putting unnecessary stress on the natural nail.
How should I prepare for an acrylic appointment?
Remove old polish, keep the nail plate free of lotion and oil, and avoid cutting or deeply pushing the cuticles. Bring references for the length and shape you want. If your nails are weak, damaged, sore, or infected, explain that before booking a full extension.
Are acrylic nails safe for weak or damaged natural nails?
Acrylic can add length, but it can’t make a damaged nail plate healthy. Weak or very short nails may be better served by a light overlay and a low-profile shape. If the nails are split, peeling, swollen, infected, or persistently painful, have them assessed before adding a new set.
What if my nails break during the voyage?
Keep the area clean, protect it from snagging, and stop putting pressure on it. Don’t use superglue on the nail or try to pull off the remaining acrylic. Contact the onboard salon or medical center if the break is large, painful, or shows signs of infection.
The best acrylic nails for a cruise are the ones you’ll still enjoy at the last formal dinner. A moderate length, comfortable shape, and durable finish are usually more valuable than the most dramatic design. Book the service before you board, choose something you can use at ports, and carry a few simple maintenance tools.
If your set is planned, protected, and repaired promptly, it can be a polished part of the voyage rather than a distraction.
Amazon and the Amazon logo are trademarks of Amazon.com, Inc, or its affiliates.
Author


Similar Posts