How to Clip Toe Nails Safely: Step-by-Step Guide
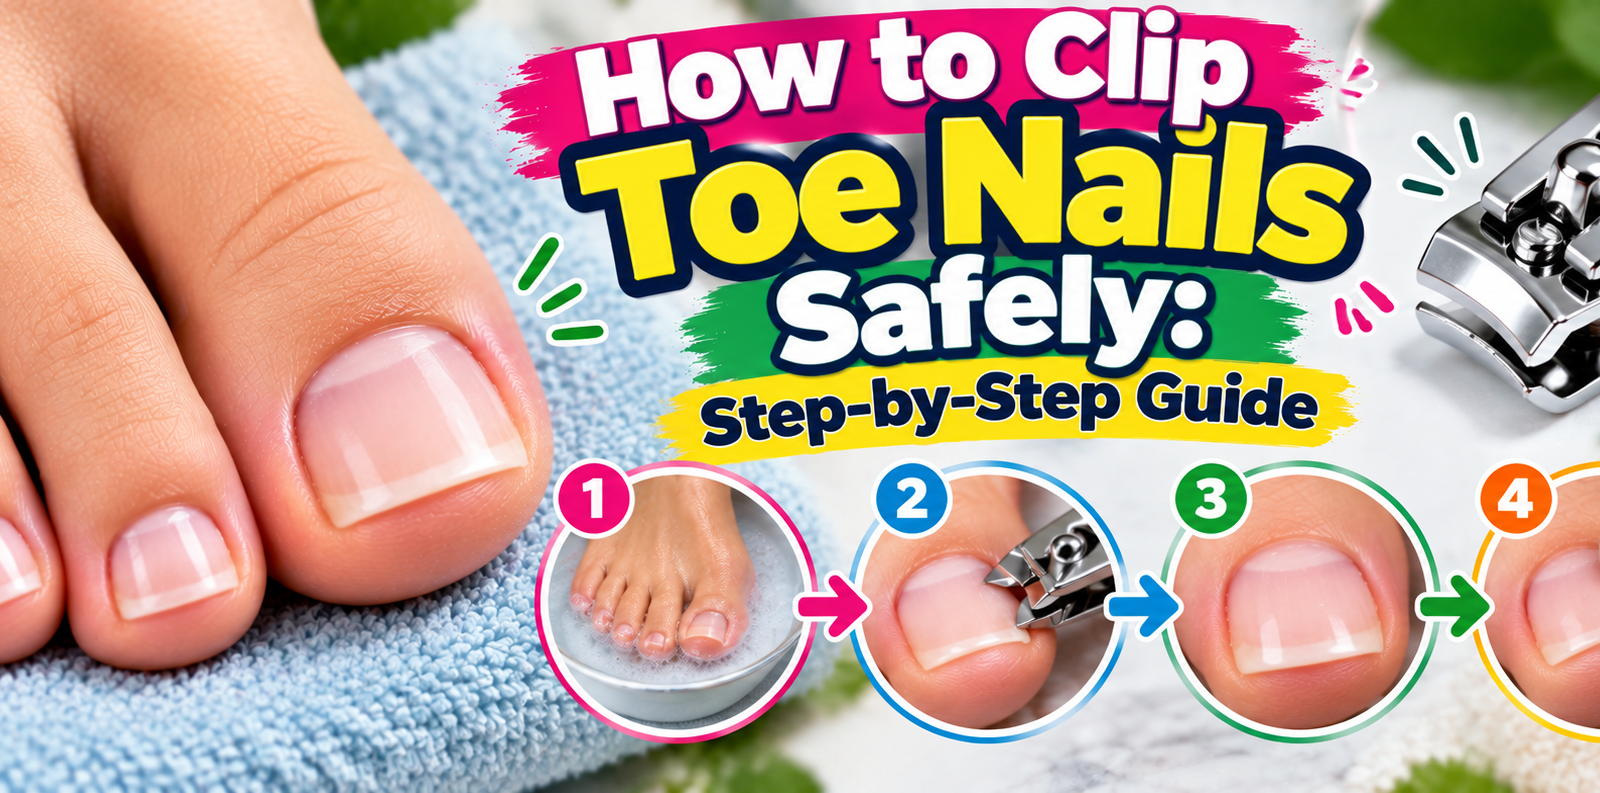
Learning how to use a nail clipper on toes sounds simple until you realize one bad angle or one extra millimeter of trim can set off an ingrown toenail that aches for weeks. Most people grab whatever's in the medicine cabinet, eyeball the cut, and wonder why their big toe keeps swelling. The difference between a clean trim and a painful complication comes down to preparation, tool choice, and the exact line you cut along.
Manufacturer specs confirm that a standard adult toenail clipper carries a blade around 25 to 35 millimeters, built to slice through the dense keratin plate in one clean motion without crushing or splitting it. Get that tool right and hold it at the correct angle, and you drop your odds of triggering an ingrown nail sharply. That precision is where most home trims fall apart, which is why the details below matter more than they first seem.
Quick Answer
Soak your feet for ten minutes before you clip. Hold the clipper flat against the nail surface. Cut straight across, not rounded.
File any rough spots with an emery board. Wipe the blades with isopropyl alcohol when finished.
Why Accuracy in Toenail Trimming Matters
Here's the thing nobody warns you about when you were learning at grandma's kitchen table: toenails don't behave like fingernails. They grow slower, curve differently, and sit closer to the surrounding skin. A cut that feels fine on your thumb can dig into the lateral nail fold on your big toe within two weeks.
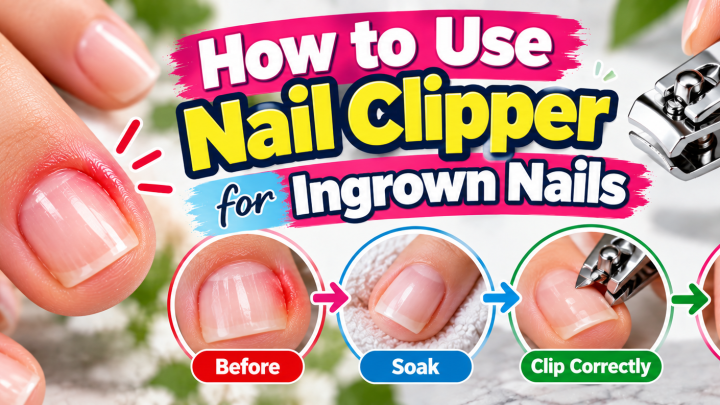
That's when the skin swells, the nail edge starts pulling inward, and you're dealing with onychocryptosis, the medical term for an ingrown toenail.
The American Podiatric Medical Association (APMA) identifies improper trimming as a leading preventable cause of ingrown toenails in otherwise healthy adults. Their patient guidance recommends cutting the nail straight across and keeping the edge roughly level with the tip of the toe. Do that consistently, and you eliminate the sharp corner that pokes into flesh.
Miss that line a few times, though, and the cycle gets worse. The swollen fold pushes the nail deeper, inflammation builds, and a small nick can turn into a bacterial infection with drainage and throbbing pain. In severe cases, the tissue fuses to the nail edge and requires a minor surgical procedure to separate.
As of 2026, podiatry offices still report that a large share of new-patient visits involve some form of nail-related trauma that started at a bathroom counter.
This is why "just clip it shorter" isn't the goal. The goal is a clean, straight line at the right depth, using a sharp tool, on a softened nail. Everything else is just risk you didn't need to take.
Understanding Toenail Anatomy and Growth Patterns
You don't need a medical degree to understand your own toenails, but knowing where things actually sit changes how you cut. Here's what's happening under that hard plate:
- Nail matrix. Lives just behind the cuticle at the base of the toe. It's where new keratin cells are produced. You never cut near it; it's hidden under the proximal nail fold.
- Nail plate. The visible hard part. It's made of overlapping keratin layers, and on toenails it tends to be thicker and more curved than on fingers.
- Nail bed. The soft tissue underneath the plate. If you crush or split the plate downward, you bruise this area and feel a dull ache for days.
- Hyponychium. The thin seal under the free edge of the nail. It stops bacteria and water from sliding under the plate. Cut too low and you breach this seal.
- Lateral nail folds. The skin on either side of the nail. This is where an ingrown toenail actually starts. The fold presses the nail edge inward.
Growth rate matters for timing. Fingernails grow roughly three millimeters a month. Toenails lag behind at about 1.6 millimeters per month.
That means you only need to trim every three to four weeks under normal conditions. More frequent clipping doesn't keep them shorter; it just gives you more chances to nick a fold.
With age, the plate thickens and loses its smooth curve. Older adults often develop onychogryphosis, where the nail spirals downward around the toe. At that stage, a standard clipper can't make a clean cut anymore.
The nail splits, shreds, or the lever cracks the blade. That's a signal to switch tools or hand the job to a professional.
How Curvature Changes Your Cutting Angle
On a young, healthy toe the plate is relatively flat across the width. You can hold the clipper straight overhead and push down. On an older toe or one that's curled slightly, the front edge lifts away from the pad.
If you still hold the clipper vertical, you're forcing the blade to bite at an angle it wasn't designed for. The result is a jagged, uneven edge that snags on socks and pulls the fold inward. Adjust your grip so the blade meets the plate at a gentle 90-degree angle to the surface, even if that means tilting your wrist a few degrees.
Risk Factors That Change the Rules: Who Should Avoid Self-Trimming
Most healthy adults can safely trim their own toenails at home. A smaller group really should not. Knowing which camp you're in saves you from a preventable hospital visit.
Diabetes and peripheral neuropathy. The CDC's diabetes self-management resources stress that reduced sensation in the feet means you won't feel a nick forming. A small wound that you'd notice instantly on a healthy toe can sit undetected for days under a diabetic patient's foot, turning into an ulcer that's slow to heal and high-risk for serious infection. If you have type 1 or type 2 diabetes, or if a physician has flagged peripheral nerve damage, the safe move is to have a podiatrist or trained nurse do the trimming.
Peripheral vascular disease. Poor blood flow to the feet slows healing dramatically. Even a clean cut that wouldn't bother you takes longer to close, and the edges can dry out and crack in ways that invite bacteria in.
Immunosuppression. Patients on chemotherapy, organ-transplant medications, or long-term steroids have a blunted immune response. What would be a tiny redness bump on you becomes a spreading infection faster.
Active fungal infection or psoriatic nail changes. Thick, discolored, crumbling plates resist standard clippers. Forcing through them risks splitting the plate and exposing the vulnerable bed beneath.
If any of those apply to you, skip the bathroom drawer. Book an appointment with a podiatrist. Per APMA referral guidance, anyone with diabetes, circulation issues, or recurring nail complications should have professional foot care at least once or twice a year, with home trimming limited to what your provider specifically clears.
For everyone else, the rest of this article is your playbook. Read through, watch for the mistakes section, and you'll stay well clear of the trouble zone.
Choosing the Right Clippers: Tools, Types, and What Fits Your Nails
Not all nail clippers are built for toes. A tiny fingernail clipper will split a toenail plate mid-cut, leaving a ragged edge that catches on shoe seams. Conversely, a heavy-duty guillotine clatter meant for thick bovine hooves is overkill and hard to control on a small human toe.
You want something in between: a dedicated toenail clipper with a blade width matched to your plate.
Here's how the main options stack up:
| Type | Best For | Pros | Watch Outs |
|---|---|---|---|
| Guillotine (lever-action) | Routine trimming of healthy, average-thick nails | One clean press, minimal hand strength needed | Can "grab" a curved nail and snap it sideways |
| Scissor-style | Thinner plates, precision on smaller toes | More control, less force per stroke | Requires a steadier grip; tiring in arthritis |
| Plier-style (podiatric) | Thick or slightly curved plates | Biting edges hug the nail, reduced splintering | Larger tool, harder to store; pricier |
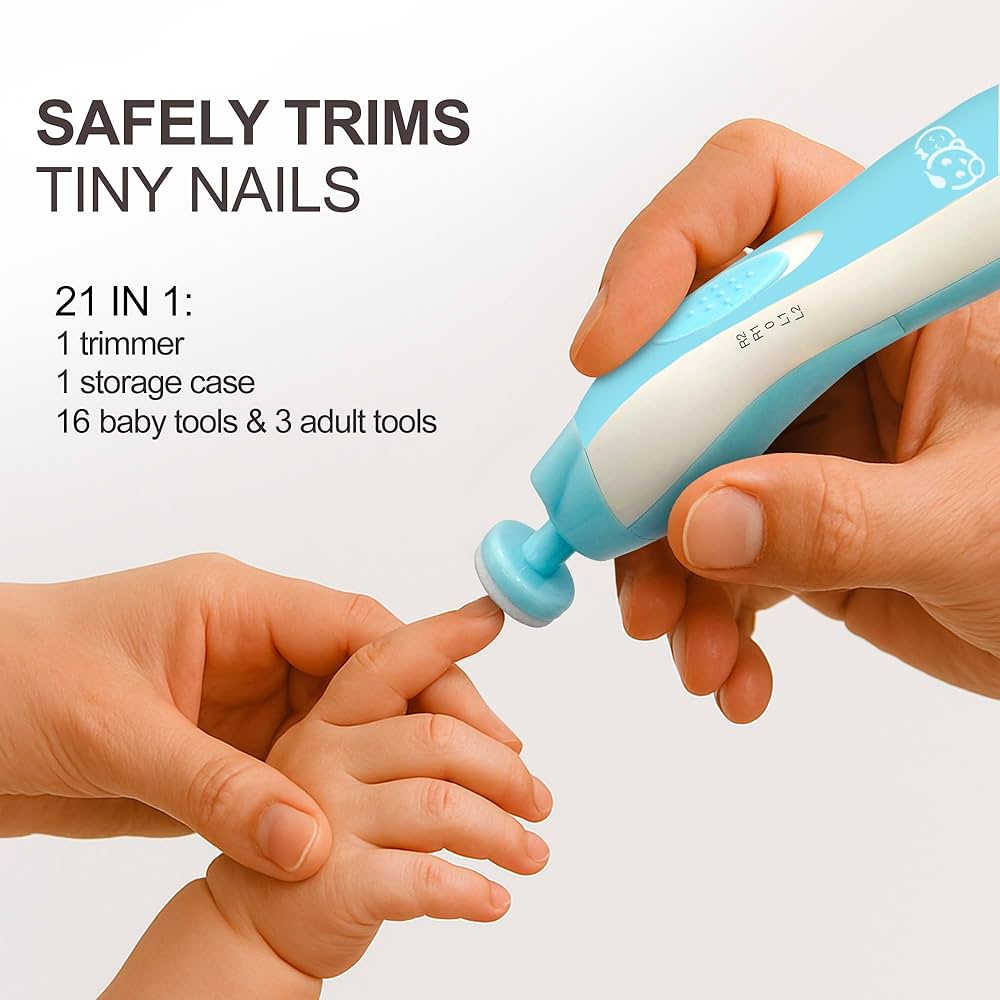
| Electric nail trimmer | Very thick or brittle nails, limited dexterity | Grinds rather than cuts; lower injury risk | Cost is higher; generates keratin dust (vacuum it up) |
Blade material matters more than most buyers notice. Stainless steel holds an edge longest and resists rust if you soak it. Titanium is lighter and nearly corrosion-proof but costs more.
Ceramic-coated blades stay sharp longer but scratch if you drop them on tile.
A couple of practical notes from what we've seen in manufacturer documentation and aggregate user feedback:
- Replace your clipper every 12 to 18 months of regular use. A blade that starts needing two or three presses instead of one is no longer giving you a clean cut.
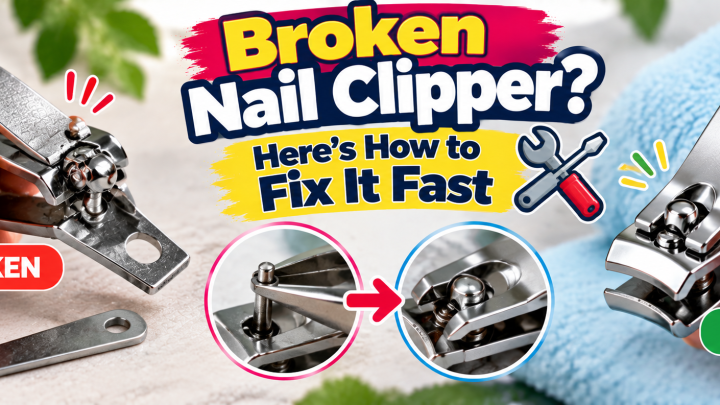
- Keep the hinge tight. A loose pivot causes the two halves to misalign, and you end up shaving an uneven wedge off the plate.
- If you have arthritis or limited grip strength, the lever action of a guillotine clipper with a wide handle does the work for you. You don't need to squeeze.
Whichever style you settle on, pair it with a good emery board or coarse nail file for the finishing pass. A quick resource on safe filing technique will save you from creating the very snags you're trying to prevent. And if you want to keep those trimmed plates strong over time, the broader routine of keeping toenails strong and healthy covers the hydration and nutrition side that clips alone can't fix.
Step-by-Step Guide to Safe Toenail Clipping
This is the core of the whole article, so I'll walk through it in three clear phases: getting ready, making the cut, and cleaning up the edge. Follow them in order and you'll get a consistent, safe result every time.
Soak, Dry, and Position: Preparing for a Clean Cut
Soft nails cut clean. Hard, dry nails crack. That's the entire reason the soaking step exists.
- Run warm (not hot) water over your feet for ten to fifteen minutes. You're in the bath or shower already, so there's no added effort.
- Pat the skin and the exposed nail plate completely dry with a clean towel. Moisture left on the plate makes the blade skid and can split the outer keratin layers.
- Sit where you can see the toes. A small mirror held next to the foot helps if you can't bend comfortably.
- Lift the toe slightly. You want the underside of the free edge visible so you can judge how far back the plate curves toward the nail bed.
- Inspect the surrounding skin. If there's active redness, swelling, drainage, or a visible ingrown edge, stop. That's not a "clip it shorter" situation. Treat the inflammation first or see a professional.
The Straight-Across Technique: Where Most People Go Wrong
Here's the single rule that prevents the majority of ingrown toenails: cut parallel to the natural straight edge of the toe, not following the curve.
Hold the clipper so the blades meet the plate at roughly 90 degrees to its surface. Position the cutting line slightly beyond where the skin ends, maybe one to two millimeters past the visible plate edge. You want a thin strip of white nail still showing between the cut and the skin fold.
That little buffer is what keeps the fold from pinching the fresh edge.
Press down in one steady motion. Don't saw back and forth. The guillotine mechanism works best with a single clean bite.
If the blade stalls, you're likely hitting the curved part of the plate. Shift your angle a few degrees and try again rather than grinding the lever.
Avoid rounding the corners. I know it looks neater, but that rounded edge is exactly what migrates into the lateral fold over the next two weeks. A squared-off edge sits flush and lets the fold grow over it normally.
If you've developed a habit of curling the corners, you can slowly train yourself back to the straight line by shaving off a tiny bit of that curve each trim.
Filing and Finishing: Preventing Snags and Irritation
A freshly clipped edge, even a good one, still has microscopic rough spots that catch on sock fabric and tug the fold. You smooth those out with a file, not with another clipper pass.
Use a medium-grit emery board or a 100-grit metal file. Run it lightly, in one direction, across the top surface of the cut edge. Three to four passes per toe is plenty.
Don't scrub back and forth; that frays the keratin.
A few extra cleanup moves worth building into your routine:
- Check the underside of the free edge. If any splinter is lifting, clamp it with the clipper and pull it straight out. Don't pry the fold open with a tool.
- Moisten the lateral folds with a plain, fragrance-free lotion. Dry, tight skin presses the nail inward more aggressively.
- If you nicked the hyponychium and it's oozing a little, clean the spot with soap and water, pat dry, and cover with a small bandage for a day or two. Monitor for increasing redness.
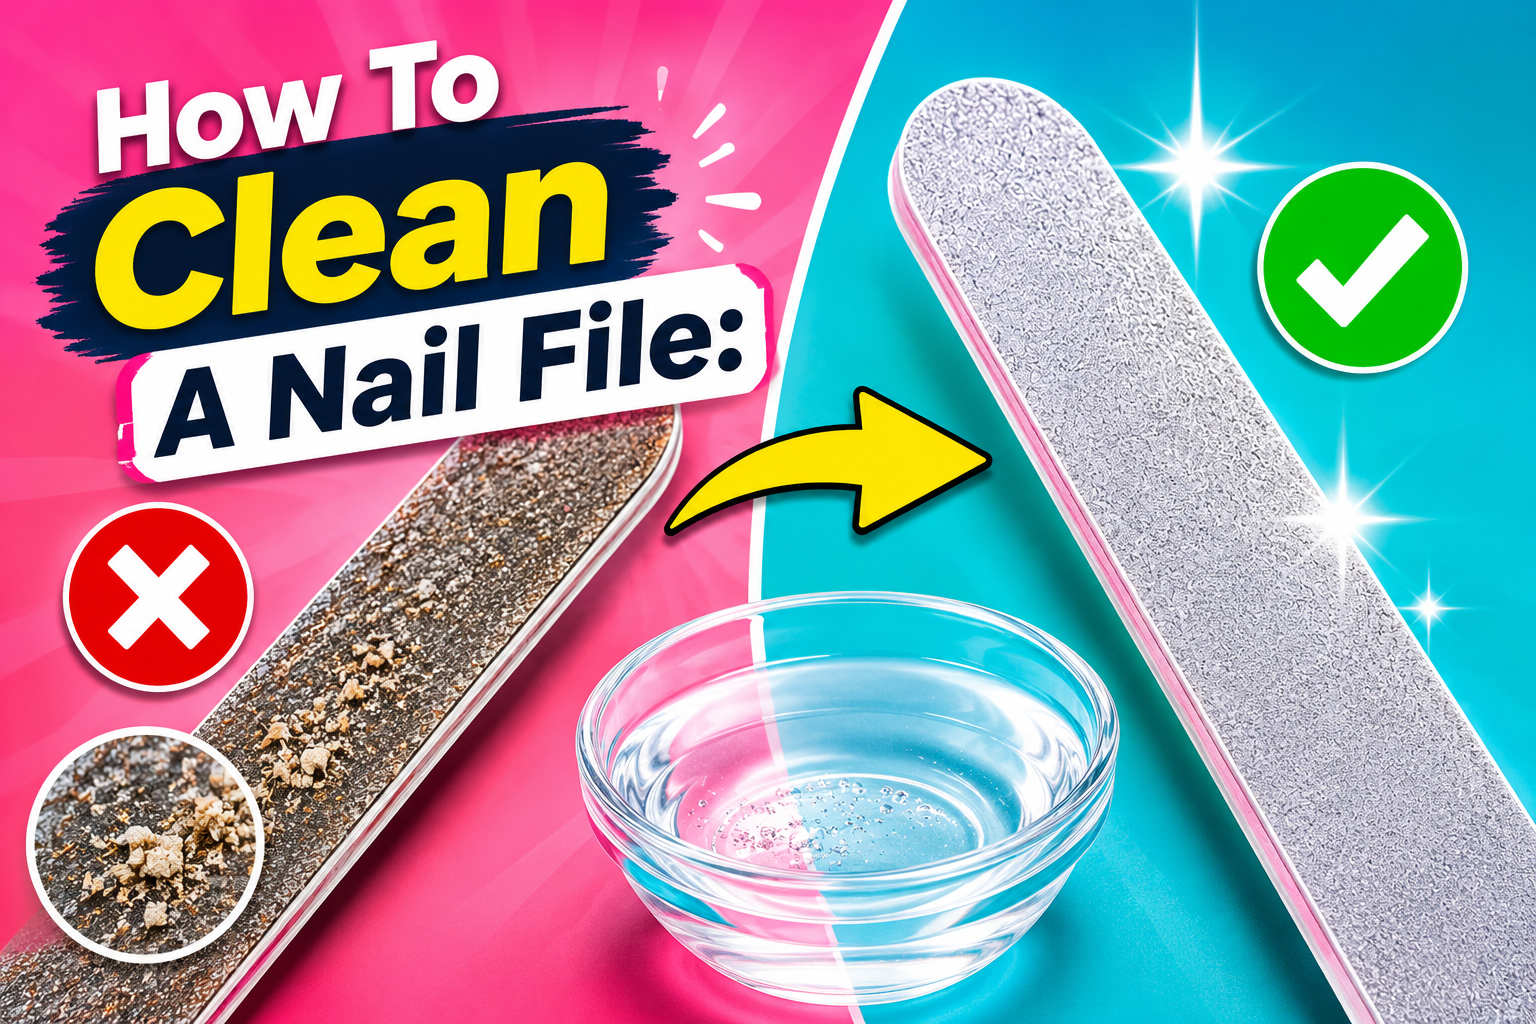
- Sanitize your clippers and file. Wipe the blades and file surface with 70 percent isopropyl alcohol. For a deeper clean, you can read up on sanitizing your file between uses to keep the grit from harboring bacteria.
What To Do When Things Go Sideways
Small stumbles happen. A chip, a split, a fold that's starting to pucker. Here's how to triage:
- Minor chip or split. If it's under five millimeters and not touching the bed, file the edges smooth and leave it to grow out. No glue, no filing it shorter.
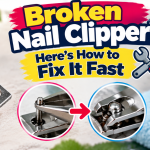
- Deeper split reaching the bed. This hurts and can trap debris. The safest home fix is to gently ease the two halves apart, file each edge flat, and keep the area clean. For a more detailed walkthrough on fixing a broken toenail at home, that page lays out the steps without the drama.
- Persistent soreness along one fold after clipping. You likely trimmed a hair too deep on that side. Leave the corner alone for this cycle, let the fold calm down, and cut straighter next time. If swelling persists past seven days or you notice yellow drainage, skip the next trim and call a podiatrist.
- Recurring ingrowns despite good technique. The issue may be the nail's growth pattern itself (a naturally tight plate or a prominent fold). No amount of careful clipping fixes structural mismatch. A podiatrist can assess whether a partial nail avulsion or a chemical matrix ablation makes sense.
If you've damaged the plate badly or the nail is peeling away from the bed, there are effective repairing a nicked or split nail routines that support healing while the new growth comes in. The key is not to pick at the loose section or paint over it to hide it.
That's the full sequence. Soak, dry, cut straight, file light, moisturize, sanitize. Do it every three to four weeks and you'll keep your toenails functional, comfortable, and out of the danger zone without ever needing anything more than a warm bath and a sharp clipper.
Common Mistakes That Lead to Ingrown Nails and Injury
You don't need to be careless to mess up a toenail trim. A lot of the damage comes from small habits that feel harmless in the moment. Here are the ones we see most often, and why each one backfires.
Rounding the corners to match the toe curve. This is the big one. It looks tidy, sure. But that curved edge creates a leading point that slides into the lateral fold within ten to fourteen days.
By then the skin has swollen around it and you're dealing with a painful bump that throbs every time a shoe presses on it. Train yourself to cut a flat line instead. One tiny strip of white nail still visible between the cut and the skin is your safety margin.
Cutting too far back to "get ahead of growth." People think shorter means less waiting. They don't. The matrix behind the cuticle is producing new keratin cells regardless of how much plate is showing.
Cutting closer to the fold just shortens the buffer zone and brings the raw edge right next to inflamed skin. You end up clipping every two weeks instead of every four, which multiplies your chance of a bad angle on any given session.
Using a fingernail clipper on a toe. The blade span is too narrow. You're forcing the lever to twist the plate sideways, and it splits instead of slicing. The jagged fragment then works its way under the fold or catches on sock seams all day.
If you only own one pair of clippers, at least get a dedicated toe model with a blade width of 28 millimeters or more.
Clipping dry, brittle nails without a soak. Hard keratin cracks. You get a splintered edge that files unevenly and leaves tiny hooks. Those hooks snag, pull the fold, and trigger the same ingrown cycle as a rounded corner.
Ten minutes in warm water changes the mechanical behavior of the plate entirely.
Sharing clippers without disinfecting. Fungal spores, staph, and even HPV can linger on a blade for hours. If you've ever let your teenager grab your clippers off the counter after you finished, or shared a set at a family gathering, you opened a small window for cross-contamination. A quick wipe with 70 percent isopropyl alcohol before and after use closes it.
For a deeper look at proper tool sanitation between household members, that routine applies to clippers just as well as files.
Ignoring the early warning signs. A mild ache along one side of the big toe after a trim usually means the corner dipped a fraction too deep. Most people scratch their head, wait it out, and come back two days later with swelling. Catching it at the "mild ache" stage and filing that corner flat within twenty-four hours prevents the full ingrown cascade.
| Mistake | What Goes Wrong | How To Fix It |
|---|---|---|
| Rounding corners | Leading point digs into fold in 10 to 14 days | Cut straight; leave 1 to 2 mm of white showing |
| Cutting too close to fold | No buffer; raw edge touches skin | Trim to the natural straight line, not shorter |
| Fingernail clipper on toes | Blade too narrow; plate splits sideways | Use a clipper with 28 mm+ blade span |
| No soak before clipping | Brittle plate cracks, leaves hook fragments | 10 to 15 min in warm water; pat dry fully |
| Sharing clean tools without wiping | Cross-contamination of fungal or bacterial agents | Wipe with 70% isopropyl alcohol before and after |
| Dismissing early soreness | Minor nick escalates to full ingrown over 48 hrs | File the culprit corner flat within 24 hrs |
None of these mistakes are fatal, but stacked together over months they build up a pattern of micro-inflammation that makes the lateral folds tighter and more prone to catching the next cut. Breaking one or two of those habits will do more for your foot comfort than any fancy tool upgrade.
Tool Maintenance and Hygiene: Keeping Clippers Safe and Effective
A sharp, clean clipper is about 80 percent of a safe toenail trim. The other 20 percent is technique, but that first number does the heavy lifting. Here's the maintenance rhythm that keeps your tools working like they did the week you bought them.
Cleaning After Every Session
Right after you finish, before the clippers go back in the drawer:
- Snap the blades open. Use a soft-bristled toothbrush to sweep keratin chips out of the hinge gap and the lever channel.
- Wipe both flat blade faces with a paper towel dampened in 70 percent isopropyl alcohol. Two passes each, letting the alcohol sit for thirty seconds so it actually kills surface organisms.
- Dry the metal completely with a separate clean towel. Residual moisture on stainless steel starts pin rust spots within a week.
- Close the clipper halfway, not fully shut. Storing it tight forces a thin film of moisture into the joint and corrodes the pivot from the inside.
This whole routine takes under a minute. Skip it three times and you'll have a gritty, noisy hinge that's harder to control on your next trim.
Sharpening vs. Replacement
Most consumer-grade clippers aren't meant to be sharpened at home. The bevel angle and the spring tension in the lever are calibrated by the manufacturer, and a freehand stone pass usually ruins the bite. If your clipper needs two or three full lever presses to slice through an average nail, it's past its prime.
Swap it out.
Podiatric-grade instruments, though, can be professional-sharpened roughly once a year. A podiatrist's office or a medical instrument service will hone the edges on a calibrated wheel and re-tension the mechanism. That extends the useful life of a $40 to $80 plier-style clipper by several years.
Storage and Environmental Care
Keep clippers in a dry spot. The bathroom medicine cabinet gets foggy steam every shower, and that constant humidity is the enemy of any metal tool. A small sealed pouch in a drawer in the bedroom or a hang-up on the back of a closet door keeps the blades drier.
If you live in a coastal area where salt air hangs in the room, wipe the blades down with a dry cloth weekly even between trims. Salt crystals etch microscopic pitting into polished steel, and those pits become stress fractures that split the blade at an unpredictable moment.
When To Retire a Clipper Entirely
Watch for these red flags:
- The lever requires you to bend the handles beyond their normal arc to close the blades.
- You hear a grinding click at the pivot on every press.
- The cut edge of the nail looks crushed or frayed instead of smooth.
- Visible rust spots that scrub won't lift.
Any one of those means the tool is actively working against you. A frayed edge pulls keratin fibers apart rather than slicing them, and that's how you end up with a ragged, hooky trim that irritates the fold. Toss the clipper and replace it before the next session.
For broader upkeep on the rest of your at-home nail kit, including files and buffers, our guide to routine tool care for damaged or weakened nails covers the full rotation and when to swap out each piece.
Special Considerations for Diabetics and High-Risk Groups
We flagged the risk categories earlier, but this section goes deeper because the stakes here are genuinely different. A healthy adult who nicks their hyponychium heals in four days. A person with advanced peripheral neuropathy might not notice that nick for a week, and by then the wound has progressed through stages of maceration that make it a portal for osteomyelitis.
The timeline shifts dramatically.
Why the Standard "Just Be Careful" Advice Falls Short
Most general foot-care advice assumes full sensation and intact microcirculation. Once you lose either, the feedback loop that tells you "hey, that corner is digging in" disappears. You can feel nothing until the tissue is already compromised.
The CDC's diabetes foot-care materials recommend a daily visual inspection of all ten toes and the soles, ideally with a mirror or a willing helper. The goal is catching redness, a broken blister, or a small ulcer before it deepens. Trimming fits into that inspection, but only if a healthcare provider has explicitly cleared you for self-trimming and walked you through the exact technique.
The One-Millimeter Rule for High-Risk Feet
What works for a healthy 30-year-old doesn't translate to a 68-year-old with two decades of poorly controlled type 2 diabetes. The guidance from podiatric practice is stricter:
- Cut no closer than two to three millimeters from the tip of the toe pad. You lose that little white buffer you'd keep for yourself.
- Never round a corner. The straight-across rule is non-negotiable here.
- Use a dedicated, large-blade plier-style clipper, not a guillotine. The biting jaws give more control and less chance of the plate slipping sideways.
- Soak in lukewarm water, not hot. Neuropathic feet misread temperature. Water that feels "warm enough" can scald tissue that can't scream back. Test the bathwater on your forearm first.
- After trimming, apply a plain antibiotic ointment to any spot that looks even slightly abraded. Then bandage lightly.
- Inspect the trimmed toe every morning for three days. Any spreading redness, warmth, or fluid means stop self-care and call your podiatrist or endocrinologist the same day.
What To Tell Your Provider Before Each Visit
If you're getting professional trims (and in this group, you likely should be), a quick update saves everyone time:
- Mention any new callus, pressure spot, or sock-seam irritation.
- Report changes in blood sugar control. Higher A1C slows healing across the board.
- Flag any new medications. Statins, corticosteroids, and metformin all shift the tissue-healing profile in ways that matter for how aggressively a clinician can work around a nail.
Per APMA patient education resources, patients with diabetes who maintain HbA1c above 8 percent and show any degree of sensory loss on a 10-g monofilament test should have a professional foot exam at least quarterly, with nail care handled by the podiatrist or a trained nurse during that visit. Home trimming between visits is appropriate only for the straight-across line, with no corner work and no aggressive shortening.
When Self-Care Isn't Enough: Signs You Need a Podiatrist
There's a gray zone between "I'll file that edge down tonight" and "this needs a specialist's hands." Knowing where you stand in that zone prevents a Tuesday-afternoon irritation from becoming a next-month surgical procedure.
Here are the concrete thresholds where you stop home-care and pick up the phone:
Spreading redness or heat. A small pink ring right next to the trim line is normal for twelve to twenty-four hours. If the redness extends more than half a centimeter past the nail edge, or the skin feels warm to the touch compared to the opposite toe, that's an inflammatory response you can't out-wait. Call a podiatrist.
Pus or yellow-green drainage. Bacterial infection isn't something you treat with tea tree oil and a band-aid. You need a culture-directed antibiotic course, and sometimes a minor incision and drainage in-office. The longer you wait, the more likely the infection tracks down toward the metatarsal head.
Recurrent ingrown toenails despite correct technique. If you've been cutting straight across, soaking properly, and using a sharp tool for six to eight weeks and the same toe keeps flaring up, the problem is structural. The plate's curvature, the fold's thickness, or the toe's shape means no amount of careful trimming fixes it. A partial nail avulsion or phenolization of the matrix at that corner is the actual fix.
Thick, discolored plates that resist clipping. If the nail is growing in layers, crumbling, or turning yellow-brown in patches, it's likely onychomycosis (fungal) or psoriatic. Standard clippers just shatter through it. A podiatrist can debride the plate, apply targeted antifungal lacquer, or in severe cases prescribe oral terbinafine.
Trying to brute-force a fungal plate at home usually ends in a split that exposes the raw bed.
Post-surgical or post-traumatic care. If you had a toenail removed surgically, or cracked a toe badly on a trail run and the plate is lifting unevenly, the regrowth pattern will be irregular for months. A podiatrist can check the matrix isn't scarred and that the new plate is aligning correctly. Left unchecked, it can grow back crooked or fail to reattach to the bed.
A Simple Triage Flowchart for the Bathroom Counter
- No redness, no drainage, no swelling. You're fine. Continue your routine.
- Mild soreness, faint pink ring, under 48 hours. Watch it. Recheck in two days. If it's fading, good.
- Soreness persisting past 72 hours, or spreading redness, or any fluid. Stop trimming. Call a podiatrist's office Monday morning. Explain the symptoms. They'll triage whether you need to come in Thursday or can manage conservatively for a week.
- Fever over 100.4 F, red streaking up the foot or ankle, or you're diabetic with any open wound. That's urgent. Go to an urgent-care clinic or ER the same day, especially if you're immunocompromised.
None of this replaces a professional read of your specific foot. But it gives you a framework so you don't waste a good symptom worrying, and you don't ignore a bad one hoping it'll "grow out."
Real-World Scenarios: Thick Nails, Arthritis, and Vision Challenges
The "average healthy person trims straight across" instruction covers maybe half the readership. The other half has a thick plate, stiff joints, or glasses they forgot in the hallway. Here's how to adapt the same core technique to those situations without compromising safety.
Very Thick or Age-Related Brittle Plates
Onychogryphosis (the spiral curl seen in centenarians) or years of accumulated fungal damage can make a nail two to three times thicker than normal. A standard clipper simply can't bite through it in one press. You'll find yourself grinding the lever and the plate shreds.
Workaround options, in order of preference:
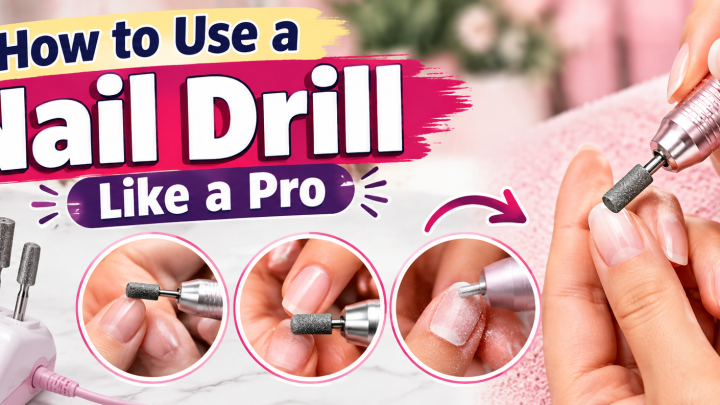
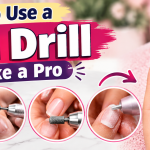
- Grind it down first. A coarse 60-grit file or a battery-operated nail drill (the kind pedicurists use on acrylics) can shave the plate to a manageable thickness in five to ten minutes. Then your regular clipper finishes the job cleanly. For a quick look at handling a cracked or split nail safely while you work, that method translates directly to shaving down a thick, brittle plate before clipping.
- Switch to a podiatric plier-style clipper. The longer jaws and sharper bevel handle up to roughly 3 mm thickness. Look for a tool rated for "heavy-duty" or "podiatric" use in the product description.
- Book a debridement. A podiatrist can remove the outer layers in-office, often combined with antifungal treatment. This isn't a "cosmetic" appointment; it's functional maintenance.
Arthritis, Limited Grip, or Weak Forehand Strength
If the lever action of a standard clipper requires a squeezing force you can't generate comfortably, you have two solid alternatives.
- Scissor-style clippers with a long tail. The tail acts as a fulcrum against the base of your thumb, so you drive the blades with a pushing motion instead of a pinch. Less wrist torque.
- Electric trimmers. These use a rotating or oscillating blade that grinds the plate to length without any manual leverage. You position the toe, hold it steady with your free hand, and run the trimmer along the cut line. Cost is higher, roughly $30 to $60 for a quality unit, but the dexterity demand drops to near zero.
Whichever route you take, the soak step still matters. Softening the plate means less force needed overall, and the cutting surface is smoother.
Low Vision or Difficulty Seeing the Toe
Bending down, squinting, and trying to line up a 28-millimeter blade on a 12-millimeter wide nail is genuinely hard. A few practical adjustments:
- Sit on a sturdy chair with the foot resting on a small stool or book stack. Elevating the toe to eye level eliminates the neck strain and gives you a clearer angle.
- Use a small LED desk lamp or phone flashlight aimed directly at the toe. Side lighting hides shadows under the free edge where you actually need to see.
- A dedicated foot mirror with a magnifying surface (2x to 3x) helps if you can't bend. Rest the mirror on the floor, angle the toe into it, and judge your cut line from above.
- If vision is significantly impaired, ask a family member or caregiver to handle the clipping. The technique is straightforward enough that a short verbal walkthrough covers it. You just need someone else's eyes on the line.
Post-Surgical or Cast-Removal Clipping
After a minor bunion correction, a toe fracture in a cast, or a partial nail avulsion, the toe geometry is off. The plate may be narrower, the fold may be scarred and tighter, or the toe sits at a new angle. Don't wing it with your usual grip.
- Wait until your surgeon clears you for self-care. That's usually two to three weeks post-procedure, once the incision is fully closed and there's no residual swelling.
- Expect the first two trims to feel awkward. The plate grows back slowly and the surrounding skin is still remodeling. Cut conservatively: a little less length than your usual line. You can always trim a tiny bit more next month.
- If the new growth looks uneven or is lifting on one side, bring it to your follow-up appointment rather than filing it down yourself. The underlying matrix may need a check.
These scenarios aren't edge cases that justify skipping foot care. They're reasons to adjust the tool, the posture, or the support system so the same safe technique still applies. Adapt the method to the body in front of you, not the other way around.
Frequently Asked Questions About Toenail Care
How often should you clip your toenails?
Every three to four weeks for most adults. That matches the roughly 1.6 millimeters of new growth per month. If your nails are naturally thin or you're younger, you might stretch it to five weeks.
If you have thicker plates or are older, three weeks keeps you ahead of the length without over-trimming. Go by how much new edge shows, not a strict calendar date.
Does cutting toenails too short make them grow back thicker?
No. The thickness is set by the matrix and your genetics, not by how much plate you remove. Trimming shorter doesn't thicken the next growth.
What people notice is that a very short, squared-off nail has less of the flexible outer layer, so it feels stiffer and more prone to splitting. It's not actually thicker; it just has less cushion to absorb pressure from shoes.
Is it better to clip toenails wet or dry?
Wet, always. Ten to fifteen minutes in warm water softens the keratin plate enough that the blade slices cleanly instead of crushing or splintering the surface. Dry nails crack along the cut line, leaving micro-hooks that snag on socks and pull the lateral fold inward.
If you skip the bath, at least hold the foot under hot running water for two minutes before clipping.
What do you do if you accidentally nick the skin next to the nail?
Clean the spot with soap and water, pat it dry, and apply a thin layer of antibiotic ointment. Cover with a small bandage and change it daily. Watch for spreading redness or warmth over the next 48 hours.
If those appear, or if you're diabetic, call a podiatrist the same day rather than waiting it out.
Can you use a nail file instead of clippers on toenails?
Yes, and for very thick or brittle plates it's often safer than forcing a clipper through. A coarse 60-grit file or a battery-operated nail drill shaves the plate down gradually without the risk of a sudden split. Just work in one direction, three to four light passes, and check length against your straight-across guide line every few strokes.
For routine trims on healthy nails, clippers are faster, but filing is a valid alternative.
Do toenail clippers rust, and how do you prevent it?
Stainless steel clippers resist rust well but won't hold up forever, especially in a humid bathroom. Wipe the blades dry after every session and store them somewhere away from shower steam. A light coat of petroleum jelly on the hinge once a month keeps the pivot smooth.
If you see orange-brown spots forming, the metal is past its useful life and it's time for a replacement.
Final Verdict: Prioritizing Safety Over Convenience
Here's the one habit that separates someone who trims their toes every month without drama from someone who spends half that month dealing with a swollen, throbbing big toe. It's not the brand of clipper. It's not whether you soak or don't soak.
It's the line you draw.
Straight across. Always. Leave one to two millimeters of white between the cut and the skin fold.
Don't round. Don't chase the curve. Don't go shorter to "save time next month."
Everything else in this guide, the tool choice, the maintenance rhythm, the when-to-call-a-podiatrist thresholds, the adaptations for thick plates or stiff joints, all of it supports that single rule. Get the line right and a $6 pair of clippers from a drugstore works fine. Miss the line and no $50 podiatric instrument will save you from the ingrown cycle.
Next time you sit down after a bath, pause for five seconds. Look at where the natural straight edge of the toe sits. Place your blade just beyond it.
One clean press. File the top edge smooth. Done.
You just spent ninety seconds doing what takes a podiatrist's office twenty minutes and $90 to replicate. That's the whole game.
If you'd like to round out your routine with something a little more than trimming, the broader home nail-care maintenance path covers strengthening, treating minor damage, and keeping the whole plate healthy between clips. Pair that with the straight-across discipline here and your feet will stay comfortable, infection-free, and largely out of the way for years.
Amazon and the Amazon logo are trademarks of Amazon.com, Inc, or its affiliates.
Author


Similar Posts