Acrylic Nails for Fat Fingers: How to Get the Right Fit
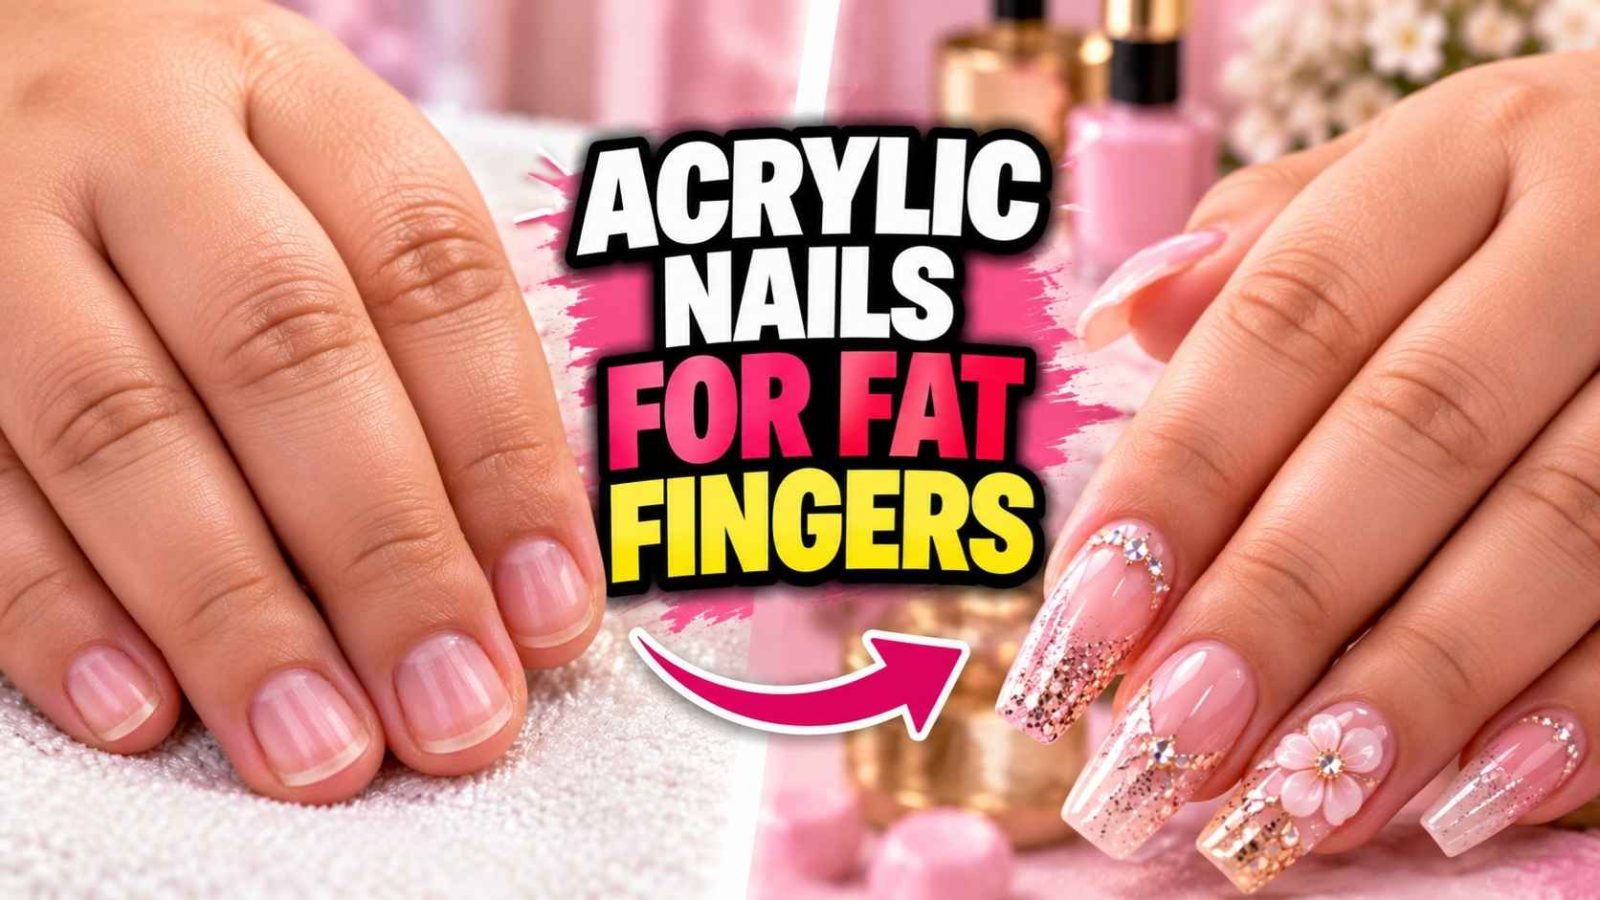
Wide fingers don’t need to be hidden to look polished. The right acrylic manicure should create balance between the nail, the fingertip, and the hand. Too much length or taper can make a finger look larger, while an ill-fitting tip can press into the sidewalls and lead to pain or lifting.
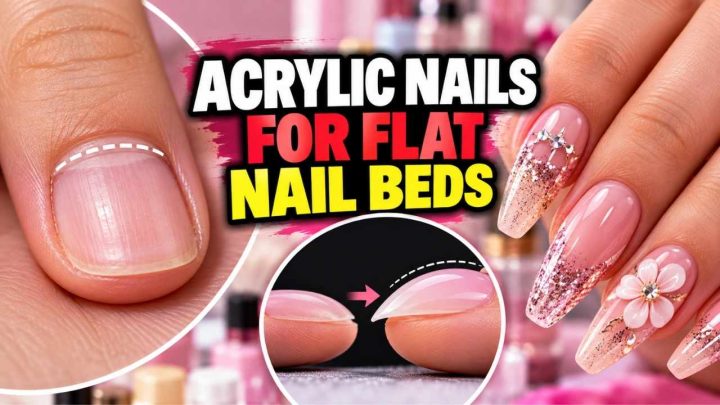
The best starting point is usually a short rounded square, soft square, or squoval in an extra-wide size. These shapes keep the nail broad and stable without making the fingertip look crowded. The most important part isn’t the decorative shape.
It’s how accurately the extension fits the natural nail.
The Best Acrylic Fit at a Glance
For wide fingers, the ideal design usually includes:
- Shape: Short rounded square, soft square, or squoval
- Length: Close to the fingertip or extending no more than about ¼ inch
- Tip fit: Extra-wide full coverage or a properly fitted deep-scoop tip
- Sidewalls: No pressure, gaps, or overlap onto the skin
- Apex: Moderate and supported rather than thick and bulky
- Taper: Minimal unless you deliberately want a coffin, ballerina, or almond shape
- Cuticle line: Clean and visible, without excessive product near the living tissue
- Finish: Simple, balanced color that complements the shape without adding visual bulk
A broad natural nail may not need a visible extension at all. A structured acrylic overlay can strengthen and smooth the nail while keeping the fingertip nearly untouched. That may be the most practical option for someone with a wide nail bed, short fingers, or a job that makes long extensions inconvenient.
Why Wide Nail Beds Need a Different Plan
Finger width doesn’t reliably tell you which nail size to use. The relevant measurement is the width of the natural nail plate, including the area near the cuticle. A wide finger can have a fairly narrow nail bed, while another person may have a broad nail plate on a shorter finger.
That distinction matters because poorly fitted tips create most of the problems associated with acrylic nails on wide fingers.
Problems With Undersized Tips
A tip that is too narrow may press into both sidewalls. Even if it feels secure at first, the pressure can become uncomfortable when the finger is bent or pressed against a surface. Other common signs include:
- A tight, throbbing feeling after the manicure
- Red marks where the sides meet the skin
- Product building up around the cuticle to disguise gaps
- A sideways tilt as the extension presses against the nail
- Greater likelihood of lifting along the sidewall
- A nail that looks thicker than necessary
Making a narrow tip fit by adding a large amount of acrylic doesn’t correct the problem. The added product creates bulk, traps moisture, and makes future removal harder.
Problems With Oversized Tips
An oversized tip can rock, shift, or sit away from the sidewalls. Gaps may collect lotion, soap, or debris. The extension may also look too long because the extra width has to be disguised with heavy filing or buildup.
A loose tip is not safer than a tight one. Movement at the base can encourage lifting, and lifting gives bacteria and moisture an entry point.
The Role of Nail Curvature
Nail curvature changes from person to person. A flat tip may work on a strongly curved nail, while a very deep scoop may be needed for a flatter nail bed. However, “more curved” doesn’t always mean better.
An extreme C-curve can create pressure and make the finished nail feel bulky.
The goal is a gentle curve that follows the natural direction of the finger. The acrylic should support the tip without lifting it away from the natural nail.
Best Acrylic Nail Shapes for Fat Fingers
Shape affects how broad the nail appears, but fit and proportion matter more than the name of the shape. A coffin that fits well can look more balanced than a rounded square that was installed incorrectly.
| Acrylic shape | Why it can suit wide fingers | Main consideration |
|---|---|---|
| Rounded square | Broad, stable, and forgiving | Keep the corners soft and length moderate |
| Soft square | Clean and structured without harsh corners | Avoid a very thin, fragile free edge |
| Squoval | Softens wide nail beds without making them look narrow | Keep the sidewalls fully supported |
| Short oval | Creates a smoother, more tapered outline | Length should remain practical |
| Wide coffin | Offers a modern shape with enough width | Avoid an abrupt, narrow taper |
| Wide almond | Gives a softer tapered look | The almond must not start too high above the natural nail |
| Short stiletto | Can work as a statement shape | More care is needed to prevent snagging and breakage |
Short Rounded Square: The Best Overall Choice
The short rounded square is hard to beat for wide fingers because it preserves the full width of the nail while removing sharp corners. It looks neat without trying to disguise the hand.
This shape works especially well at fingertip length or with a subtle extension. It also suits fingers of different lengths because the broad free edge visually balances both narrow and wide fingertips.
Ask for corners that are rounded but not heavily curved. Over-rounding can remove too much width and make the nail look like a wide oval.
Soft Square: A Cleaner-Looking Alternative
A soft square has flatter sides and gently eased corners. It can be a good choice for someone who wants a more structured appearance but doesn’t want the sharpness of a classic square.
Keep the sidewalls straight and the length moderate. Very long, thin extensions tend to chip at the corners and can look disproportionately wide on a broad finger.
Squoval: A Practical Middle Ground
A squoval combines the stability of a square with the softness of an oval. It’s often the easiest shape to wear because it doesn’t catch on fabric as easily as a sharp square or pointed tip.
For extra-wide nails, the squoval is particularly useful if the technician avoids overbuilding the apex. The finished surface should look smooth and even, not raised like a platform.
Short Oval: A Softer, More Tapered Look
An oval can soften a broad nail bed because its outline narrows gradually. That doesn’t mean every oval suits every wide finger. A very short oval with almost no side taper can look similar to a rounded rectangle, while a long oval may emphasize the width of the nail plate.
Choose a length that follows the finger’s natural slope. The oval should not start its taper immediately after the cuticle unless you want a pronounced, fashion-forward effect.
Wide Coffin and Ballerina Shapes
“Coffin” and “ballerina” are sometimes used differently. A coffin generally has straight sides and a tapered end. A ballerina shape is often a coffin with a somewhat flatter or softer tip.
These names can be confusing, so show the technician a reference image and discuss the actual width and taper. For a wide nail bed, ask for a broad shape that maintains width through most of the extension. A standard narrow coffin tip may make the nail look wider because the sides converge too soon.
Keep the overall length moderate. A wide coffin can look intentional and balanced; a long, narrow coffin on a broad finger can look crowded.
Wide Almond
An almond has a softer taper than a stiletto, but it still narrows toward the tip. Choose it only if the acrylic technician can preserve the width of the natural nail and support the shape properly.
Avoid an almond that begins high above the natural nail. That creates an overhang, weakens the structure, and increases the chance of catching.
Stiletto and Other Pointed Shapes
Stiletto, dagger, and very pointed almond shapes are the least forgiving options for broad nails. They can be creative, but they place more stress on the free edge and snag more easily.
They work best as a small statement choice, such as one or two accent nails, rather than a long full set.
Choosing the Right Length
Length should support the finger rather than compete with it. For many people with wide fingers, less length creates a cleaner, more balanced result.
Fingertip Length
A fingertip-length acrylic overlay adds strength and polish without extending far beyond the natural nail. It is often the most comfortable choice for people who type, work with their hands, wear gloves, or have short fingers.
If the natural nail is healthy, this style can be maintained with a structured overlay or lightly filled extensions.
A Subtle Extension
A small extension of roughly ⅛ to ¼ inch can provide a visible manicure without changing the finger’s proportions dramatically. The final measurement should still look proportional to the finger.
If you’re unsure, ask the technician to compare the proposed length with the spacing between your fingertip and the crease of the adjacent finger. Length that extends into the crease may feel crowded.
Longer Statement Lengths
Longer acrylics are possible, but they need a stronger structure and more careful balancing. They also create more leverage at the free edge. On broad fingers, a long extension should remain broad through the first half of the nail before any taper begins.
A useful rule is to make the fingertip look slightly longer, not three times longer. Length beyond that usually needs a more deliberate fashion design.
Customize for Each Finger
Fingers rarely have identical proportions. A perfectly straight set can look artificial if every nail is exactly the same length.
- Keep the thumb and little finger slightly shorter when practical.
- Match the overall shape to the finger’s natural angle.
- Avoid making a short finger suddenly much longer than its neighbors.
- Check that the extension doesn’t press into the webbing when the hand rests on a table.
- Keep the total width balanced from thumb to little finger.
Length adjustments are much easier to handle predictably than major repairs. If a set feels too long before it is finished, ask for it to be reduced while the acrylic is still workable. For future sets, you can learn safer trimming methods rather than trying to cut hardened acrylic with ordinary tools.
How to Fit Extra-Wide Acrylic Nails Correctly
A proper extra-wide fit should be decided before the acrylic is applied. The technician or home user should compare the tip with the natural nail several times.
Measure the Natural Nail
Measure the widest part of the nail plate, usually near the free edge or middle third, rather than measuring around the finger. Don’t assume that a nail fitting one finger will fit the next.
Compare each nail individually. Differences can be caused by nail shape, injury, growth patterns, or temporary swelling.

Similar Posts