Acrylic Nails for Fingerstyle Guitar: A Practical Guide
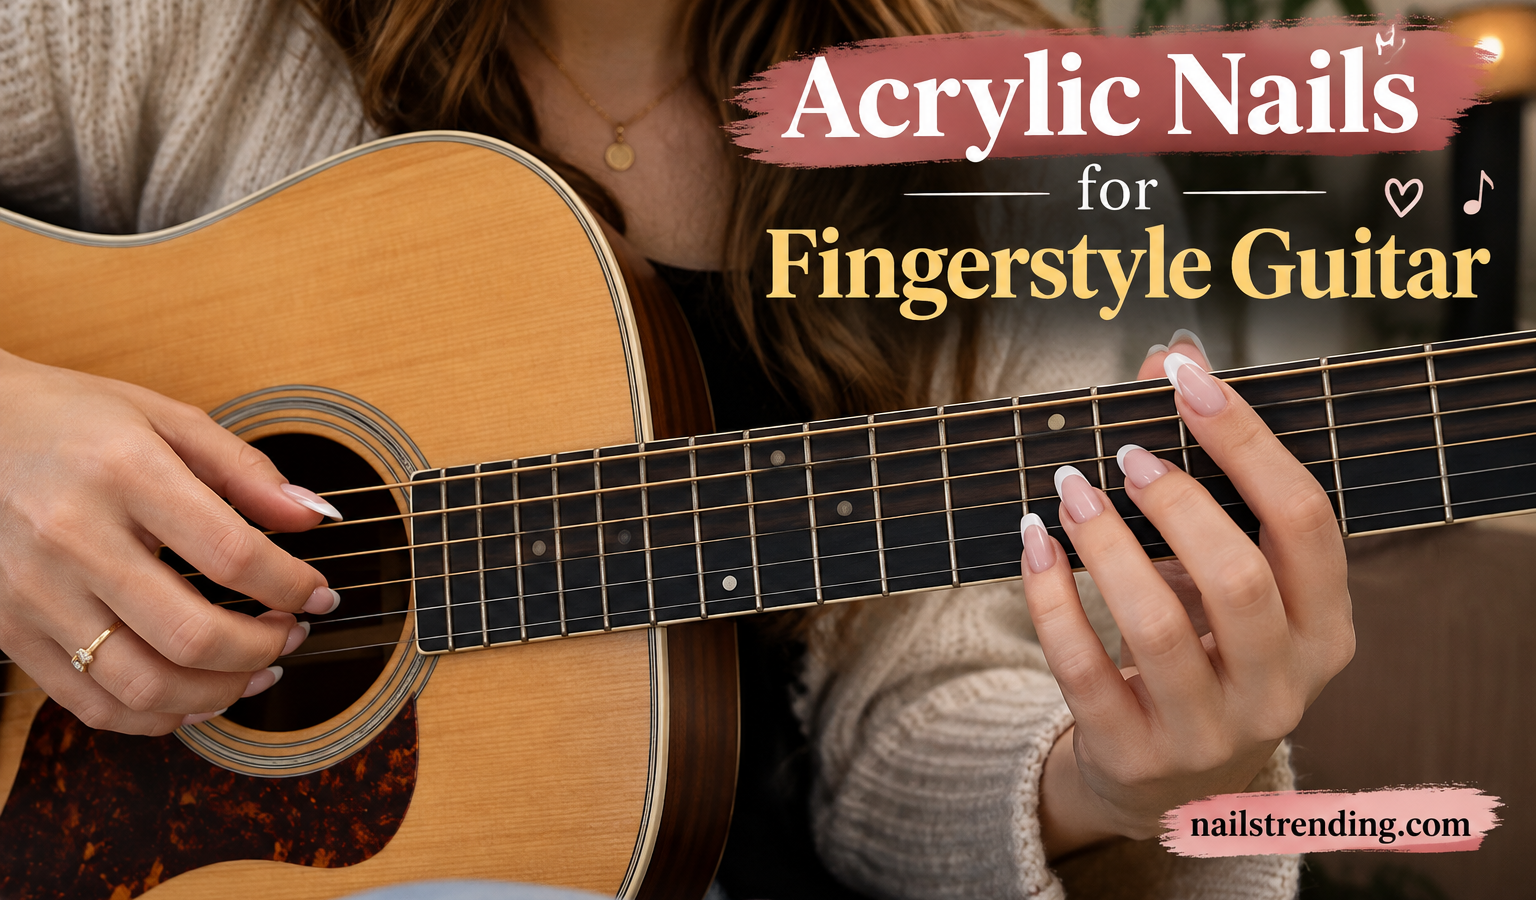
Long acrylics can make a delicate fingerstyle passage sound like a string drum. They may catch on adjacent strings, mute a note, or force you to press harder than necessary. The same nails, though, can help a player produce a clear, consistent nail tone on the plucking hand.
The best manicure depends on which hand does which job, the shape of your fingertips, and the style of music you play, rather than a particular brand or nail design.
The Best Acrylic Nail Length for Fretting and Plucking Hands
Acrylic nails can work well on the plucking hand when the length, curve, and thickness are consistent. On the fretting hand, they work best when the free edge does not project beyond the fingertip pad or touch the strings, neighboring frets, or fretboard.
A practical starting point is no more than about 1 mm of visible extension on the fretting hand. A 1, 2 mm extension may work for some players, while anything over 2, 3 mm will usually interfere with fingerstyle technique. Those figures are style guidelines, not medical safety limits.
If you cannot keep the fretting nails short and smooth, removing the acrylics is better than changing your technique around them. Trying to compensate for long nails can lead to snagging, excess pressure, uneven notes, and damage to the enhancement.
How Acrylic Nails Change Fingerstyle Mechanics
A fingernail is not simply a cosmetic layer. It changes leverage, contact, and the way you feel the string. That matters more on the fretting hand than on the plucking hand.
Fretting Hand
A fretting finger should press the string behind the fret with the soft pad of the fingertip. The nail should stay behind the string. If the nail extends beyond the fingertip, several problems can occur:
- The nail may touch the string before the fingertip does.
- It may strike the fret and stop the note from sounding cleanly.
- It may catch on an adjacent string while you move between chords.
- A rigid nail can make you press harder than necessary.
- The nail may slide off the fingertip when your hand is damp.
- A sharp corner may catch on tape, picks, or other equipment.
You don’t need to eliminate all nail contact to play, but consistent contact that produces the sound you want is easier to control than accidental contact that interrupts it.
The thumb deserves special attention. Some fingerstyle players use the thumb’s nail on bass strings. Others fret with the thumb’s flesh.
If you use the nail for bass, make sure its edge is smooth and its length matches your release angle.
Plucking Hand
On the plucking hand, nail contact can be intentional. The nail can strike the string and create a brighter or more focused tone. Acrylic can work well here because it is firm and does not bend as much as a natural nail.
The drawback is control. Differences in thickness, curve, or length can make one finger sound sharper than another. A nail with a thick gel top coat may also behave very differently from one covered only with regular polish.
| Hand | Main Job | Acrylic Nail Effect | Best Practical Choice |
|---|---|---|---|
| Fretting hand | Press strings cleanly behind the fret | Can cause snagging, extra pressure, and muted notes | Very short, smooth, lightly curved or soft square |
| Plucking hand | Release and sometimes strike strings | Can create a firm, consistent nail tone | Moderate length with a smooth, even edge |
| Both hands | Full fingerstyle technique | Doubles the chances of interference | Keep the fretting hand neutral and the other hand decorative if needed |
The core rule is simple: fretting nails should stay out of the way, while plucking nails should be deliberately designed.
Choosing the Right Length and Shape
There is no universal “best length” for fingerstyle nails. Hand size, fingertip shape, nail curvature, string type, and playing strength all affect the result. Length should be chosen by function rather than appearance alone.
Practical Fretting-Hand Length Ranges
| Visible Extension | Likely Result for Fretting | Recommendation |
|---|---|---|
| None or under about 1 mm | Very low risk of nail-string interference | Best starting point |
| About 1–2 mm | May work with light, relaxed playing | Test on every string and keep the corners rounded |
| About 2–3 mm | Noticeable risk of touching neighboring strings or the fretboard | Best avoided except for occasional light playing |
| More than 3 mm | Unlikely to support efficient chord changes or clean muting | Remove or shorten before practice |
These ranges are conservative playing guides. They do not mean a 2 mm nail is suddenly unsafe. A short, flexible extension may work better than a thick one that projects farther.
How to Test a Set Before Committing to It
You can assess a manicure at home:
Look at your nails from the side.
The nail tip should not extend beyond the rounded fingertip pad when the finger is in a natural playing curve.Press a fingertip lightly against a table.
Your nail should not bear the load or touch the surface before the pad does.Pretend to fret each string.
The nail should remain behind the string and clear of the neighboring strings.Check all four fingers and the thumb.
The ring and little fingers often sit at steeper angles. They may need to be shorter than the index and middle fingers.Play for at least ten minutes.
A set that feels fine for one chord may become uncomfortable during a long passage.
If you are having the nails done, show the technician how you hold your hand. A professional can make the length test easier by shaping the nail to fit your natural fingertip curve.
The Best Nail Shape
A soft square is usually the most practical fretting-hand shape. Its flat surface gives you a clear reference, while softened corners reduce the chance of catching.
A rounded shape can also work if the edges are smooth. Avoid:
- Stiletto or pointed tips
- Long almond tips with deep side curves
- Raised sidewalls
- Sharp corners
- Extreme claw shapes
- Thick encapsulated designs
- Large 3D ornaments
- Rhinestones or metal pieces near the free edge
The apex, which is the raised curve in the center of the nail, should be moderate. A bulky apex can feel strong but may press into the string before the fingertip does. A very thin apex may flex under pressure and make your technique less predictable.
Keep Decorations Away from the Contact Edge
A nail can be visually detailed without being physically complicated. For guitar use, keep the free edge and its sidewalls plain.
Safe decorative choices include:
- Thin color near the tip
- A simple French line with no raised edge
- Flat art that does not project past the nail
- Small details set well above the fingertip
- A smooth, fully cured surface
Avoid thick gel builds, raised rhinestones, metal studs, 3D flowers, and chunky side ornaments. These additions can catch a string and pull the whole enhancement sideways.
Designing Acrylic Nails for the Plucking Hand
The plucking hand has more freedom. A moderate extension can help you produce a clear nail attack, especially for classical, folk, fingerstyle jazz, and similar styles.
The exact length is personal. A short nail gives a softer, more controlled sound. A longer nail gives more surface area and can sound brighter.
What matters most is that you can repeat the same motion without hitting an adjacent string.
Match Thickness Before Length
Two nails can be the same length and still produce different sounds. Compare the free edge and sidewalls under a bright light. They should have similar thickness and shape.
A fingernail may sound inconsistent because:
- One nail is harder than another
- The free edge curves downward
- The tip is thicker on the sound side
- A top coat has built up unevenly
- The nail flexes at a different point
- One finger approaches the string at another angle
A small, consistent difference is normal. A thick, uneven difference can make your tone feel unpredictable.
Choose a Predictable Free Edge
The best plucking nail usually has:
- A smooth tip
- Minimal side curvature
- No raised decoration
- A shape that crosses the string cleanly
- Enough length to produce a nail sound without striking a neighboring string
Keep an eye on the little finger. If it is noticeably longer than the other three, it can accidentally contact two strings at once. Either shorten it to match or use it only for notes where the longer reach works for you.
Consider the Coating
Regular nail polish changes the surface slightly, but a thick gel overlay or builder gel can add substantial rigidity. If you want a soft nail-string contact, ask for less product over the tip.
A thin top coat can be fine when it is fully cured. Follow the product’s drying instructions rather than relying on touch alone. A proper curing routine is especially important if the manicure will be played on a guitar shortly after it is finished.
If you are shopping for supplies, a current kit shortlist can help you compare formats. Product quality matters, but application consistency matters even more. A well-applied simple nail is better than a poorly applied premium set.
The Best One-Hand Acrylic Strategy
The most practical setup for many fingerstyle players is intentionally asymmetrical:
- Fretting hand: Natural nails kept short and smooth, with no extension
- Plucking hand: Acrylic nails designed for a consistent nail tone
This gives you the visual benefits of long nails without placing them on the hand that presses thousands of times per session.
The asymmetry can remain subtle. Use the same color or basic design on both hands, but keep the fretting nails nearly extension-free. The visual difference will be much smaller than the performance difference.
If matching length is essential, use very short, neutral nails on the fretting hand and a more expressive style on the plucking hand. Avoid trying to make both sets identical.

Similar Posts