Best Starter Acrylic Nail Kits for Beginners
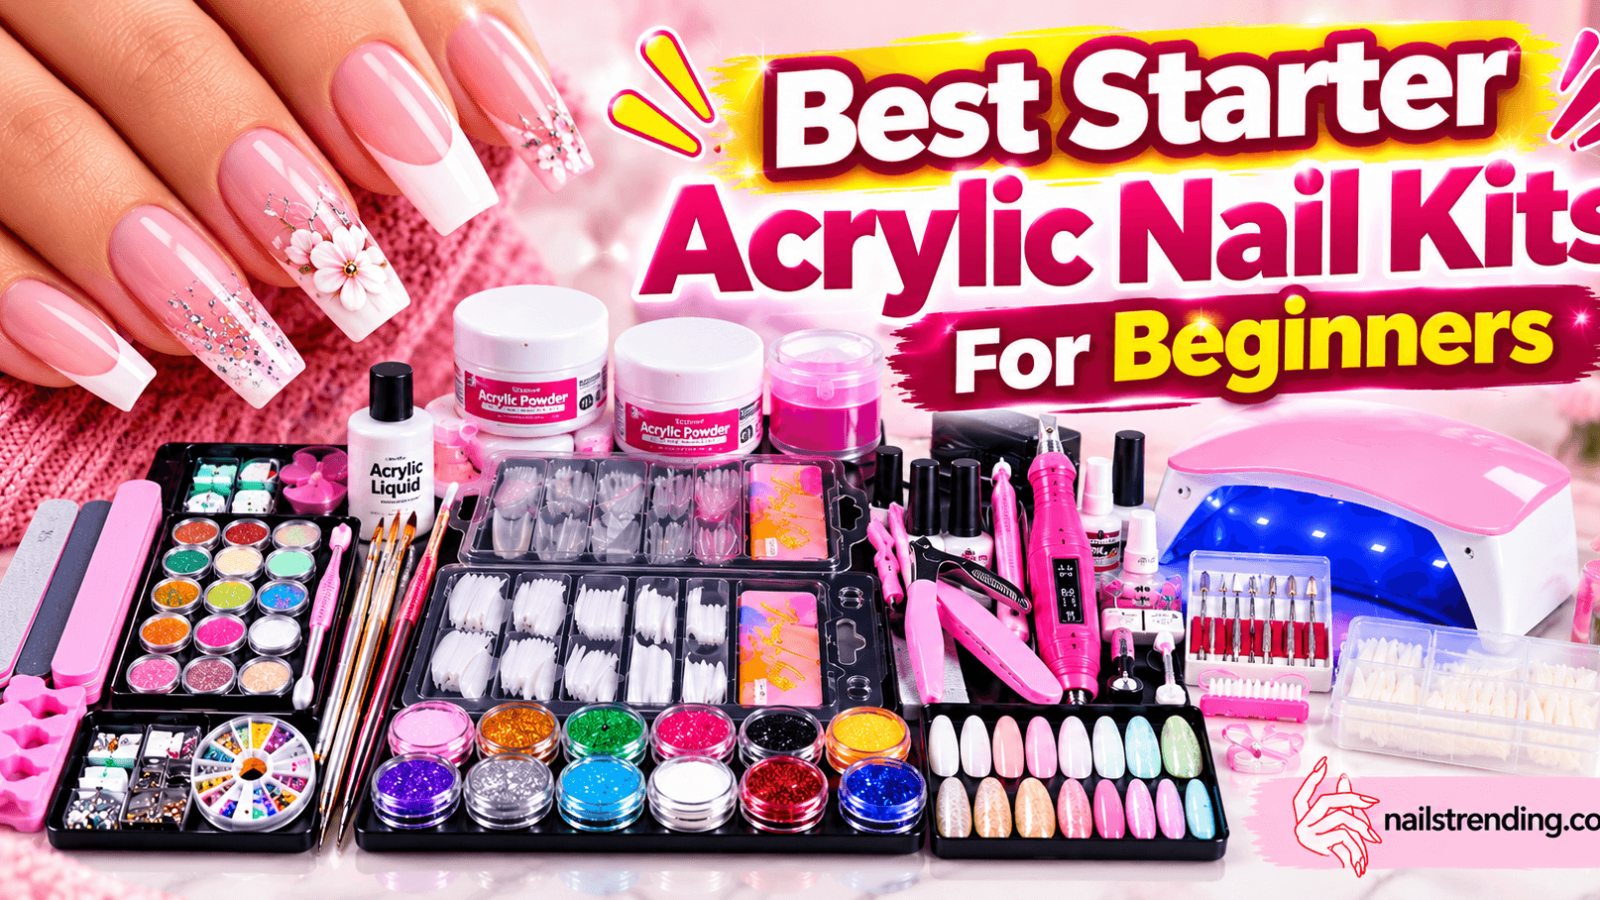
A good starter acrylic nail kit should make your first application predictable without giving you a drawer full of unnecessary tools. The best option is a matched liquid-and-powder system with clear instructions, a forgiving working consistency, basic brushes, a compatible top coat, and the preparation tools needed for a clean application.
That matters because acrylic nails aren’t applied like ordinary nail polish. A small mistake with the liquid, powder, brush, or nail preparation can affect the entire set. A focused kit makes it easier to learn the system without juggling unrelated products.
The Quick Answer
The best starter acrylic nail kit contains six core elements. It must have liquid monomer, acrylic polymer powder, an application brush, a compatible top coat, a file and buffing block, and basic nail-preparation tools.
I also want a small tray or palette, disposable gloves, a dust mask for filing, and access to fresh air. Nail forms or practice tips make learning much easier.
I’d look for a system that:
| Priority | What to look for | Why it matters |
|---|---|---|
| Matched components | The liquid and powder are designed to work together | A mismatched system may cure poorly or become difficult to control |
| Beginner-friendly consistency | A medium-working bead that isn’t instantly dry or extremely runny | You have more time to shape it before it sets |
| Clear instructions | The manufacturer explains application, drying, and removal | You’re less likely to guess and damage the nail |
| Simple shade selection | A clear powder or one versatile nude shade | You can practice without buying dozens of colors |
| Complete support items | Forms, brush, top coat, file, and preparation tools are included or easy to add | You can finish a full set without buying random replacements |
| Responsible labeling | Manufacturer information, ingredients, warnings, and lot details are present | You can identify the product if something goes wrong |
Avoid kits that rely on claims such as “professional formula,” “toxic-free,” “chemical-free,” or “all-in-one miracle cure.” Those phrases tell you very little. A useful starter kit is defined by compatibility, clarity, and ease of use, not by a huge number of pieces.
What Makes an Acrylic Nail Kit Good?
A good starter kit reduces guesswork. Traditional liquid-and-powder acrylic relies on a basic chemical reaction. The powder is a polymer, while the liquid contains a reactive monomer that binds the powder into a hard enhancement.
Many common systems use methacrylate-related ingredients, such as ethyl methacrylate or HEMA, although formulas vary by manufacturer.
The application starts with a small “bead” made from liquid and powder. The bead is placed on the prepared nail, shaped with a brush, and allowed to harden without a lamp. The consistency must be controlled; if there is too much liquid, the bead can spread beyond the nail.
Conversely, if there is too little liquid, the powder may remain dry and the bead may not harden properly.
That simple process is why a random collection of powders, liquids, and generic brushes is rarely a good starter kit. Each product has a specific working time and formulation. The manufacturer’s directions should make clear which products belong together and whether mixing them with another brand is supported.
A strong starter kit also gives you room to grow. You shouldn’t have to replace the brush, tip, or top coat after every set. However, you also shouldn’t pay for a professional bulk package when you are still practicing on a few sets.
In most cases, smaller quantities make more sense.
I judge a starter kit by four things: clarity, consistency, compatibility, and support. The number of tools has little bearing on its quality.
Traditional Acrylic vs. Gel and Other Nail Systems
“Acrylic nails” can describe several products at the store. Traditional acrylic powder-and-liquid systems don’t cure under a UV or LED lamp. Hard gel comes in thick, premolded or formable enhancements and must be lamp-cured.
Gel polish is a color system that often goes on the natural nail or a tip, and press-ons are ready-made adhesive nails.
These systems may look similar after application, but they are not interchangeable. A traditional beginner kit shouldn’t include a lamp unless the manufacturer clearly says you need one for a specific part of the system.
| System | How it hardens | Main beginner consideration |
|---|---|---|
| Traditional powder-and-liquid acrylic | Hardens without a lamp | Buy the liquid and powder as a matched system |
| Hard gel | Cures under a UV or LED lamp | Use a lamp, follow cure times, and expect different filing behavior |
| Gel polish | Cures under a UV or LED lamp | It is mainly a color system, not a traditional acrylic bead system |
| Gel-fill or builder gel | Usually lamp-cured | It has a different consistency and application method |
| Press-on nails | Adhesive sets mechanically | No monomer or polymer bead is involved |
| Fake nail glue | Bonds prefabricated tips or nails | It isn’t a replacement for liquid-and-powder acrylic |
Some beginner kits mix traditional acrylic with gel products. That isn’t automatically wrong, but it can create confusion over the order of application. A kit with one clear method is usually better for learning.
If you already understand another nail system, you may be comfortable with a mixed kit. For a true beginner, I’d choose a straightforward liquid-and-powder set with a conventional top coat and no lamp.
What a Good Starter Acrylic Nail Kit Should Include
Look for a compact but complete kit. Here’s what each item does and what to consider.
| Item | Purpose | Beginner choice |
|---|---|---|
| Liquid monomer | Forms the workable bead and binds the powder | Buy it from the same system as the powder |
| Acrylic powder | Adds structure and creates the hard enhancement | Start with clear or a neutral shade |
| Application brush | Places and shapes the bead | A basic flat brush is usually enough |
| Cleanup brush | Removes stray product after the bead sets | Keep it separate from the application brush |
| Nail forms | Support the nail while building a full extension | Choose forms that fit the width and curve of your nails |
| Practice tips | Provide a surface for learning without touching natural nails | Use several before trying the technique on yourself |
| File | Shapes the set and thins rough surfaces | Use a clean file intended for nail enhancements |
| Buffing block | Smooths the finished surface before top coat | Fine-grit buffing is useful for the last step |
| Cuticle pusher | Gently moves the cuticle line back | A metal tool is useful, but force is not |
| Top coat | Seals the surface and adds shine or color | Choose one clearly compatible with the acrylic system |
| Tray or palette | Gives you a clean mixing area | A washable acrylic-compatible surface works well |
| Gloves | Protect hands from product contamination | Keep disposable gloves within reach |
| Dust mask | Reduces exposure to fine filing particles | It does not protect against vapors |
| Paper towels | Wipes and cleanup | Keep them separate from your dust mask and clean supplies |
Liquid monomer and polymer powder
These are the non-negotiable parts of the kit. A jar of powder and an unlabeled bottle of “nail monomer” from different sources aren’t enough.
Look for a manufacturer name, product identity, ingredient information, usage instructions, warnings, and a lot or batch number. If the liquid has been decanted into an unlabeled jar, don’t assume you know what it is. You may not have access to the safety data sheet or storage instructions.
The most important rule is simple: Use a matched system unless the manufacturer says the formulas are compatible with another system. Some experienced nail professionals mix brands, but compatibility has to be deliberate rather than hopeful.
A clear or nude powder
A clear powder is the most useful starting shade. It makes placement, thickness, bubbles, and bubbles more visible. It also lets you change the finished color with nail polish or gel color later.
A nude shade may help you practice a full-cover application if you want a natural look. You don’t need a large color range to create a good starter kit. One or two colors are enough for most learning stages.
Application brush and cleanup brush
A basic flat acrylic brush can handle placement and shaping. A smaller detail brush may help with the cuticle area, but it isn’t essential for a first set.
Quality matters less than keeping the brush clean. Acrylic liquid can damage or swell brush fibers if you leave it in the brush for too long. Wipe the brush after each bead and use a separate brush for cleanup.
A brush loaded with dust or powder won’t place a smooth bead.
Nail forms or practice tips
If you plan to create full extensions, you need forms. If you’re only practicing the bead technique, tips give you a better learning surface. Trying to master bead placement on your own nail while also managing a form adds difficulty.
Practice tips are not throwaway if you treat them carefully. You can practice:
- Bead size
- Placement
- Apex shape
- Flood beads
- Surface consistency
- Cuticle control
- Filing discipline
Once you can make a smooth bead on a tip without flooding or dragging, your chances of improving on natural nails improve too.
Base coat, primer, and nail dehydrator
These products are easy to confuse.
A nail dehydrator removes oils and moisture from the nail plate. A primer or bonding product prepares the natural nail when the system calls for it. A base coat is another category, and a gel or gel-like base coat must not be added to traditional acrylic unless the system specifically directs you to do so.
Many traditional acrylic systems don’t need a separate base coat. Following the system directions is safer than adding a strong barrier that may interfere with adhesion.
Top coat
A conventional air-dry top coat is often the easiest choice for a first set. It doesn’t need a lamp and is usually more forgiving for beginners.
If you choose a gel top coat, make sure it is intended to cure over that acrylic system. Apply the correct thickness and follow the lamp and cure instructions. Don’t treat a gel top coat like an air-dry product.
Traditional nail polish can also be used for color after the acrylic has fully set. If you’re choosing a separate color system, compare long-wear polish options and check whether the finish and removal method work with your acrylic top coat.
How to Choose a Starter Acrylic Nail Kit
Look for a forgiving bead
A beginner-friendly system isn’t extremely runny or almost dry as soon as it leaves the brush. You need enough working time to place the product, guide it with the brush, and form a smooth apex.
Product consistency varies, so avoid judging a kit solely by someone else’s bead. A nail tech may work quickly because they’re experienced. A system that looks fast to a professional may feel too fast to a new learner.
A medium or balanced consistency is usually easier to learn than a deliberately fast one. If a kit doesn’t explain the expected timing or behavior, keep looking.
Check the shade range carefully
Color quantity is a marketing feature, not a measure of quality. A clear shade gives you the most control. A nude shade can be useful for a natural full set.
Bright or decorative colors can wait until your application is consistent.
If you’re online, check whether the powder is fine-grained, well-mixed, and free of large clumps. Don’t buy a set based only on the shade names.

Similar Posts