How to Use a Karlash Nail Repair Kit: Step-by-Step Guide
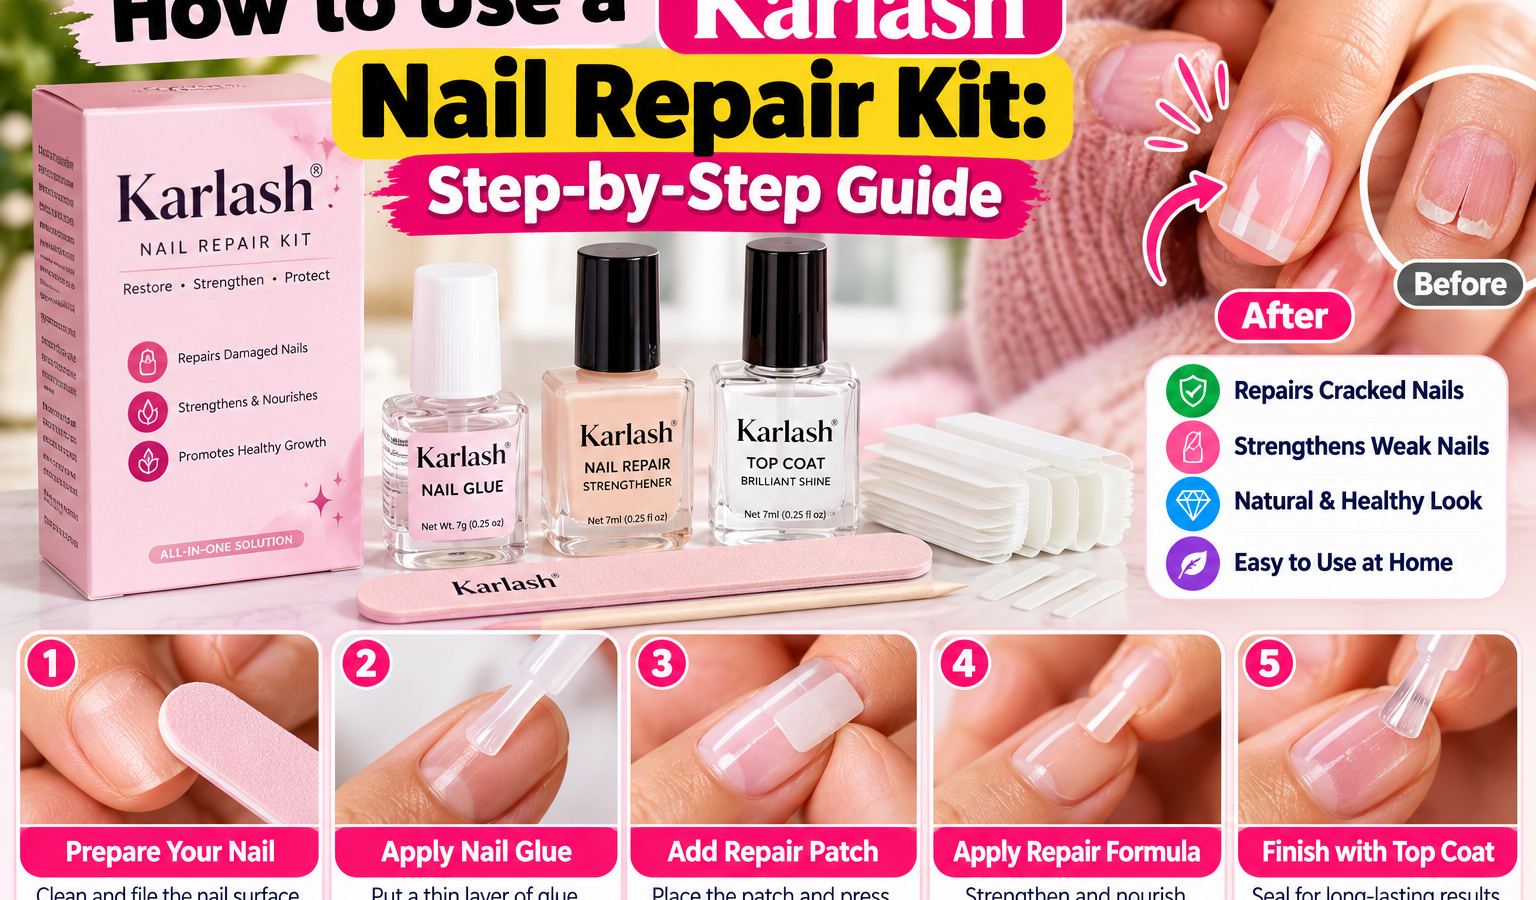
You’re running late for a big meeting, reach for your coffee cup, and hear that sickening snap. Your nail has split clean through, and now you’re staring at a jagged edge and wondering if you need to call in sick with a half-missing thumbnail. Or maybe it happened the night before a wedding, you didn’t have time to get a salon appointment, and now you’re dealing with a nail that won’t stop catching on everything.
This is exactly what the Karlash Nail Repair Kit was built for. It’s one of those products that sounds almost too simple to work reliably, but when you follow the right technique, it delivers results that hold up through real life. No salon visit required.
No expensive acrylic overlays. Just a quick, clean fix that looks like it belongs.
But here’s the thing, the difference between a repair that lasts three days and one that holds for weeks often comes down to how you prep the surface and how carefully you apply the product. Skip steps, rush the curing, or pick the wrong size tip, and you’re back to square one by dinner time.
This guide walks you through everything: what’s in the box, how to prep properly, the exact application sequence, troubleshooting common failures, and how to keep your repaired nail looking fresh. If you’ve ever wondered how to fix a broken nail without heading to a professional, this is the resource you’ve been looking for. Let’s get your nails working again.
What’s Inside the Karlash Nail Repair Kit
Before you pop the cap off anything, it helps to know exactly what you’re working with. The Karlash Nail Repair Kit is designed as an all-in-one solution, which means every component serves a specific purpose in the repair process. Removing them from the packaging and laying everything out gives you a clearer picture of the workflow ahead.
Here’s what you’ll typically find inside:
- Nail repair tips, These are pre-sized plastic or gel forms that bridge the gap on a broken or split nail. They come in multiple sizes so you can match each finger precisely.
- Adhesive bond glue, The fast-acting formula that secures the tip to your natural nail. This is the workhorse of the kit, and getting the application right determines how long your repair holds.
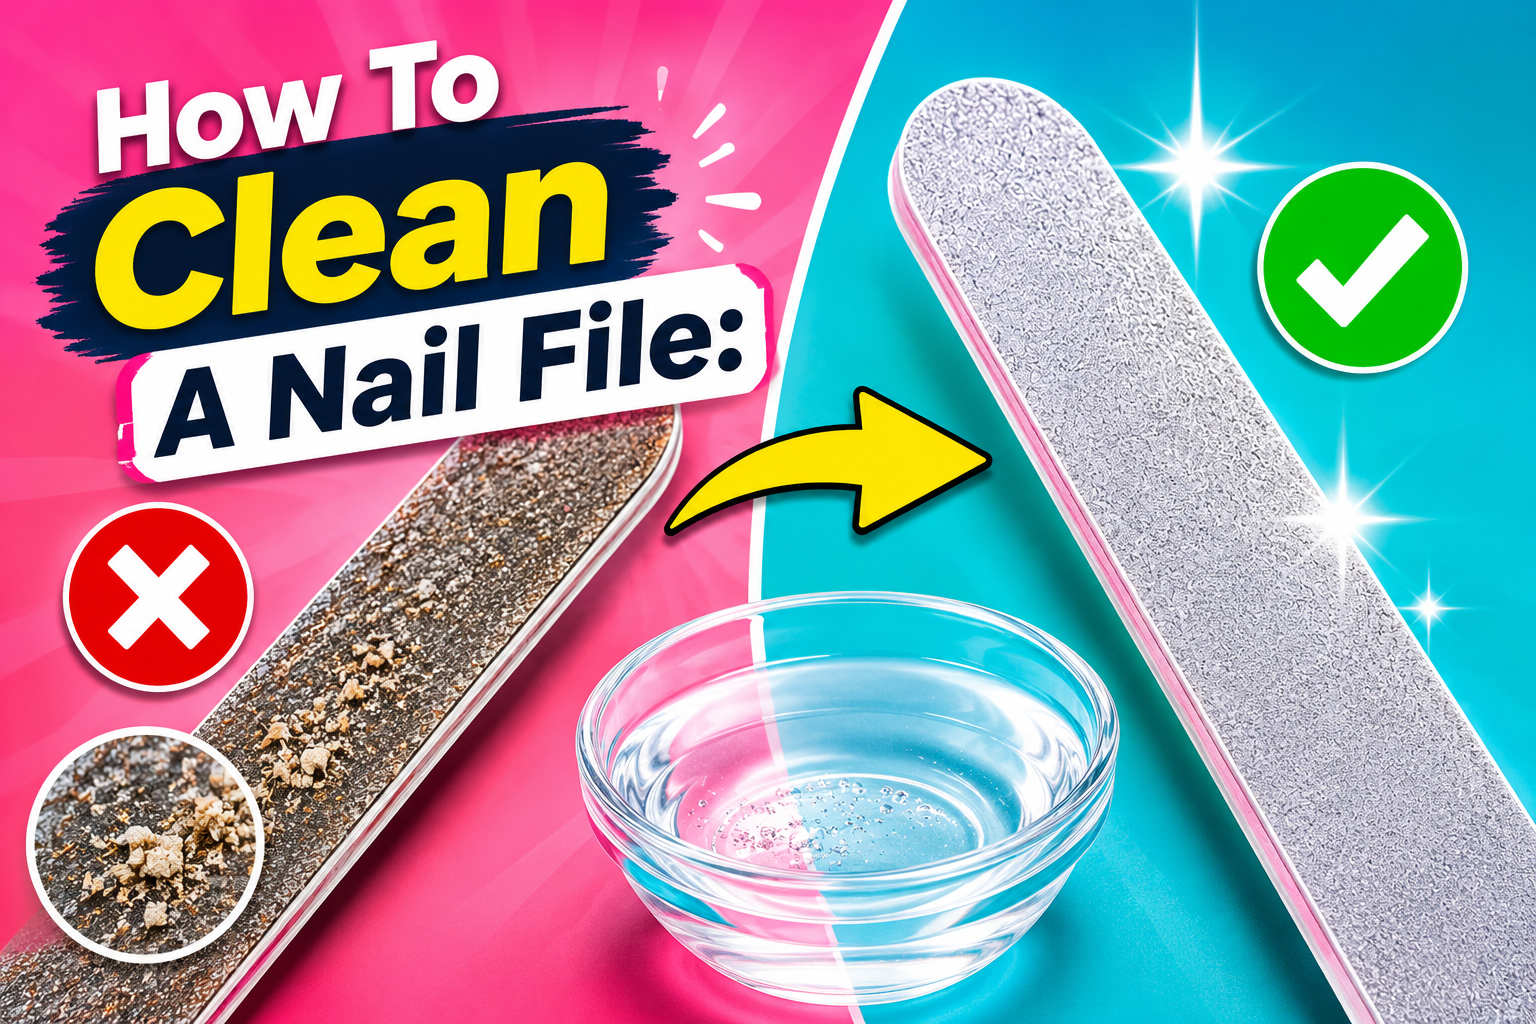
- A small file or buffer, Used to rough up the nail surface before gluing and to smooth the tip after it’s set. Surface texture matters more than most people realize.
- A cuticle pusher or applicator tool, Helps with precise glue placement and ensures the tip sits flush against the nail bed.
- Instruction card, Most kits include a quick reference guide, though it rarely covers the nuances that separate a mediocre repair from a durable one.
Some versions of the kit may also include a UV-cured gel top coat, especially in the newer iterations that market themselves as “gel-style” repairs. If yours includes a gel layer, you’ll need a compatible UV or LED lamp to cure it properly. We’ll cover that scenario in the steps below, along with the traditional glue-only approach.
If you’re new to at-home nail repairs generally, you might also want to explore how to apply fake nails at home for broader context on nail enhancement techniques. The skills overlap significantly, and understanding the fundamentals of nail adhesion makes any repair kit easier to work with.
Preparing the Nail Surface
This step is where most people go wrong, and it’s also the step that matters most. You could have the best repair tips and the strongest glue in the world, but if the nail surface isn’t prepped correctly, the bond will fail within hours. The goal here is to create a clean, slightly textured canvas that the adhesive can grip onto.
Remove All Existing Product
Start by stripping away any nail polish, gel coating, or acrylic residue on the damaged nail and the surrounding area. Residual polish creates a barrier between your natural nail and the repair adhesive, which is a surefire way to get a premature failure. Use a gentle acetone-free remover if you can, since pure acetone can dehydrate the nail plate and make it more brittle going into the repair.
If you still have length on the broken nail, trim it down to something manageable. You don’t want long fragments shifting around while you work. Clip it close enough that the repair tip can cover the break line comfortably, but leave enough natural nail for the adhesive to bond to.
When trimming, cut straight across rather than angling downward, that prevents weak points that could crack again under pressure.
Dehydrate and Clean the Nail Plate
Once the nail is trimmed and free of polish, take a lint-free wipe soaked in rubbing alcohol or a dedicated nail dehydrator and scrub the entire surface. This removes natural oils, skin cells, and microscopic debris that would otherwise interfere with adhesion. Wipe in one direction rather than back-and-forth, you’re pushing contaminants away, not spreading them around.
Let the nail air dry completely. Don’t touch the surface after this step. Your fingers carry natural oils that transfer instantly, and even a brief contact can compromise the bond.
If you catch yourself touching the nail after dehydrating, just re-wipe it quickly and move on.
Lightly Buff the Surface
Now comes the part most people skip because it feels unnecessary. Take the file or buffer from your kit, or a fine-grit nail file, and gently buff the surface of the natural nail where the repair tip will sit. You’re not trying to thin the nail down; you’re creating micro-scratches that give the adhesive something to mechanically lock onto.
Smooth, shiny nail surfaces are slippery. Slightly roughened ones are grippy.
Buff in a single direction, focusing on the area that the tip will cover plus a small margin around the edges. You should see a matte finish appear where you’ve worked. That’s the visual cue that you’ve done enough.
Over-buffing damages the nail plate and weakens the very structure you’re trying to support, so keep it light, three to five passes per nail is plenty.
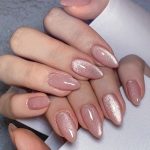
Image source: Openverse / Openverse contributor
Push Back Cuticles and Clean the Area
Use the cuticle pusher to gently push back the skin around the nail bed. This does two things: it exposes more clean nail surface for bonding, and it prevents glue from accidentally sticking to your cuticle or skin. Glue on skin is painful to remove and looks sloppy.
A little foresight saves you both problems.
Wipe the exposed nail one final time with a clean, dry lint-free pad to remove any oils released during cuticle work. Your nail should now look clean, matte, and slightly dull, that’s your ideal starting state.
If you’re dealing with a severely damaged nail that needs more than just a tip repair, consider pairing this process with a dedicated treatment. Reading up on the best nail treatments for damaged nails at home can help you choose a strengthening product to use after the repair, so the nail keeps recovering even while the tip holds it together.
Step-by-Step: Applying the Karlash Nail Repair Kit
With the nail prepped, it’s time to actually apply the repair. This section breaks the process into clear, sequential steps. Move deliberately, rushing here is the fastest path to a redo.
Step 1: Select the Correct Repair Tip Size
Pull out the assortment of nail tips and find the one that matches the width of your damaged nail at its widest point. The tip should cover the break completely and extend slightly past the edges of the natural nail on both sides. If the tip is too narrow, it won’t provide adequate support.
If it’s too wide, it’ll overlap your skin and create an awkward, bulky edge that catches on everything.
Test the fit by placing the tip (without glue) against the nail. It should sit flush with no gaps at the base. The curved underside of the tip should follow the natural contour of your nail plate.
If it rocks or tilts, try a different size.
Step 2: Apply the Adhesive
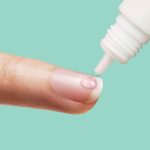
Dispense a small bead of the bond glue onto the inner curve of the repair tip, not onto your nail yet. A pea-sized amount is usually sufficient; you can always add more, but you can’t subtract excess once it’s on the nail. Spread the glue evenly across the tip using the applicator or a clean toothpick.
You want a thin, consistent layer, not a thick glob that will squeeze out everywhere when you press down.
Some technicians prefer to apply a tiny dot of glue directly to the center of the natural nail first, then press the tip onto it. Either method works, what matters is that the adhesive reaches every part of the contact surface without overwhelming the bond zone.
Step 3: Position the Tip
Working quickly but carefully, place the glued side of the tip onto the nail, starting at the cuticle area and rolling it down toward the free edge. This rolling motion pushes out air bubbles and ensures even contact across the entire surface. If you just drop the tip flat onto the nail, you’ll trap air underneath and create a weak spot that will lift first.
Press firmly with your thumb for about ten to fifteen seconds. The adhesive needs initial clamping force to begin setting. Don’t wiggle the tip, once you’ve placed it, hold it steady.
Movement at this stage breaks the forming bond.
Step 4: Remove Excess Glue
Even with careful application, some glue will squeeze out around the edges of the tip. Wipe it away immediately with a lint-free pad or cotton swab before it cures. Dried glue on the skin looks messy and can irritate the surrounding tissue.
If you’re working with the gel-top-coat version of the kit, this is also where you’d trim any overflow with a small clipper or nail scissors before moving to the shaping step.
Step 5: Allow the Bond to Set
Give the adhesive full curing time before touching anything to the repaired nail. Depending on the formula, this ranges from thirty seconds to a few minutes. Don’t test the bond by picking at the edges, that’s the quickest way to lift it before it’s ready.
If your kit includes a UV gel top coat, you’ll move directly into the curing step below. If it’s a traditional air-dry glue, let it settle for at least two to three minutes before proceeding to shaping.
Curing Under UV Lamp
If your Karlash Nail Repair Kit includes a UV-cured gel top coat (and many of the newer versions do), this step transforms a basic glue-down repair into something much more durable. The gel layer seals the tip, adds structural strength, and creates a smooth surface ready for polish. Skipping the cure leaves the repair vulnerable to water exposure and mechanical stress.
After positioning the tip and wiping away excess adhesive, apply a thin layer of the gel top coat over the entire repaired area, both the tip and the natural nail edges where they meet. The gel should be thin enough to self-level but thick enough to fully cover the surface. A heavy coat takes longer to cure and can remain tacky underneath.
Place your hand under the UV or LED lamp and cure according to the kit’s instructions. Most lamps require 30 to 60 seconds for a thin gel layer. If your lamp has both UV and LED settings, LED is faster and generally more effective for thin coats.
Follow the recommended time precisely, under-curing leaves the gel soft and prone to lifting, while over-curing can cause yellowing or excessive heat spikes.
If you feel significant heat during curing, that’s normal (called the heat flash). Lift your hand out for a second, then resume. Don’t rush out of the lamp prematurely just because it warms up, the gel needs the full exposure time to polymerize completely.
Once cured, wipe away any sticky inhibition layer with alcohol if the gel requires it. Some modern no-wipe gels don’t need this step, so check your kit’s instructions.
Shaping and Finishing the Repair
With the tip bonded and cured, the repair looks functional but rough. Shaping brings it to a polished, natural appearance.
File the Edges
Use a fine-grit file to blend the tip’s edges into your natural nail. File in one direction, sawing back and forth generates heat and can weaken the bond. Focus on the sides and the free edge, smoothing the transition until you can’t feel a ridge when you run your fingertip across the nail.
Pay special attention to the area where the tip meets the natural nail at the break line. This is the stress point, and any raised edges here will catch and eventually split open. A smooth, gradual blend distributes force evenly across the repair.
Buff the Surface
Gently buff the entire surface of the repair to remove file scratches and create a uniform texture. This step is especially important if you’re applying polish over the top, a smooth surface means the color goes on evenly and lasts longer.
Apply Polish or Leave Natural
Your repaired nail is ready for a top coat of clear polish, colored polish, or you can leave it bare. A clear hardening top coat adds an extra layer of protection and extends the life of the repair by sealing the bond from water and soap exposure. If you’re going for a natural look, a single coat of clear polish still provides that protective seal without altering the appearance.
For polish recommendations, checking out the top-rated nail polish brands for shine can help you pick a formula that adheres well to repaired surfaces and maintains its finish through daily wear.
Pro Tips for a Longer-Lasting Repair
Getting the technique right gets you a solid repair. Getting a long-lasting one requires a few extra habits that separate casual fixers from people who rarely think about nail damage again.
Keep your nails short while healing. A longer nail acts as a lever, amplifying any force applied to the tip. Short nails put far less stress on the bond. Once the underlying nail has grown out past the repair, you can gradually allow more length.
Wear gloves for wet work. Dishwater, laundry detergent, and cleaning chemicals soften adhesive bonds over time. Even if your repair survives the initial cure, prolonged water exposure is the enemy. A pair of rubber gloves turns a twenty-minute chore into a non-issue.
Apply cuticle oil daily. Repaired nails, like all nails, benefit from moisture. Dry nails are brittle nails, and brittleness leads to re-splitting. A quality cuticle oil worked into the nail bed and around the repair site each evening keeps the keratin flexible and the bond protected.
Building strong, beautiful nails starts with consistency, not magic products.
Avoid using your fingertips as tools. It’s a habit many of us don’t notice until it’s causing damage, opening packages, scraping off stickers, pressing button locks. The repaired nail is strong, but it wasn’t designed to take prying forces. Use the pads of your fingers or a tool instead.
Touch up the top coat every few days. A fresh layer of clear polish every three to four days reseals the repair and replenishes the protective barrier. It takes thirty seconds and can double the lifespan of your fix.
Common Mistakes That Ruin the Repair
Even with good intentions, certain errors almost guarantee failure. Knowing these upfront saves you from repeating them.
Skipping the dehydration step. Oily nail surfaces reject adhesive. Period. If you’re short on time, you might be tempted to wipe and go, but skipping the alcohol or dehydrator pass is the number one reason repairs lift within hours.
Using too much glue. More adhesive doesn’t mean a stronger bond, it means a messier bond. Excess glue creates a thick layer that cures unevenly and weakens the overall structure. Thin, even coverage wins every time.
Choosing the wrong tip size. A tip that’s too small doesn’t cover the break. A tip that’s too large creates a ledge that catches on clothing and hair. Measure twice, glue once.
Pressing too hard during application. The goal is firm contact, not crushing force. Pressing aggressively can force glue too far onto the skin, creating a visible ridge and potentially irritating the cuticle area.
Filing immediately after bonding. The adhesive needs time to reach full strength. Filing into a partially set bond introduces vibration and shear force that can disrupt the connection before it’s ready. Wait at least a few minutes, preferably longer.
Ignoring the free edge. Many people focus only on the tip and forget to reinforce the very end of the nail. A thin coat of gel or clear polish extended to the free edge adds structural integrity where nails are most likely to crack again.
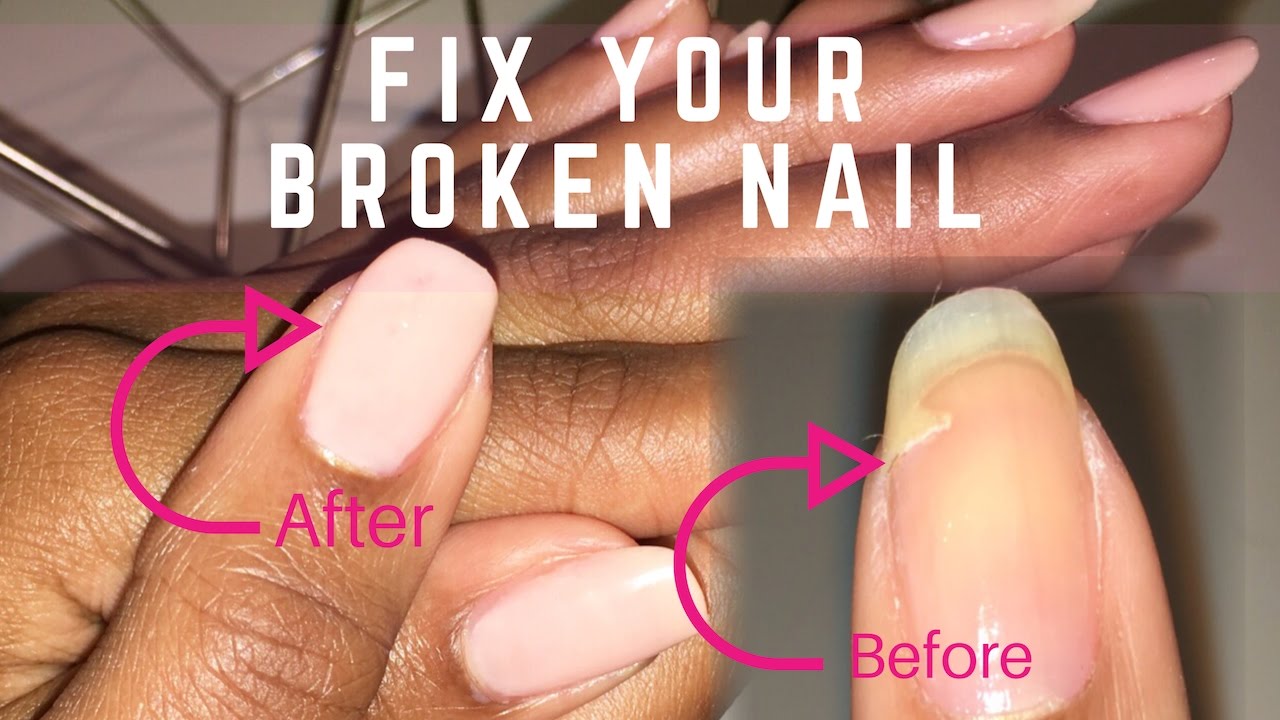
If you’ve made any of these mistakes and the repair has already lifted, don’t panic. How to fix a broken nail covers alternative approaches for different damage scenarios, and you may find that starting fresh with the corrected technique gives you a much better result than patching over a flawed repair.
How Long Does a Karlash Nail Repair Last?
Under normal conditions, a properly applied Karlash Nail Repair Kit should hold for seven to fourteen days. Several factors influence this range:
- Nail growth rate, Faster-growing nails push the repair forward sooner, which can expose the bond line. Most people’s nails grow about three millimeters per month.
- Daily hand use, Heavy typing, manual work, or frequent glove-wearing all affect longevity differently.
- Water exposure, Jobs or hobbies that keep hands wet accelerate adhesive breakdown.
- Application quality, This is the biggest variable. A well-prepped, correctly sized repair lasts significantly longer than a rushed one.
If your repair starts lifting before the one-week mark, it’s almost certainly a prep issue rather than a product issue. Revisit the dehydration and surface buffing steps and try again. Most failures trace back to skipped preparation rather than inferior materials.
For people who find themselves repairing nails frequently, exploring best acrylic nail kits might be worth considering. While more involved than a quick tip repair, acrylic systems provide a more permanent solution for chronically weak or broken nails.
Frequently Asked Questions
Can I use the Karlash Nail Repair Kit on gel or acrylic nails?
The kit is designed primarily for natural nails, but it can work on old gel or acrylic layers if the surface is properly prepped. You’ll need to buff away the shiny top coat of the existing enhancement and dehydrate thoroughly before applying the repair tip. Bonding directly over a glossy gel surface without buffing will almost certainly fail.
Is the Karlash repair kit safe for daily use?
Yes, when used as directed. The adhesives and gels in the kit are formulated for cosmetic nail use and don’t penetrate the nail bed when applied correctly. The main safety consideration is avoiding contact with open cuts or irritated skin around the nail.
If you have a hangnail or split cuticle near the repair area, treat that first and allow it to heal before applying the kit.
Can I file and reshape the repair tip after application?
Absolutely. The cured tip and gel coating are designed to be filed, shaped, and buffed just like a natural nail or acrylic extension. This is actually expected, shaping is a standard part of the process.
Use a medium-grit file for major shape adjustments and a fine buffer for smoothing.
What should I do if the tip doesn’t stick on the first try?
Remove the tip completely, clean off all residual adhesive with acetone or nail polish remover, and start the prep process over. Do not attempt to re-glue a tip that has already been lifted, the original bond is compromised. Fresh prep, new tip, and a clean application usually resolve the issue.
Does the repair kit work on toenails?
It can, though the larger surface area and slower growth rate of toenails mean you may need a different tip size and slightly longer curing time. Toenails also endure more moisture and pressure, so wearing shoes that don’t compress the repaired toe is important for longevity.
How do I remove the repair when it’s time to take it off?
Soak the nail in warm soapy water for five to ten minutes to soften the adhesive, then gently lift the edge of the tip with an orange stick or cuticle pusher. Work slowly around the perimeter rather than prying from the center. If the tip resists, apply a small amount of acetone to the bond line and wait another minute.
Never force it off, your natural nail will pay the price.
Should I use a base coat before painting over the repair?
A base coat is recommended, especially if you’re applying colored polish. It creates an additional protective layer between the repair surface and the pigment, and it helps the color adhere more evenly. Let the base coat dry completely before adding your color.
Can I reuse a removed repair tip?
No. Once the adhesive has been activated and pressed against the nail, it cannot be reapplied effectively. Always use a fresh tip for each repair attempt.
What’s the difference between the Karlash kit and a full acrylic overlay?
A Karlash repair is a targeted fix, it bridges a specific break or split with a small tip and adhesive. An acrylic overlay covers the entire nail with a liquid-powder system and is a full enhancement. The repair kit is faster, less expensive, and better for occasional fixes.
Acrylic is better for people who want length, dramatic shape changes, or who deal with chronic nail weakness.
How do I prevent my nails from breaking in the first place?
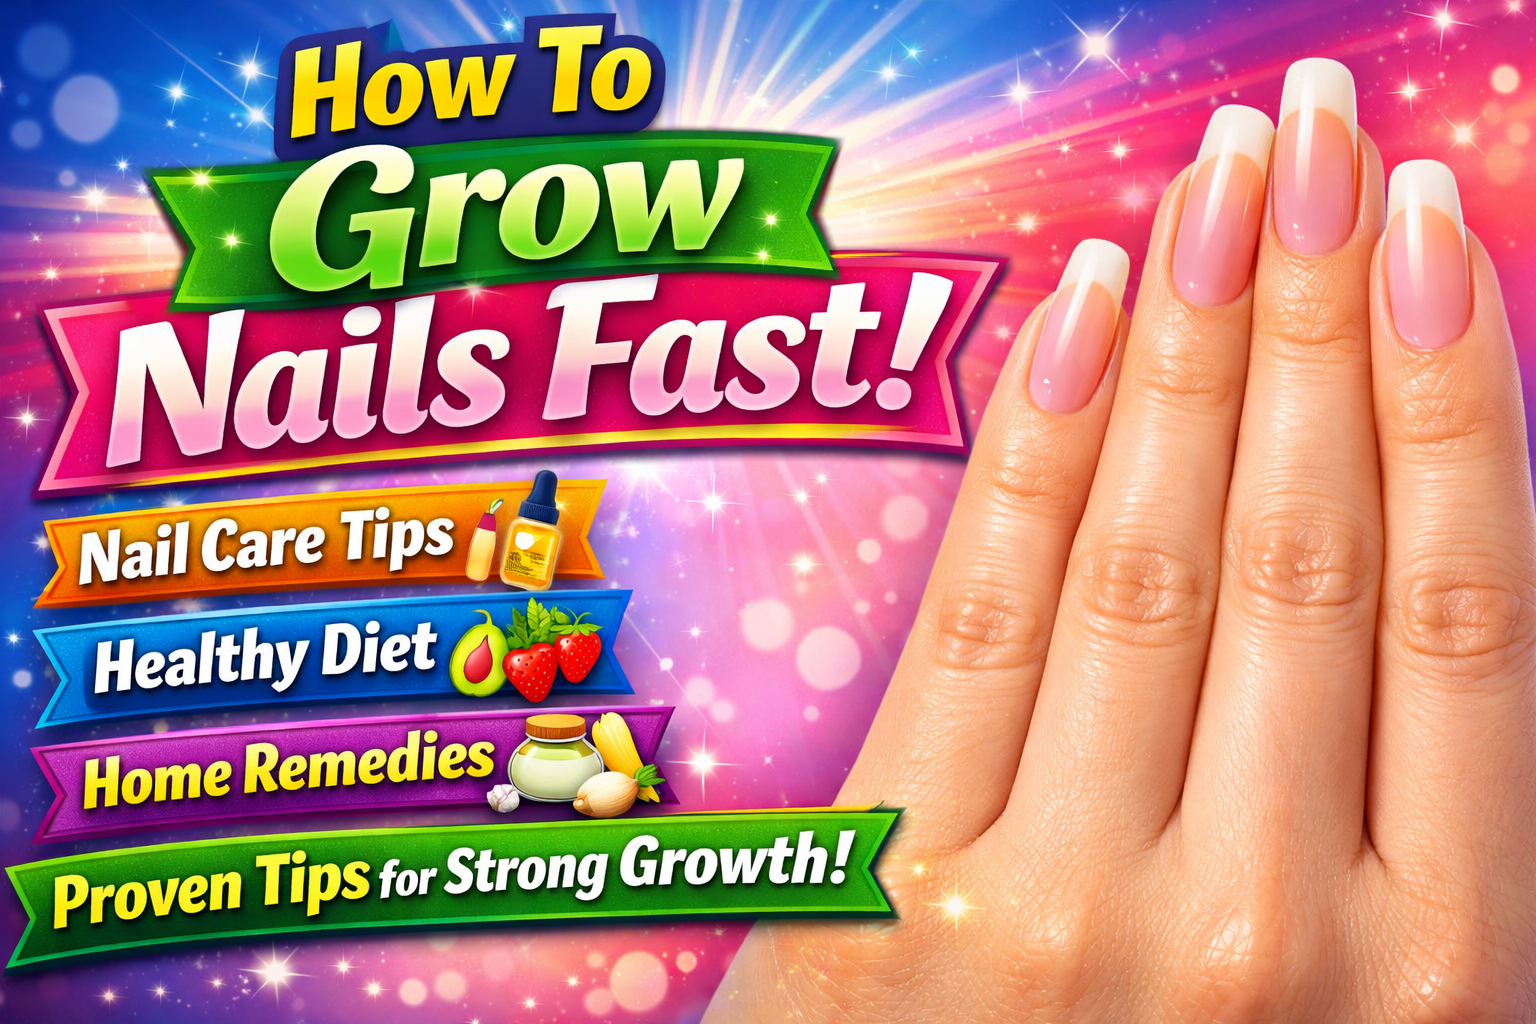
Nail strength comes from a combination of hydration, nutrition, and protection. Keep your cuticles oiled, avoid excessive water exposure without gloves, and maintain a diet rich in biotin, protein, and omega-3 fatty acids. How to grow nails fast covers several evidence-based strategies for improving nail resilience over time.
Learning how to file nails safely is also essential, improper filing creates micro-fractures that eventually turn into full splits.
Final Thoughts
The Karlash Nail Repair Kit is exactly what it claims to be: a practical, effective solution for the moments when your nails betray you. It won’t replace a professional manicure if that’s what you’re after, but for a fast, discreet repair that holds up through your actual day, it’s genuinely impressive, especially when you respect the prep work.
The core lesson here isn’t complicated. Clean the nail properly. Pick the right size tip.
Apply a thin, even layer of adhesive. Give it time to set. Protect it from water and abuse while it heals.
Follow those steps, and your repaired nail will blend in so seamlessly that nobody will know anything happened.
Nails break. It happens to everyone, regardless of how carefully they treat them. What matters is having a reliable method to fix the damage quickly and make it stick.
With the right technique and a bit of patience, the Karlash kit delivers exactly that.
Amazon and the Amazon logo are trademarks of Amazon.com, Inc, or its affiliates.
Author


Similar Posts