Do a proper prep, use EMA acrylic, build a balanced apex, and seal well.
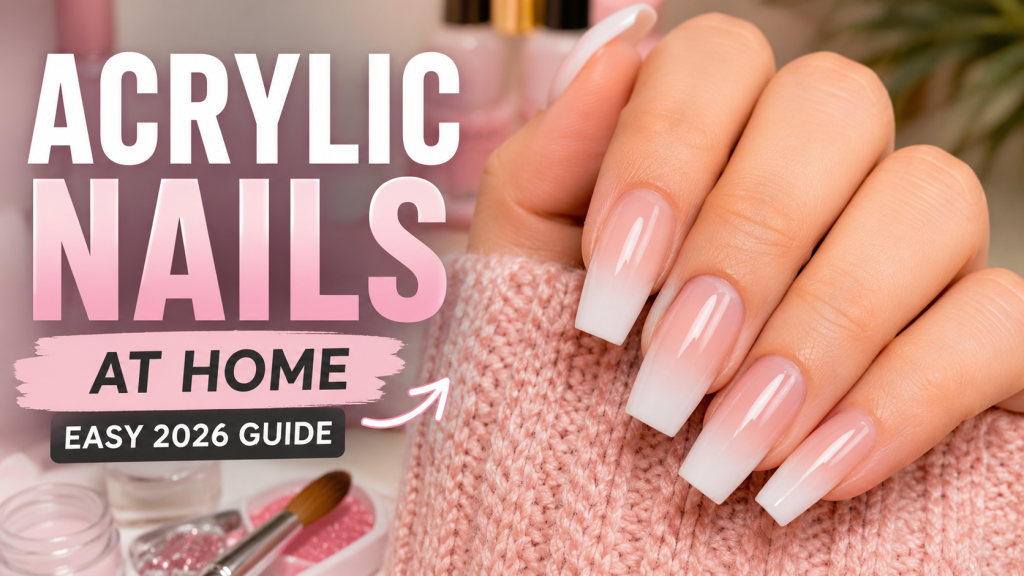
If you want salon-level results without leaving home, you’re in the right place. I’ve done hundreds of sets, coached beginners, and fixed my own early mistakes. This guide breaks down How To Do Acrylic Nails At Home with simple steps, pro tips, and safety notes you can trust. Stick with me, and your first set can look clean, last longer, and feel comfortable.
:max_bytes(150000):strip_icc()/ScreenShot2020-04-14at12.44.22PM-ad29736fd3674d00b228235c27da72fe.png)
What You Need To Do Acrylic Nails At Home
Setting up right makes the process smooth. A solid kit cuts guesswork and prevents lifting. Here is the core setup I keep on my desk when I teach How To Do Acrylic Nails At Home.
- Nail file 180/240 grit and a buffer Block for shaping and smoothing.
- E-file with a soft sanding band Optional but helpful for clean prep.
- Cuticle pusher and cuticle nippers For gentle cuticle care.
- Nail dehydrator and primer Dehydrate removes oil; primer helps adhesion.
- EMA monomer and acrylic powder Choose a reliable brand; avoid MMA.
- Kolinsky acrylic brush Size 8–10 is beginner-friendly.
- Nail tips and nail glue Or nail forms if you prefer sculpting.
- Dappen dish and lint-free wipes For clean, controlled work.
- Isopropyl alcohol 70% For surface cleanse.
- Top coat and cuticle oil Non-wipe gel top or air-dry top coat both work.
- 100% acetone, foil, and cotton For cleanup and removal.
- A small desk fan and mask For fumes and dust control.
Personal tip: When I first learned How To Do Acrylic Nails At Home, a size 8 brush and a medium-setting powder gave me the most control. Fast-setting powders can frustrate beginners because they dry before you place the bead.

Source: youtube.com
Safety, Hygiene, and Setup
Safe nails start with a clean space and good habits. Acrylic uses strong liquids that can irritate skin and eyes. Respect the chemistry and your nails will thank you.
- Ventilation matters Work near an open window or use a desk fan that blows fumes away from you.
- Use EMA monomer Many state boards discourage MMA for home use. EMA is safer for the nail plate.
- Protect your skin Wear a mask for dust. Avoid getting monomer on your skin. Wipe spills right away.
- Sanitize your tools Wash, then disinfect metal tools. Use fresh files if they look worn.
- Patch test If you have sensitive skin, test a tiny drop near your wrist. Stop if you feel burning or rash.
- Know when to pause If your nails are thin or peeling, switch to a break with nail oil for 2–4 weeks.
These steps may feel extra, but they directly improve results when you learn How To Do Acrylic Nails At Home.

Source: nailcompany.com
Prep: The Foundation For Long-Lasting Acrylics
Great prep is 70% of success. Bad prep leads to lifting and breaks. Take your time here.
- Wash and dry hands Start clean to reduce contamination.
- Push back the cuticles Gently lift the eponychium and remove only loose cuticle from the nail plate.
- Shape and shorten Free edge should match your tip or sculpting plan.
- Lightly remove shine Use a 180–240 grit file. You want a matte surface, not deep scratches.
- Dust and cleanse Use a lint-free wipe with alcohol to remove dust.
- Dehydrate and prime Dehydrator first, then a thin layer of primer. Do not touch the nail after priming.
Pro insight: When I teach How To Do Acrylic Nails At Home, I tell students to pause after priming and check for skin oils. If you touch hair or face, re-dehydrate. Oil causes lifting faster than any filing mistake.
Source: youtube.com
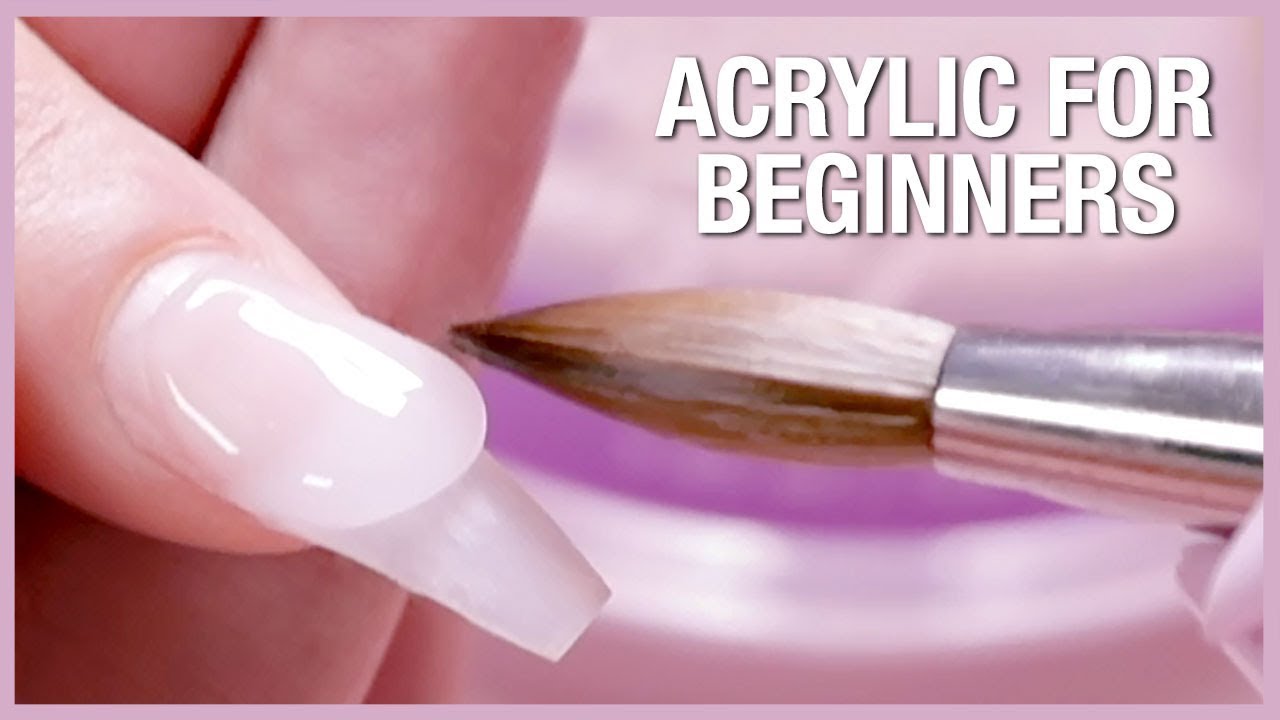
Step-by-Step: How To Do Acrylic Nails At Home
Here is a simple, repeatable workflow. It suits beginners and builds muscle memory.
- Fit your tips Choose tips that match sidewall to sidewall. If unsure, pick the larger size and file to fit.
- Glue tips and trim Apply a small glue bead. Hold for 10 seconds. Trim length and refine the blend area.
- Re-buff the natural nail and tip junction Lightly blend tip without filing your natural nail thin.
- Dehydrate and prime again Use sparingly. Too much primer can cause lifting or burns.
- Set up your monomer and powder Pour monomer into a dappen dish. Keep a clean towel to wipe your brush.
- Load your brush Dip, wipe one side, then touch powder to form a medium bead. It should look satin, not runny.
- Place your first bead Start near the apex area. Pat and press to build the highest point slightly behind the center.
- Second bead Move toward the cuticle. Keep a hairline gap from the skin. Feather forward to blend.
- Third bead Finish the free edge. Cap the tip and seal the sidewalls to avoid cracks.
- Perfect the structure Check side view. The apex should be subtle, not bulky. Add a tiny bead if needed.
- Let it set Allow 2–3 minutes until the surface loses shine and becomes firm to file.
- Shape and refine File the sidewalls straight, then surface balance. Smooth with a buffer.
- Cleanse and top coat Wipe with alcohol, then apply top coat. Cure if using gel top coat.
- Oil and admire Massage cuticle oil and flex the fingers to check comfort.
PAA-style quick checks:
- How long do acrylic nails take to do at home The first full set can take 90–120 minutes. With practice, you can finish in 60 minutes.
- Do you need a UV lamp for acrylic No. Acrylic cures by a chemical reaction. Only gel top coats need a lamp.
- What is a good liquid-to-powder ratio Aim for a medium bead. Too wet floods and lifts; too dry looks grainy.
If you repeat these steps for every finger, you have mastered How To Do Acrylic Nails At Home in a safe and steady way.
:max_bytes(150000):strip_icc()/How-to-Safely-Remove-Fake-Nails-54dacd3f9648421488d2ad099fb9d721.png)
Source: byrdie.com
Shaping, Buffing, and Building a Strong Apex
Structure gives strength. The apex is your shock absorber. Without it, nails snap at the stress point.
- Where to place the apex Slightly behind the center of the nail. Thinner near the cuticle, thicker at the apex, tapered at the tip.
- File order Sidewalls, free edge, then surface. Use long, gentle strokes to avoid heat.
- Blend to cuticle Feather-thin at the cuticle for a flush look. No ridges. No product on the skin.
- Check from every angle Look down the barrel for symmetry. Compare hands in good light.
Mistake to avoid: Overfiling the natural nail or the cuticle zone. Early in my journey with How To Do Acrylic Nails At Home, I used too coarse a grit and thinned the plate. Recovery took weeks. Respect the nail.

Source: youtube.com
Polishing, Nail Art, and Trend Ideas
Your base is set. Now it is time to finish with style. Keep art simple at first, then layer up.
- Classic finishes Nude, French, soft pink, or clear with a glassy top coat.
- Easy art for beginners Chrome powder, glitter fade, or a single-stone accent.
- Intermediate art Marble swirls, ombré with acrylic or gel polish, or encapsulated glitter.
- Pro tip Wipe dust well before top coat. Any dust becomes bumps you cannot unsee.
When people ask How To Do Acrylic Nails At Home and still get a salon vibe, I suggest a clean French with a thin smile line. It looks pro even at short lengths.

Source: walmart.com
Daily Care, Fills, and Longevity
Acrylic is strong but not invincible. Simple care gives longer wear. Fills keep your set safe and neat.
- Oil daily Cuticle oil twice a day keeps the area flexible and prevents lifts.
- Wear gloves Use them for dishes and cleaning. Chemicals dry out acrylic and skin.
- Schedule fills Every 2–3 weeks is ideal. Do not wait past 4 weeks to avoid tip-heavy breaks.
- Check lifting If you see air pockets, file back to solid product and rebalance during a fill.
When you learn How To Do Acrylic Nails At Home, set a fill day on your calendar. It builds a habit and prevents emergency breaks.

Source: youtube.com
Troubleshooting: Fix Common Acrylic Mistakes
Everyone makes mistakes. The fix is often simple. Here are the issues I see most when people try How To Do Acrylic Nails At Home.
- Lifting at the cuticle Cause Product on skin or oil on the plate. Fix Prep better, use less primer, stay a hairline from the skin.
- Bubbles and pits Cause Overworking or dry beads. Fix Use a medium-wet bead and press gently instead of scrubbing.
- Thick and bulky nails Cause Too much product or no apex plan. Fix Map the apex first; remove bulk with a 180 grit, then refine.
- Flooding into sidewalls Cause Beads too wet. Fix Wipe brush more. Place bead slightly away and walk it into place.
- Yellowing Cause Old monomer or smoke exposure. Fix Use fresh EMA, avoid contamination, and top coat well.
These habits come from years of helping friends master How To Do Acrylic Nails At Home. Keep notes on what worked and what failed. Your sets will improve fast.
Source: lead-academy.org
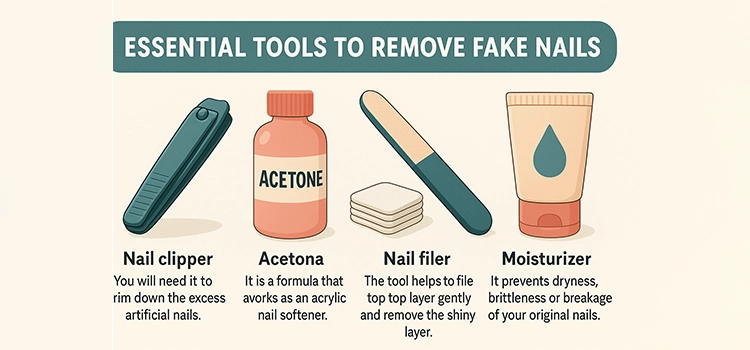
Removal and Nail Recovery
Respectful removal protects your natural nails. Never pry or pop off. It peels layers and weakens the plate.
- File the top coat Break the seal so acetone can work.
- Soak with acetone Saturate cotton, place on each nail, and wrap with foil. Wait 15–25 minutes.
- Gently lift softened acrylic Use a wooden stick and rewrap if needed. Do not force it.
- Finish and care Buff lightly, wash hands, then apply oil and a hydrating hand cream.
If you are pausing after How To Do Acrylic Nails At Home, try a nail strengthener and daily oil for two weeks. Nails bounce back fast with moisture.
Cost, Time, and Skill Curve
Let us set real expectations. Good tools cost less than two salon visits. Skill rises with practice.
- Starter budget 60–120 dollars for a solid beginner kit with EMA monomer.
- Time for a set 90–120 minutes at first. Fills take 45–60 minutes with practice.
- Learning curve 3–5 sets to feel comfortable. 10–12 sets to look salon-clean.
Track each attempt when you practice How To Do Acrylic Nails At Home. Take photos, note the beads, timing, and any lifting. Small tweaks make big changes.
Frequently Asked Questions of How To Do Acrylic Nails At Home
How long should acrylic nails last at home?
A well-prepped set lasts 2–3 weeks before a fill. Longevity depends on prep, apex placement, and daily care.
Can I do acrylic nails if my nails are thin?
Yes, but be gentle with filing and use a stronger apex. If your nails are sore or peeling, pause and oil for two weeks.
What is the safest monomer for home use?
EMA monomer is the industry standard. Avoid MMA-based products, which can be harsh on the nail plate.
Do I need nail forms, or are tips fine?
Tips are easier for beginners. Forms give a custom fit once you learn placement and control.
Why do my acrylics lift after a few days?
Common causes are poor prep, oil on the nail, or product touching skin. Improve dehydration, primer use, and bead control.
Can I paint over acrylic with regular polish?
Yes. Let the surface dry, buff lightly, cleanse, and apply polish. Seal with a top coat for shine.
How do I clean my acrylic brush?
Wipe often on a lint-free towel while working. At the end, swish in clean monomer and reshape the bristles.
Conclusion
You now have a full, step-by-step plan for How To Do Acrylic Nails At Home. Prep well, build a balanced apex, and take your time with each bead. Small, steady moves beat speed every time.
Try your first set this week. Keep notes, oil daily, and book your own fill day. Want more pro tips and practice plans Subscribe for updates, ask questions, or share your progress in the comments.
Amazon and the Amazon logo are trademarks of Amazon.com, Inc, or its affiliates.