As an Amazon Associate I earn from qualifying purchases.
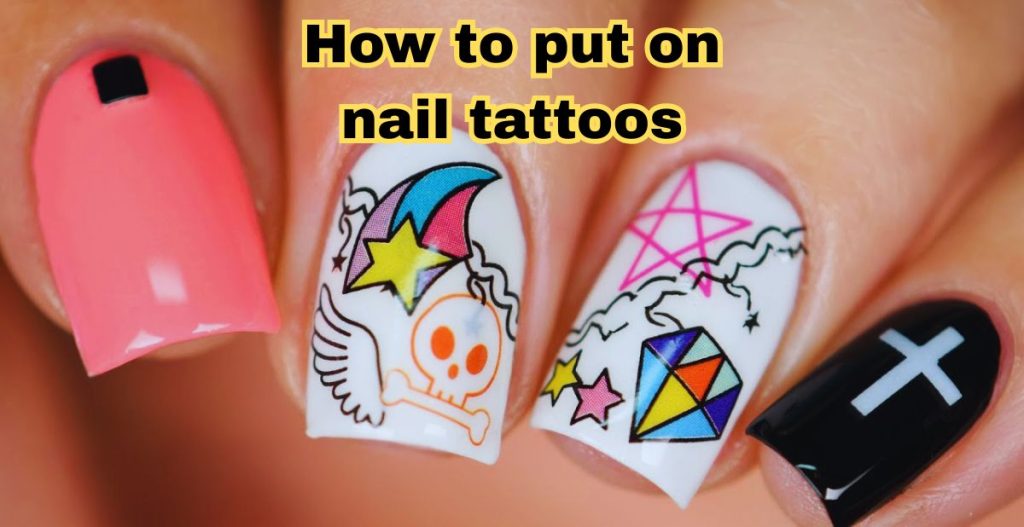
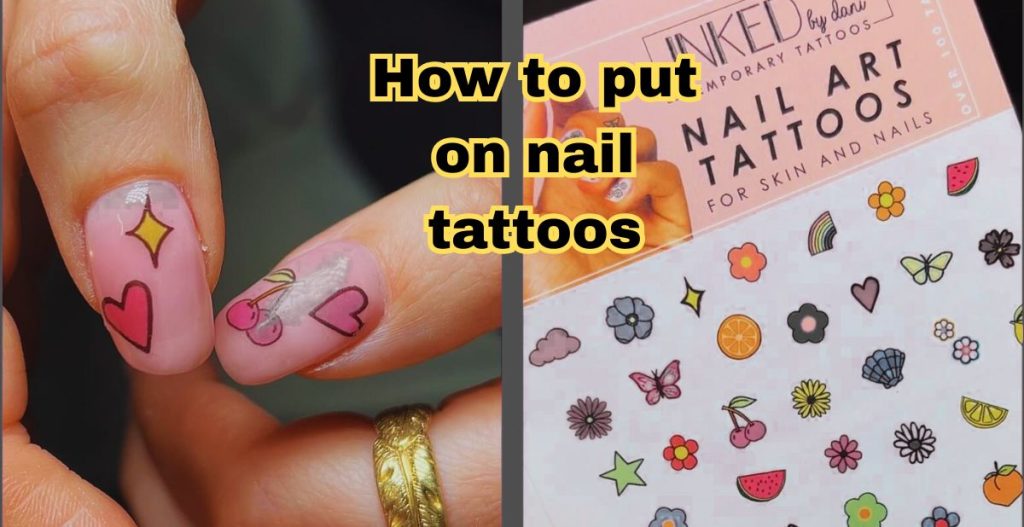
If you’ve ever wondered how to put on nail tattoos, you’re not alone. Nail tattoos have become one of the biggest beauty trends of 2025, loved for their fashion-forward look, affordability, and easy DIY application. Instead of spending hours (and big money) at a nail salon, you can achieve a stunning, professional-style manicure in minutes—right at home.
I still remember the first time I tried nail tattoos. I was a little skeptical—would they look cheap, or would they peel off right away? But to my surprise, they turned out sleek, elegant, and lasted much longer than I expected. That was the moment I realized why so many people are swapping traditional polish or salon nail art for these clever little stickers.
So, what exactly are nail tattoos? Think of them as temporary tattoos designed for your nails. Unlike bulky nail stickers or 3D decals, they’re ultra-thin, flexible, and mold seamlessly onto the nail surface, giving you an intricate design without the effort of hand-painting. Whether you’re into minimalist patterns, floral details, or bold geometric looks, there’s a nail tattoo for every style.
In this guide, I’ll walk you through everything you need to know about nail tattoos—what they are, how they differ from other nail art products, and most importantly, a step-by-step tutorial on how to put them on at home. Along the way, I’ll share pro tips to make them last longer and look flawless.
What Are Nail Tattoos?
Nail tattoos are temporary designs that you apply directly to your nails, much like the temporary tattoos we used as kids on our skin. The difference is that these are specially designed for nails—they’re thinner, more flexible, and often come in intricate patterns that would be nearly impossible to paint by hand. With just a bit of water and a topcoat, you can transfer stunning designs onto your nails in minutes.
Nail Tattoos vs. Nail Stickers
A lot of people confuse nail tattoos with nail stickers, but they’re not quite the same:
- Nail Tattoos – These are water-transfer designs that adhere seamlessly to the nail surface. They feel lightweight, smooth, and almost painted on.
- Nail Stickers – Stickers are adhesive-backed designs that you peel and press onto your nails. While fun, they can sometimes feel bulky or start peeling at the edges if not sealed well.
The big advantage of nail tattoos is how natural they look. Because they’re so thin, it’s hard to tell where the tattoo ends and your nail begins.
Temporary Nail Tattoos vs. Salon Nail Art
Another question people often ask is how nail tattoos compare with salon nail art.
- Salon Nail Art – Hand-painted designs or gel extensions can look amazing, but they require time, skill, and often a hefty price tag. Not to mention, upkeep can be expensive.
- Temporary Nail Tattoos – They give you the flexibility to change your look as often as you like, without commitment or big spending. Want flowers this week and minimalist lines next week? No problem—just switch them out.
While they may not last as long as a salon manicure, nail tattoos strike a great balance between style, convenience, and budget.
Why I Prefer Nail Tattoos
Personally, I’ve fallen in love with nail tattoos because they’re my go-to solution for quick, budget-friendly nail art. If I have a last-minute event or just want to feel a little more polished for the week, I can apply them in less than ten minutes. There’s no drying time like with polish, no smudges, and no worrying about whether I have a steady enough hand to draw clean designs. For me, they’ve turned into the perfect blend of creativity and convenience.
Benefits of Using Nail Tattoos
One of the main reasons nail tattoos are trending is because they make nail art more accessible and fun for everyone. Whether you’re someone who loves experimenting with new looks or just wants a polished style without the hassle, nail tattoos come with plenty of perks.
1. Easy DIY Nail Art at Home
You don’t need to be a nail artist—or even good at painting your nails—to use nail tattoos. With just a few simple steps, you can get salon-worthy designs in minutes. No special tools, no mess, and no stress. It’s the perfect DIY solution for beginners or anyone short on time.
2. Affordable Compared to Salon Manicures
Let’s face it—salon nail art can cost anywhere from $40 to $100 per visit. Nail tattoos, on the other hand, are budget-friendly and can be reused across multiple manicures. For the price of one salon appointment, you could buy several sheets of nail tattoos and have endless design options for months.
3. Wide Variety of Designs
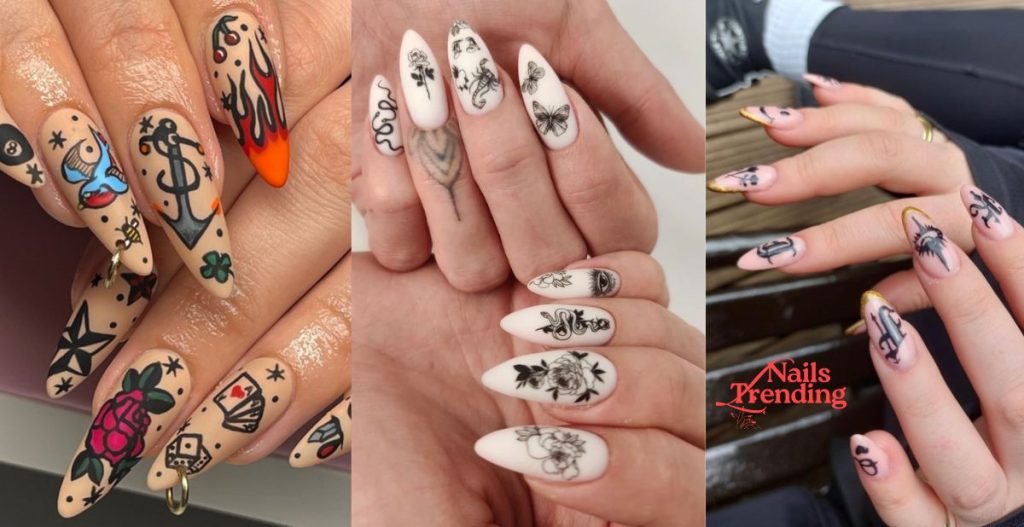
From minimalist lines and geometric shapes to bold florals and seasonal themes, nail tattoos come in an endless variety of styles. This means you can match your nails to your mood, outfit, or occasion without committing to one look for weeks at a time. It’s like having a fashion accessory that’s always customizable.
4. Safe, Temporary, and Fun
Unlike gels or acrylics that require harsh chemicals for removal, nail tattoos are completely temporary and safe. They peel off easily when you’re ready for a change, making them a fun way to switch up your style without damaging your natural nails.
5. My Favorite Designs and Why
Personally, I’m obsessed with delicate floral nail tattoos. They add a soft, feminine touch to my nails without being over-the-top, and they work for both casual days and special events. I also love seasonal sets—like autumn leaves in the fall or snowflakes in winter—because they let me embrace the mood of the season without spending a fortune at the salon.
Step-by-Step Guide: How to Put on Nail Tattoos at Home
If you’ve never tried nail tattoos before, don’t worry—it’s easier than you think. Here’s a complete guide to help you achieve flawless results, even on your first attempt.
Step 1: Gather Your Supplies
Before you start, make sure you have everything ready:
- Nail tattoos (either water-transfer or sticker style)
- Small bowl of water (for water-transfer tattoos)
- Tweezers (to handle delicate designs)
- Scissors (optional, for cutting out individual patterns)
- Clear top coat (to seal and protect the design)
Having these tools nearby makes the process quick, smooth, and stress-free.
Step 2: Prep Your Nails
A good base is the secret to long-lasting nail art. Start by:
- Cleaning your nails to remove any oils or residue.
- Filing them into your desired shape.
- Applying a base coat or a layer of nail polish (optional, but recommended).
Personal tip: I always use a neutral polish as a base. Not only does it help the tattoo stick better, but it also makes the design pop more vibrantly.
Step 3: Cut and Position the Tattoo
- Select the design you want.
- Carefully cut it out with scissors to avoid damaging nearby patterns.
- Position it on your nail:
- For water-transfer tattoos, place the design face-down against your nail.
- For sticker tattoos, simply line it up before pressing.
This step is all about accuracy—take your time to center the design where you want it.
Step 4: Apply the Tattoo
Now the fun part:
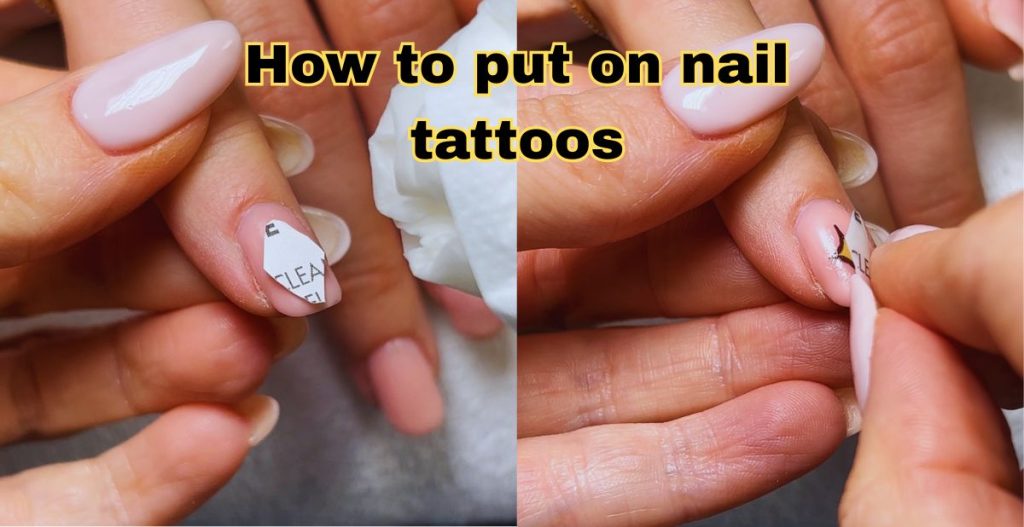
- For water-transfer tattoos: Dip your finger in water or press a wet cotton pad over the tattoo for 15–20 seconds until the backing slides off easily.
- For sticker tattoos: Peel the backing and press the sticker firmly onto your nail, smoothing out any bubbles.
Either way, you’ll instantly see the design come to life on your nail.
Step 5: Seal the Design
Once the tattoo is in place, apply a clear top coat over your entire nail. This locks in the design, prevents peeling, and adds a glossy finish. Allow it to dry completely before touching anything.
Step 6: Optional Touch-Ups
For a perfect, polished look:
- Use a small brush dipped in nail polish remover to clean up the edges.
- Add glitter polish, rhinestones, or other embellishments if you want to take your manicure to the next level.
Pro tip: Layering subtle shimmer over nail tattoos can make them look like custom salon nail art.
Common Mistakes to Avoid When Applying Nail Tattoos
Even though nail tattoos are beginner-friendly, a few simple missteps can make the difference between a flawless manicure and a frustrating one. Here are the most common mistakes people make—and how you can avoid them.
Skipping Nail Prep
It might be tempting to jump straight to the fun part, but skipping nail prep is the fastest way to end up with peeling tattoos. Oils, dust, or uneven nail surfaces prevent the tattoo from sticking properly. Always clean, shape, and buff your nails before applying.
Forgetting the Top Coat
A clear top coat isn’t optional—it’s the secret to keeping your nail tattoos intact. Without it, the design will rub off within hours. A good top coat seals the tattoo, adds shine, and extends wear time by several days.
Applying on Wet Polish
If you try to apply a tattoo over polish that hasn’t dried completely, you’ll likely smudge the design or cause it to slide out of place. Always wait until your base coat or color polish is fully dry before adding the tattoo. Patience here pays off.
Using Too Much Water
For water-transfer tattoos, balance is key. If you soak the tattoo for too long or flood it with water, the delicate design can tear or fold before you get it onto your nail. Instead, dampen the backing just enough so the tattoo slides off smoothly.
Quick Fix Tip: If you do make a mistake, don’t panic. Most nail tattoos are easy to remove with a little polish remover, so you can start over without damaging your nails.
Pro Tips for Long-Lasting Nail Tattoos
Nail tattoos may be temporary, but with the right care, you can make them last much longer than a day or two. Here are some tried-and-true tips that will keep your designs looking fresh and beautiful.
Always Use a High-Quality Top Coat
The biggest factor in longevity is your top coat. A thin, cheap formula won’t do much to protect your design. Invest in a high-quality, fast-drying top coat that provides a smooth, glossy seal. It acts like armor, keeping your tattoo safe from chips and scratches.
Avoid Hot Water for the First Few Hours
After applying nail tattoos, give them time to fully set. Hot showers, dishwashing, or soaking your hands can weaken the adhesive and cause the design to peel early. If possible, avoid prolonged contact with hot water for the first 3–4 hours.
Reapply Top Coat Every 2–3 Days
A single layer of top coat won’t last forever. To keep your design intact, apply a fresh coat every couple of days. This not only prolongs the life of your manicure but also restores shine if it starts to look dull.
My Personal Trick: Double-Layer Top Coat
One of my favorite hacks is applying two layers of top coat right after sealing the tattoo. The first layer secures the design, and the second layer adds extra durability. It gives me up to a week of wear, even with daily tasks like typing or cooking.
Bonus Tip: Wearing gloves while doing chores (like washing dishes or cleaning) can also help extend the life of your nail tattoos by minimizing exposure to harsh chemicals and water.
Removing Nail Tattoos
One of the best parts about nail tattoos is how easy they are to remove. Unlike salon gels or acrylics, you don’t need drills, harsh scraping, or long soaking sessions. Here are the simplest ways to take them off without damaging your natural nails.
Use Regular Nail Polish Remover
For most nail tattoos, a few swipes of regular nail polish remover on a cotton pad will do the trick. Simply press the pad against your nail for a few seconds and then wipe the tattoo away. This works especially well if you sealed your design with a top coat.
Gentle Peeling for Sticker Styles
If you’re using sticker-style nail tattoos, you can often lift them gently from the edges and peel them off. To make removal easier, soak your nails in warm water for a few minutes before peeling—this helps loosen the adhesive without causing damage.
My Personal Recommendation: Acetone-Free Remover
While acetone works quickly, it can also be harsh on nails and cuticles, leaving them dry or brittle with repeated use. That’s why I personally prefer acetone-free removers. They may take a few extra swipes, but they’re gentler and keep my nails healthier in the long run.
Pro Tip: After removing nail tattoos, always wash your hands thoroughly and apply a nourishing cuticle oil or moisturizer. This keeps your nails strong, hydrated, and ready for your next design.
My Personal Experience with Nail Tattoos
The first time I truly fell in love with nail tattoos was before a friend’s holiday party. I had been so busy that week that I didn’t have time to book a salon appointment, but I still wanted my nails to look festive and polished. With just a few minutes to spare, I pulled out a sheet of gold snowflake nail tattoos and applied them over a deep red polish.
To my surprise, the whole process took less than ten minutes, and the results looked as if I’d spent hours at a salon. At the party, people kept asking me where I had gotten my nails done, and I could hardly believe such an easy DIY trick was getting so many compliments.
Since then, nail tattoos have become my go-to solution for special occasions and quick fixes. Whether it’s a birthday dinner, a casual coffee date, or just when I want to feel put-together for the week, I know I can count on them to deliver a flawless look without stress.
What I love most is the freedom to experiment. One week I might go for minimalist lines, the next for playful florals, and sometimes bold designs for celebrations. It’s like having an endless collection of nail art styles at my fingertips—literally.
If you’ve never tried them, I encourage you to experiment with your own styles. Nail tattoos are safe, affordable, and endlessly creative. You might just find, like I did, that they become your little secret weapon for always looking polished, no matter how busy life gets.
FAQs
1. How to put on nail tattoos at home?
Applying nail tattoos at home is simple. Start by prepping your nails—clean, file, and optionally apply a base color. Cut out your chosen design, place it on your nail, and either press it with water (for water-transfer tattoos) or peel and stick (for sticker-style tattoos). Finish with a clear top coat to seal the design. With a few minutes and basic tools, you can achieve a professional-looking manicure at home.
2. Are nail tattoos safe for natural nails?
Yes! Nail tattoos are generally safe for natural nails, especially when using high-quality products. Unlike gels or acrylics, they don’t require harsh chemicals or filing that can damage your nail bed. To protect nail health, consider using acetone-free removers and applying a top coat for extra protection.
3. How long do nail tattoos last?
The longevity of nail tattoos depends on how well you apply and care for them. Typically, water-transfer tattoos last 3–5 days, while sticker-style designs may last slightly longer with a top coat. Avoid hot water for the first few hours and reapply the top coat every 2–3 days to extend wear.
4. What’s the difference between nail tattoos and nail stickers?
- Nail Tattoos: Thin, flexible designs that transfer seamlessly onto nails, often using water. They feel lightweight and look painted-on.
- Nail Stickers: Adhesive-backed designs that are pressed onto the nail. They can sometimes feel bulky or peel at the edges.
The main difference is in texture and realism—nail tattoos generally look more natural and last longer when properly sealed.
5. Can I apply nail tattoos over gel polish or acrylics?
Yes, but with caution. Nail tattoos can be applied over gel or acrylic nails if the surface is clean, smooth, and free of oils. Make sure your gel polish is fully cured, and avoid applying over recently filed or uneven acrylics. Always seal with a top coat to ensure the design stays intact.
Tip for Voice Search: Keep answers concise, clear, and conversational. Voice assistants like Alexa or Google Assistant prefer brief, actionable responses that directly address the question.
Conclusion
Nail tattoos have truly changed the way I approach nail art. They offer a fun, quick, and budget-friendly alternative to traditional manicures, allowing anyone to achieve professional-looking designs from the comfort of home. With just a few minutes, basic tools, and a little creativity, you can transform your nails into a fashion statement without the hassle of a salon visit.
Personally, I always keep a few sheets of my favourite nail tattoos in my beauty kit. They’ve saved me countless times when I needed a last-minute, compliments-worthy manicure and allowed me to experiment with different styles without commitment.
If you’ve never tried them before, I encourage you to give nail tattoos a try. Mix and match designs, play with colours, and don’t be afraid to get creative. Share your favourite styles with friends—or even online—and discover how satisfying and effortless DIY nail art can be. With nail tattoos, your nails can always look polished, stylish, and uniquely you.
Amazon and the Amazon logo are trademarks of Amazon.com, Inc, or its affiliates.