Dreaming of flawless nails that look like they just walked out of a salon? You’re not alone.
Many people are turning to acrylic nails to achieve that polished, professional look right at home. But the idea of applying acrylic on natural nails can be a bit daunting. Will it damage your nails? Is it difficult to do by yourself?
The good news is, with the right guidance, you can apply acrylic to your natural nails easily and safely, achieving stunning results. Imagine the confidence boost you’ll feel every time you look at your beautifully manicured hands. No more worrying about chips or breaks. This guide is designed just for you, breaking down each step into simple, manageable parts. You’ll learn not only how to apply acrylic, but also how to do it in a way that protects and preserves your natural nails. By the end of this article, you’ll be equipped with all the tips and tricks you need to create nails that are not only beautiful but also healthy and strong. Keep reading to discover how you can transform your nails into a masterpiece at home.
Credit: www.youtube.com
Preparing Natural Nails
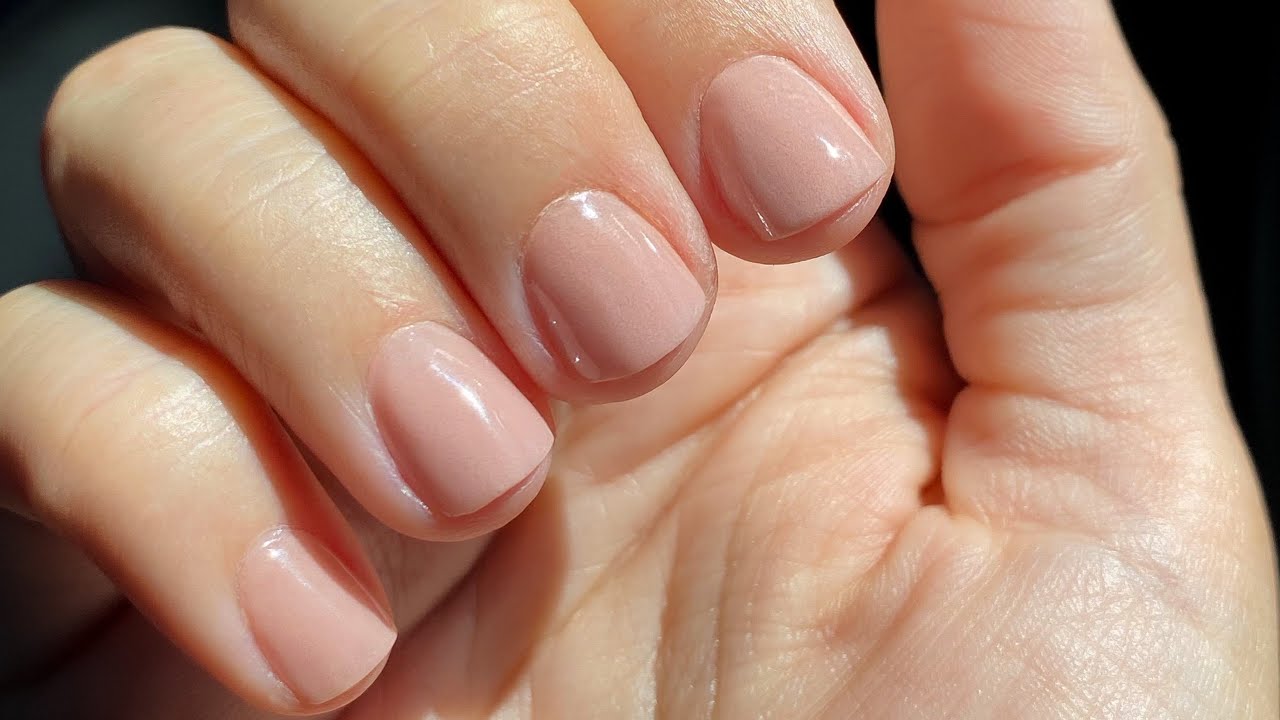
Applying acrylic on natural nails requires proper preparation. This step ensures longevity and a stunning finish. Preparing your nails involves cleaning, trimming, and buffing. Follow these steps for a perfect acrylic application.
Cleaning And Sanitizing
Start with clean nails. Wash your hands with soap and water. This removes dirt and oils. Use a nail brush to scrub under the nails. Dry your hands thoroughly. Sanitize tools and surfaces. Use alcohol wipes for extra hygiene.
Trimming And Shaping
Trim nails to a comfortable length. Use nail clippers for precision. Shape nails with a file. Round or square shapes work well. Avoid sharp edges. Smooth corners prevent snagging. File gently to avoid damage.
Buffing The Surface
Buffing creates a smooth surface. Use a fine-grit buffer. Buff lightly in one direction. This removes ridges and unevenness. Do not over-buff. Over-buffing weakens nails. A smooth surface helps acrylic adhere better.
Essential Tools And Materials
Applying acrylic on natural nails requires the right tools and materials. They ensure a smooth application and long-lasting finish. It’s important to select quality products for a professional result. Begin by gathering all essential items before starting.
Choosing Acrylic Products
Selecting the best acrylic products is crucial. Opt for high-quality acrylic powder and liquid. Look for brands known for durability and smooth application. Check reviews or ask professionals about reliable options. Avoid cheap products that may harm nails.
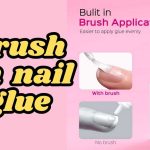
Brush Selection
The brush is an important tool in acrylic application. Choose a brush with natural bristles for smooth strokes. Ensure it fits comfortably in your hand. A well-chosen brush can make a big difference. Clean it regularly to maintain its shape.
Additional Accessories
Other accessories enhance the application process. Nail files and buffers help shape the nails. Use a primer for better adhesion. Keep a dappen dish for mixing acrylic liquid and powder. Ensure you have cuticle oil for healthy nails post-application.
Applying Acrylic Step-by-step
Applying acrylic to natural nails enhances beauty and durability. Start by cleaning nails thoroughly. Apply a base coat, then carefully add acrylic layer by layer. Shape and smooth the surface for a polished look. Finish with a top coat to seal and protect.
Enjoy long-lasting, stunning nails.
Applying acrylic on natural nails can transform your manicure game, giving you a long-lasting and glamorous look. Whether you’re a beginner or have some experience, this step-by-step guide will help you achieve salon-quality nails at home. Follow along to learn how to apply acrylic with precision and flair.
Primer Application
Begin by gently pushing back your cuticles and buffing your nails to remove shine. This preps your nails for the primer. Apply a thin layer of primer to each nail. This step ensures the acrylic adheres properly, preventing lifting. Have you noticed how a good primer can make or break your acrylic experience? Let the primer dry completely. You’ll know it’s ready when it looks slightly tacky and shiny.
Acrylic Powder And Liquid
Pour a small amount of acrylic liquid into a dappen dish. Dip your acrylic brush into the liquid, tapping off any excess. Pick up a small bead of acrylic powder with the brush. The consistency should resemble a soft ball, not too wet or dry. Place the bead on the center of your nail and gently pat it into place. It’s important to maintain control of the bead for a smooth finish.
Building The Acrylic Layer
Work quickly to shape the acrylic, starting from the cuticle and moving towards the tip. Use the belly of the brush to flatten and spread the acrylic evenly. Layer additional beads as needed, ensuring the apex of the nail is strong. This is vital for durability and to prevent breakage. Once satisfied with the thickness, let the acrylic dry completely. Test by gently tapping the surface; it should sound like a clicking noise. Afterwards, file and shape your nails to your desired finish. Do you prefer a square or almond shape? Buff the surface to achieve a smooth texture. Your nails are now ready for polish or a top coat, giving them a stunning and professional appearance. Achieving perfect acrylic nails requires practice, patience, and attention to detail. Have you ever thought about how these steps can enhance your DIY manicure skills?
Credit: www.reddit.com
Shaping And Filing Acrylic Nails
Shaping and filing acrylic nails is an essential step in nail care. This process helps enhance the natural beauty of your nails. It also ensures they are durable and long-lasting. Proper shaping and filing can prevent breakage and promote healthy nail growth. Let’s explore how to achieve the perfect shape and finish.
Creating Desired Shape
Start by deciding the shape you want for your nails. Common options include square, oval, and almond. Use a quality nail file to shape the edges. File in one direction to avoid splitting. Maintain a gentle touch to prevent damage. Check each nail for consistency in shape. This ensures a professional look.
Smooth Finish Techniques
After shaping, focus on achieving a smooth finish. Use a buffer to smooth out the surface of the acrylic. Buffing removes any ridges or imperfections. Work gently to avoid thinning the acrylic. Finish with a finer grit for extra smoothness. The result is a sleek and polished appearance.
Finishing Touches
After you’ve carefully applied acrylic to your natural nails, the ‘Finishing Touches’ are what transform a basic manicure into a stunning masterpiece. These final steps not only enhance the beauty of your nails but also ensure their longevity. Let’s dive into the exciting world of nail art and the crucial role of the top coat application.
Adding Nail Art
Once your acrylic base is ready, it’s time to let your creativity shine. Nail art adds a personal touch, allowing you to express your unique style. Consider starting with simple designs like dots or stripes if you’re new to nail art. You can use nail stickers for an effortless yet professional look.
Experiment with different colors and textures. Try using rhinestones or glitter for a bit of sparkle. Remember, the key is to keep it balanced; too much can overwhelm the beauty of the acrylic base. So, what’s your signature nail art style?
Top Coat Application
Applying a top coat is the final step to seal and protect your art. The right top coat ensures your nails are shiny and resistant to chipping. Opt for a high-gloss top coat for a salon-like finish.
Make sure to cover the entire nail and the edges. This creates a barrier against daily wear and tear, keeping your nails pristine. Have you ever noticed how a good top coat can make your nails look freshly done for weeks?
By paying attention to these finishing touches, you ensure your nail art lasts longer and stands out beautifully. Whether you prefer minimalistic designs or bold statements, the finishing touches are your chance to make your nails truly yours. So, what are you waiting for? Show off your dazzling nails to the world!
Maintenance And Care Tips
Acrylic nails can be a dazzling addition to your natural nail beauty routine. However, maintaining their charm requires commitment and care. Without proper maintenance, acrylics can lead to damage or discomfort. Below are some essential tips to ensure your acrylics stay stunning and your natural nails remain healthy.
Regular Upkeep
Keeping your acrylic nails in top condition means regular attention. Schedule a refill every two to three weeks. This helps in keeping the acrylics smooth and prevents them from lifting. Consider it a spa day for your nails.
Keep your hands and nails moisturized. Use cuticle oil daily to maintain the flexibility of your acrylics and prevent cracks. This small ritual can make a significant difference.
Don’t forget to clean your nails. Dirt can accumulate around the edges, leading to potential infections. A gentle brush and mild soap can work wonders.
Preventing Damage
Acrylics are tough but not invincible. Avoid using your nails as tools. Opening cans or scratching surfaces can cause them to chip or break.
Be mindful of hot water. Prolonged exposure can weaken the adhesive bond, leading to lifting. Try to wear gloves when doing dishes or cleaning.
Do you often find yourself biting your nails? Acrylics can deter this habit, but if you persist, it might damage both the acrylics and your natural nails. Redirect your urge by using stress balls or fidget toys.
Professional Removal
When it’s time to say goodbye to your acrylics, opt for professional removal. DIY methods can harm your natural nails and cause unnecessary pain.
Professionals use specialized tools and techniques to safely remove acrylics. This ensures your nails remain healthy and ready for the next application.
Think about the last time you tried removing acrylics at home. A salon visit might seem like an extra step, but it saves your nails from potential harm. Wouldn’t you prefer to keep your nails strong and ready for the next look?
Maintaining acrylic nails doesn’t have to be daunting. With these practical tips, you can enjoy the beauty of acrylics without compromising your nail health. Keep your nails as dazzling as your personality!
Common Mistakes To Avoid
Applying acrylic on natural nails can be tricky. Avoid using too much product, as it leads to thick, uneven nails. Ensure nails are clean and dry before application to prevent lifting.
Applying acrylic on natural nails can be a fun and creative way to express yourself. However, the process can sometimes lead to common mistakes that affect the overall look and durability of your nails. Understanding these pitfalls and how to avoid them will ensure that your nails remain strong and beautiful. Let’s dive into some of the most frequent missteps and how you can steer clear of them.
Skipping Prep Steps
Preparation is key to a flawless acrylic application. Many skip cleaning and priming their nails, leading to poor adhesion and lifting. Ensure you clean your nails thoroughly, remove oils, and push back cuticles. This step is not just about hygiene; it sets the foundation for your acrylic to stick properly. Imagine building a house on a shaky ground—it’s bound to fall apart.
Incorrect Product Ratios
Achieving the right balance between acrylic powder and liquid is crucial. Too much liquid can result in weak nails, while excess powder leads to clumps and uneven textures. Be mindful of the ratios recommended by the product manufacturer. Mixing these correctly can be the difference between a salon-quality finish and a DIY disaster. Have you ever tried baking without measuring ingredients? The results can be unpredictable.
Over-filing
While filing shapes your nails beautifully, over-filing can thin and damage them. It’s easy to get carried away, especially when aiming for that perfect shape. Use a gentle hand and check frequently to avoid filing too much. Think of it as sculpting; you want to enhance, not erase. Have you noticed how a little restraint can go a long way in preserving your nails’ health? Avoiding these mistakes can transform your acrylic application from a chore to a creative session, leaving you with stunning nails that last. What other insights have you discovered in your nail journey? Share your thoughts below!

Credit: in.pinterest.com
Frequently Asked Questions
What Tools Are Needed For Acrylic Nails?
To apply acrylic on natural nails, you’ll need an acrylic brush, liquid monomer, acrylic powder, and a nail file. A dappen dish for the liquid monomer and a buffer can help achieve a smooth finish.
How Do You Prepare Nails For Acrylics?
Start by cleaning your nails thoroughly. Push back cuticles and gently file the nail surface. Ensure nails are dry and free from oils for optimal adhesion.
How Long Do Acrylic Nails Last?
Acrylic nails typically last around 2 to 3 weeks before needing a fill. Regular maintenance helps extend their lifespan and keeps them looking fresh.
Can Acrylic Damage Natural Nails?
Improper application or removal can damage natural nails. Ensure nails are not filed too thin, and soak off acrylics carefully to prevent harm.
Conclusion
Applying acrylic on natural nails is simple with practice. Start with clean nails. Use a primer for better adhesion. Apply acrylic in thin layers. Shape and smooth with a file. Let it dry completely. Finish with a top coat for shine.
Protect nails from harsh chemicals. Avoid soaking them in water for long. Regular maintenance keeps them looking fresh. Remember, patience is key. With care, your nails can stay beautiful and strong. Try these steps and enjoy stunning nails.
Amazon and the Amazon logo are trademarks of Amazon.com, Inc, or its affiliates.