Understanding what “gel nail polish kit” means
A “gel nail polish kit” basically contains everything you need to do a gel manicure at home: you’ll often find a curing lamp (LED or UV), base coat, colour gel polish, top coat, sometimes tools like a file and buffer, plus removal aids.
What makes it different from regular nail polish is the curing: after you apply each layer you cure under a lamp so it hardens, giving a chip-resistant, high-shine finish. Experts say these kits truly let you get salon-level results at home.
If you haven’t done gels before, think of it like painting your nails + a mini “oven” (the lamp) that locks in the shine.


Why choose a gel kit instead of regular polish?
Here are some perks:
- Longer-lasting: A good gel manicure can last up to 2-3 weeks with minimal chipping.
- High shine & smooth finish: The curing process gives a gloss that regular polish often lacks.
- Cost & convenience: Instead of going to a salon for every mani, you can do it at home when it suits you.
- Better control: You pick your colours, you change them when you like, you aren’t waiting for an appointment.
Of course, nothing’s perfect. You’ll see some trade-offs in the “Safety & health” section below.
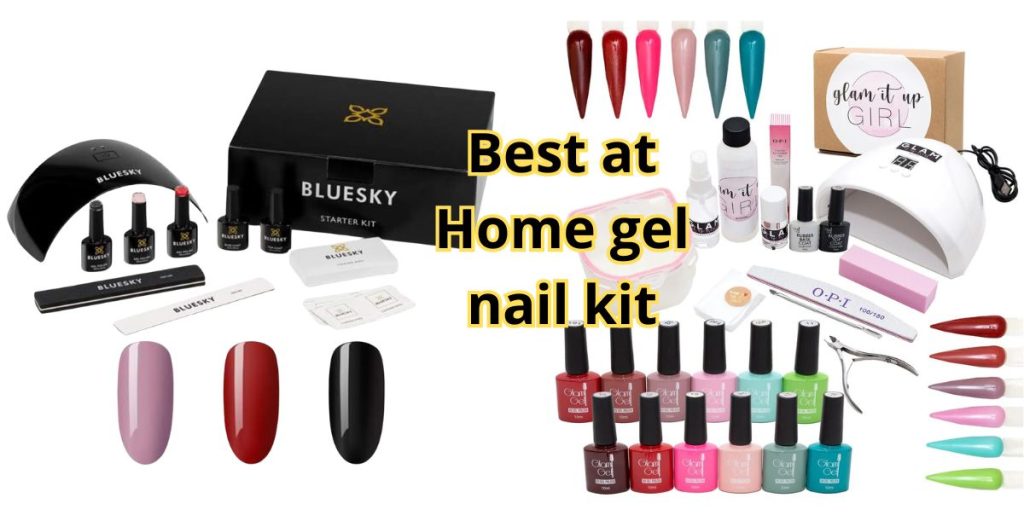
What’s included in an at-home gel nail kit?
Most kits will include several of the following:
- LED/UV lamp (for curing)
- Base coat (gel)
- Colour gel polish(s)
- Top coat (gel)
- Nail prep tools (file, buffer, cuticle pusher)
- Remover or soak-off aids
- Possibly little extras like cuticle oil, stickers, or gems
When you open the box you want it to feel complete enough so you’re not running to buy 5 extra things just to get started. Reviews say the best kits are the ones where all components are designed to work together in one system.


Key features to look for when choosing a kit
Here are some features you might want to check off your list:
• Curing lamp type & power
LED lamps tend to cure faster, and newer models are more efficient. Make sure the lamp is compatible with the gels in the kit. Some cheaper kits cut corners.
• Brand-matched system vs mix & match
If a kit’s base coat, colour, top coat and lamp are all made by the same brand (designed to work together) you’ll usually get better results. For example, the brand Olive & June designed a full system where all the parts were built to play nicely together.
• Beginner-friendly vs advanced
If you’re new, a simpler 2-step system (base + colour, fewer layers) is better. If you’re more experienced, you might want more colour choices or more advanced tools.
• Removal ease
Removal is often the tricky part of a gel manicure. Look for soak-off systems, or brands that highlight “less damaging” removal. Doing it wrong is what causes most nail damage.
• Colour and tools included
More colours is fun, but make sure you’re not paying a huge premium just for 20 colours you won’t use. Also check if the tools (file, buffer) are decent quality.
• Safety & ingredients
Some gels contain ingredients that may cause allergic reactions (HEMA, acrylates). One review noted the importance of proper application and safe removal to protect nails.


5. My Top Kit Picks
Here are some kits worth checking out (affiliate note: if you click and buy, I may earn a small commission at no extra cost to you). These represent a range of budgets and styles.
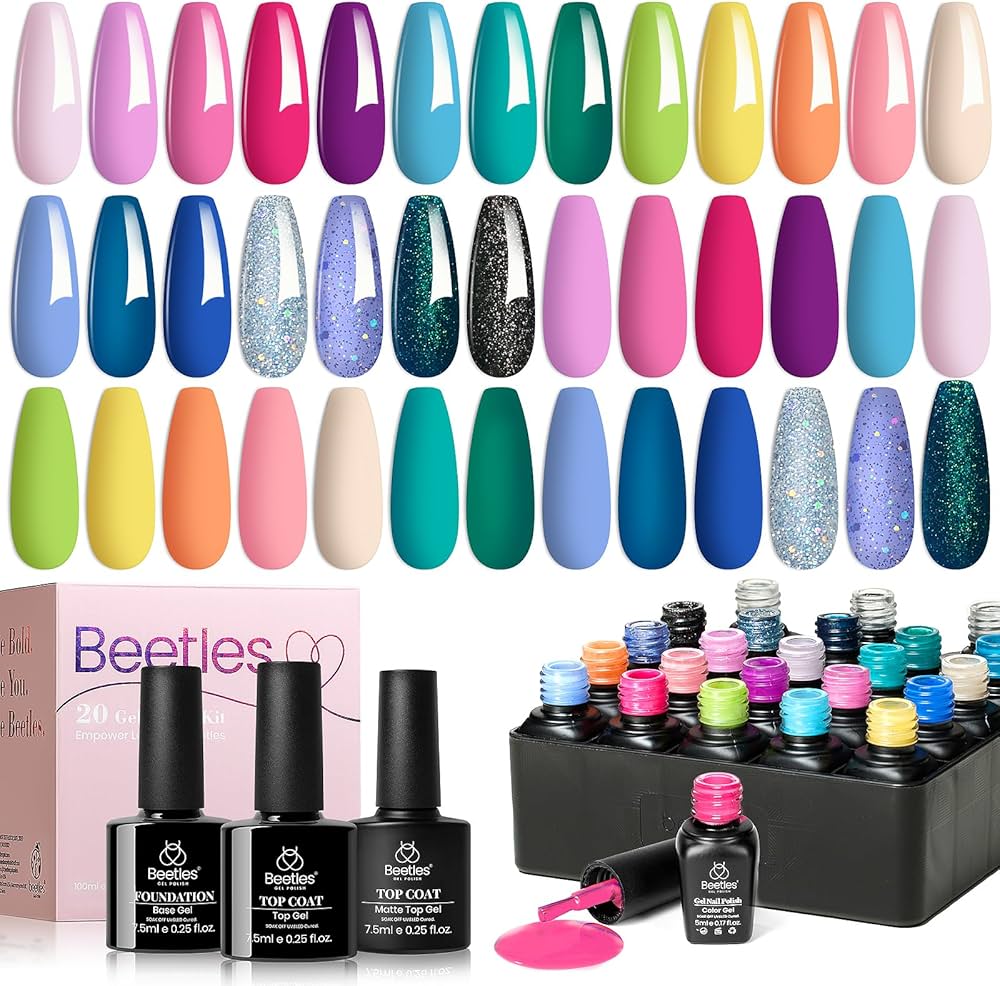
Beetles Gel Nail Polish Kit 54 pcs
Olive & June Gel Mani System
OPI GELement At‑Home Gel Polish System
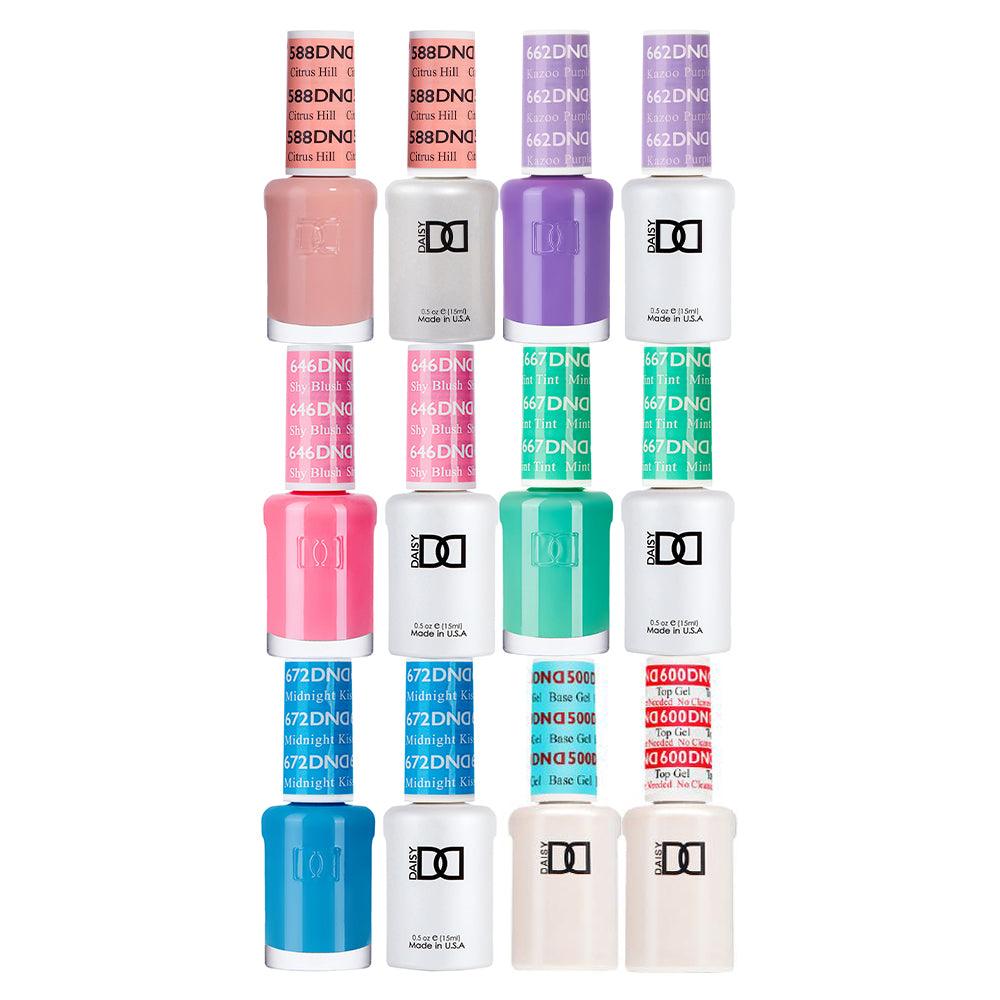
DND Gel Starter Kit


Le Mini Macaron Gel Manicure Kit


Sally Hansen Salon Pro Gel Starter Kit
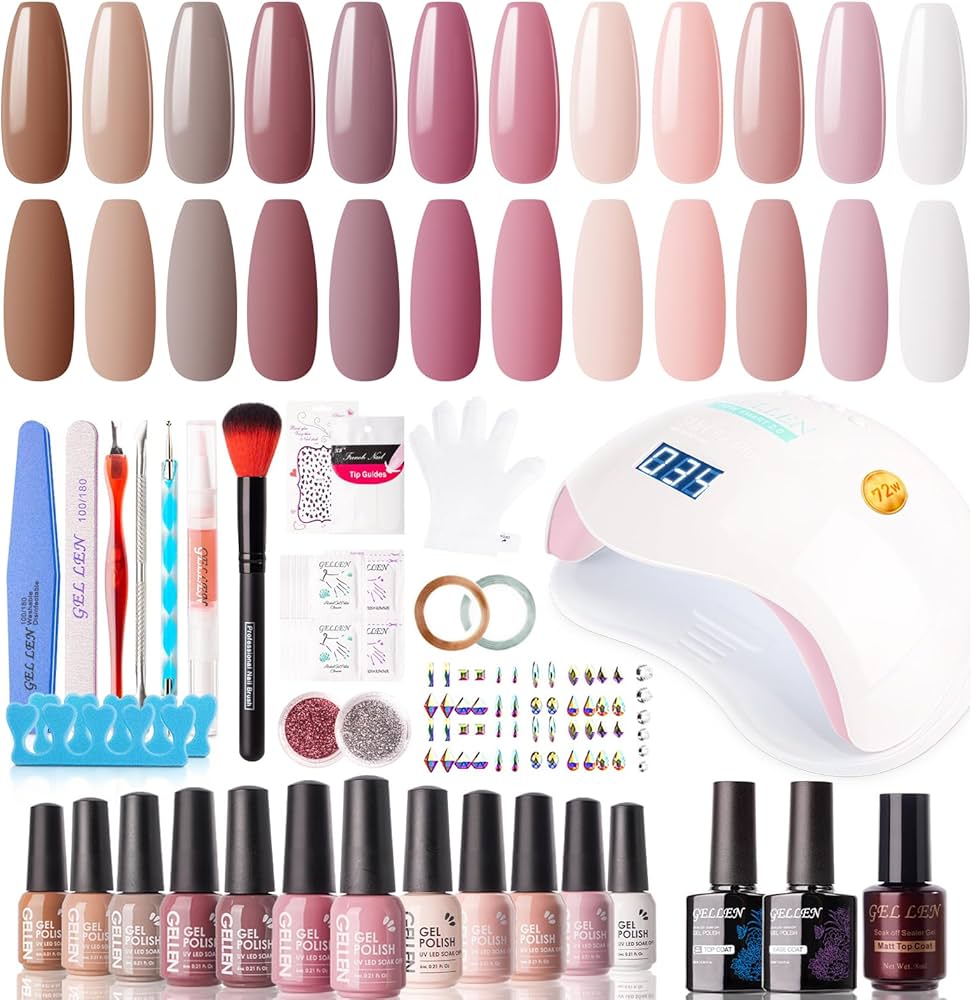
Gellen Gel Nail Polish Kit
Beetles Gel Nail Polish Kit 23 pcs
Here’s a bit about each:
- Beetles Gel Nail Polish Kit 54 pcs: A budget-friendly set with 32 colour gelpolishes + base + top + UV lamp + tools. Great for someone who wants lots of colours and wants to play around.
- Olive & June Gel Mani System: Premium end; full system where everything is designed together (lamp, base, colour, top). Ideal if you want high quality and are ready to invest.
- OPI GELement At‑Home Gel Polish System: From a pro salon brand. Quality ingredients, good reputation.
- DND Gel Starter Kit: Known for long-lasting performance; a value pick if you want durability.
- Le Mini Macaron Gel Manicure Kit: Compact, cute lamp (shaped like a macaron!) and beginner-friendly. Cool for travel or smaller spaces.
- Sally Hansen Salon Pro Gel Starter Kit: Mainstream high-street brand; good starter.
- Gellen Gel Nail Polish Kit: Value brand emphasising budget-friendly “good enough” performance.
- Beetles Gel Nail Polish Kit 23 pcs: Smaller version of the Beetles range – for someone just starting out.
Step-by-Step: How to Use Your Gel Nail Kit
Let’s walk through a typical at-home gel manicure. Think of it like baking a cake: you prep, you layer, you cure, you finish.
Step 1: Prep your nails
- Clean your nails (remove old polish), push back cuticles, lightly buff the surface (just enough so the gel adheres). Wikipedia+1
- Wipe away dust or oil (some kits include a cleanser or dehydrator).
Step 2: Apply base coat
- A thin layer of base coat helps the colour stick properly and helps avoid lifting.
Step 3: Cure base coat under lamp
- Cure according to instructions (often 30-60 seconds for LED).
Step 4: Apply colour gel polish
- Apply thin layer of colour. Thin is better than thick. Cure.
- Apply second coat if needed and cure again.
Step 5: Apply top coat
- This gives shine and seals the manicure. Cure it under the lamp.
Step 6: After-care
- Some top coats leave a “sticky” layer you need to wipe off with a cleanser.
- Apply cuticle oil to nourish the skin around your nails.
- Avoid rough use for the first few hours to let it harden fully.

Removal & After-Care: Don’t Skip This
One of the biggest mistakes with gel manicures is skipping proper removal. If you try to peel off the gel, you risk thinning and damaging your natural nails. Health Starts in the Kitchen+1
Here’s what you should do:
- Use the removal method recommended by the kit (often soak off with acetone or use foil wraps).
- File the top coat gently to break the seal before soaking.
- Don’t force the gel off. If it’s stubborn, soak a bit longer.
- After removal give your nails a break: buff lightly, apply a strengthening treatment, and let your nails recover before your next gel session.
Common Mistakes & How to Avoid Them
Here are pitfalls and how to dodge them:
- Thick layers → They may not cure properly and lead to peeling.
- Touching skin with gel → If gel touches skin it lifts more easily.
- Skipping prep → If nail is oily or dusty, the gel won’t adhere well.
- Ignoring curing time → Under-curing means weak finish; over-curing with UV might pose risks (see next section).
- Peeling off gel → Leads to natural nail injury.
- Using different brands interchangeably (base from one brand, colour from another, lamp from a third) → Compatibility issues can shorten wear.
Safety & Health Considerations
While at-home gel kits are fun and convenient, there are some safety tips you should keep in mind.
- Some gel polishes include ingredients (like HEMA or acrylates) that might cause allergic reactions in certain people.
- The bulbs in UV/LED lamps emit light (often UVA) which, over time and frequent use, could increase exposure. A recent article warns about cumulative UV exposure from nail lamps and potential skin risks.
- Make sure you follow instructions for curing and removal. Improper removal can damage the nail plate and lead to infections.
- If you notice redness, irritation, or swelling around nails → stop using and allow recovery.
- Give your nails a breather occasionally. Just like your hair needs a break from constant styling, your nails benefit from some “bare nails” time.

Conclusion
If you’ve been wondering whether you can get a great gel manicure at home — the answer is yes, absolutely. With the right kit, good technique, and a little care, you can enjoy long-lasting, glossy nails without leaving your house. What matters most is picking a well-designed kit (preferably a system where everything works together), prepping your nails properly, applying thin even layers, curing as instructed, and removing gently when the time comes.
Think of it like becoming your own nail tech: you don’t have to be perfect, you just have to follow the recipe. Invest a little time, buy a quality kit, and your nails will look amazing — and you’ll feel great about doing it yourself.
FAQs
Q1: How long does an at-home gel manicure last compared to a salon gel?
A1: A good at-home kit properly used can last up to 2-3 weeks with minimal chipping — very close to salon results.
Q2: Can I use a regular lamp (not LED/UV) to cure gel polish?
A2: Usually no — most gel polish kits require a specific LED or UV lamp with the right wavelength and power. Using the wrong lamp may mean the layers don’t cure properly and may lift early.
Q3: Will using gel polish damage my natural nails?
A3: Not necessarily — the damage often comes from improper removal, overly frequent application without breaks, or using extremely thick layers. When done right, your nails can remain healthy. Real Simple+1
Q4: How often can I change my gel colour at home?
A4: It depends on how strong your natural nails are and how well removal was done. Many people change every 2-3 weeks. If you notice thinning, give your nails a week or two off to recover.
Q5: Is there a “best” at-home gel kit for beginners?
A5: Yes — choose one with fewer steps (2-step rather than 3-step), good instructions, and a reliable lamp. The Le Mini Macaron kit is a popular pick for beginners.
Amazon and the Amazon logo are trademarks of Amazon.com, Inc, or its affiliates.