Red is more than a color — it’s a statement. From bold confidence to timeless elegance, the color red in nail polish has symbolized power, passion, and sophistication for decades. Whether you want a fiery cherry hue or a deep wine shade, learning how to make the color red with nail polish opens endless creative possibilities.
Mixing your own red nail polish gives you full control over shade, finish, and tone — something store-bought bottles can’t always deliver. It’s also a fun, budget-friendly DIY activity that lets your personality shine through your fingertips.
Nail Polish Color Theory
Before diving into the mix, it’s crucial to understand how nail polish pigments behave. Unlike traditional paints, nail polishes are made with lacquer bases and chemical binders that affect how colors blend.
The Primary Colors Behind Red
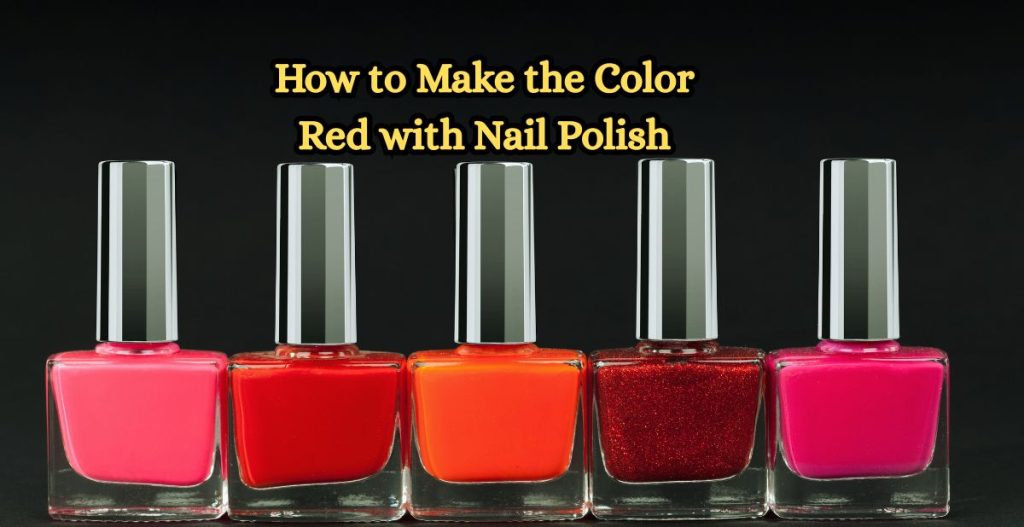
To create red, you’ll need a solid grasp of the color wheel. Red is a primary color, meaning it cannot be made by combining other standard colors in pigment theory. However, in nail polish mixing, slight color adjustments using pink, orange, or purple bases can mimic or modify red shades.
For example:
- Pink + Orange can produce a bright, warm red.
- Magenta + Yellow yields a more vivid, coral-like tone.
- Purple + Orange can form a muted brick or burgundy red.
Why Mixing Nail Polish Works Differently from Paint
Nail polish contains suspension bases, solvents, and reflective mica particles, so it doesn’t mix the same way water-based colors do. Instead of blending completely, the colors layer and reflect light, creating a unique optical depth that gives polish its shine and texture.
Essential Tools and Materials for Mixing Nail Polish
Before you start experimenting, gather the right supplies. Having the right tools makes your process cleaner and ensures professional-quality results.
Choosing the Right Base Polishes
You’ll need:
- Clear polish: Acts as a neutral base.
- White polish: Helps lighten the tone.
- Black polish: Deepens or darkens red tones.
- Primary color polishes: Red, pink, orange, and purple are essential.
Mixing Tools You’ll Need
- A small mixing palette or glass dish
- Toothpicks or mixing sticks
- Empty nail polish bottles (preferably with mixing beads)
- Disposable gloves to avoid stains
- Paper towels and acetone for cleanup
Step-by-Step: How to Make the Color Red with Nail Polish
Now that you’ve got your materials ready, let’s create your perfect red.
Step 1: Prepare Your Workspace
Lay down newspaper or paper towels to avoid spills. Keep acetone handy for cleaning brushes and containers.
Step 2: Combine the Base Colors
Start by pouring a small amount of clear polish into your empty bottle. Add a few drops of pink polish followed by orange. Shake gently to mix.
Step 3: Test and Adjust the Shade
Apply a thin coat to a nail tip or paper. Too light? Add a drop of red or magenta. Too orange? Add a small amount of purple. Adjust gradually until you reach your desired tone.
Step 4: Store Your Custom Color Safely
Once satisfied, shake the bottle thoroughly and label it (e.g., “Custom Red #1”). Store it upright in a cool, dark place.
07 Creative Red Shades You Can Make at Home
Experimentation is key! Here are seven beautiful shades to inspire your custom creations.
1. Classic Cherry Red
Mix: 70% red polish + 20% pink + 10% clear.
Perfect for everyday glam.
2. Deep Ruby Red
Mix: 60% red + 30% purple + 10% black.
Ideal for evening or winter looks.
3. Coral Red
Mix: 50% pink + 40% orange + 10% white.
Fresh and summery!
4. Wine Red
Mix: 60% purple + 30% red + 10% black.
Elegant and rich.
5. Crimson Gloss
Mix: 70% red + 20% magenta + 10% clear gloss.
Ultra-bright and glossy.
6. Brick Red
Mix: 50% orange + 40% brown + 10% red.
Warm and earthy tone.
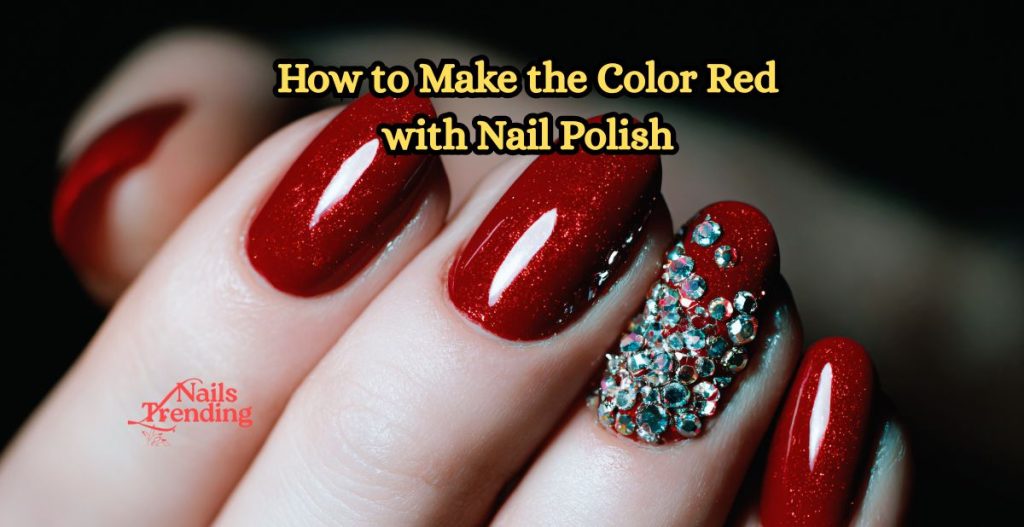
7. Sparkling Red Glitter
Mix: Any red base + a few drops of glitter topcoat or holographic polish.
Expert Tips for Perfecting Your Custom Red
- Always mix small batches first.
- Add clear polish to thin overly opaque colors.
- Use matte top coats for a modern finish.
- Shake bottles with mixing beads for smooth consistency.
- Record your ratio for future replication.
Common Mistakes to Avoid When Mixing Nail Polish
- Using incompatible formulas: Don’t mix gel with regular lacquer.
- Adding too much pigment: It can cause clumping.
- Skipping test swatches: Always test before final storage.
Maintaining Your Custom Red Polish
Storing for Longevity
Keep your polish in a cool, dry place away from sunlight. Exposure can alter the pigment or cause thickening.
Rejuvenating Thickened Polish
If your polish becomes thick, add a few drops of nail polish thinner (never acetone) and shake well.

FAQs
Can I mix any colors to make red nail polish?
Not exactly. You can’t make pure red from scratch, but you can create variations like coral or burgundy using pink, orange, and purple tones.
What colors make bright red?
Combine pink and orange, or red with a touch of white polish to increase brightness.
How do I make dark red nail polish?
Add a few drops of purple or black to your red base. Mix carefully to avoid over-darkening.
Can I mix glitter or metallic polishes?
Yes! Add glitter topcoats or shimmer polish for depth and sparkle.
Will the polish texture change after mixing?
Slightly — if you overmix or use different brands. Use similar formulas for the best result.
How do I fix a dull red polish?
Add a few drops of clear topcoat or shimmer polish to bring back shine.
Conclusion:
Creating your own red nail polish is both an art and a science. By understanding color theory, experimenting with ratios, and maintaining your custom mix, you’ll never need to rely solely on store-bought shades again. Whether you prefer a passionate ruby or a romantic coral, the perfect red is the one you make yourself.
Amazon and the Amazon logo are trademarks of Amazon.com, Inc, or its affiliates.