Trim, prep, patch with glue or gel, then file and seal acrylics.
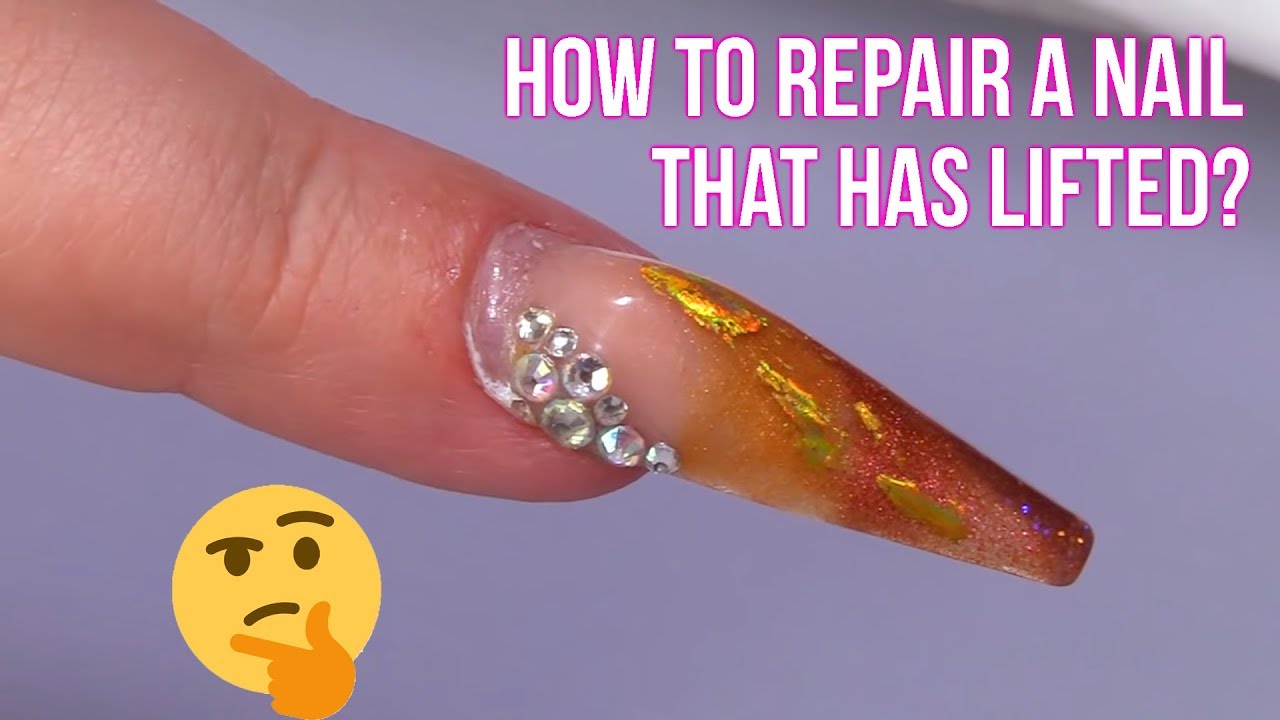
If a corner is lifting or snagging, you can fix it at home with clean prep, a careful patch, and a good seal. I have fixed many small lifts on myself and clients, and I will show you how to fix lifted acrylic nails at home with simple tools, safe steps, and pro tips that last.
What causes lifting and how to spot it early
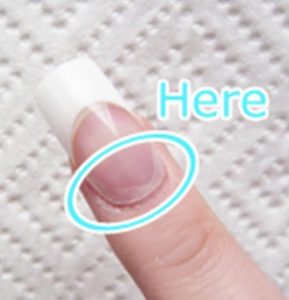
Lifting happens when product loosens from the natural nail. It can start near the cuticle, sidewalls, or free edge. Oil, water, or poor prep are common causes. So is rough work or using your nails as tools.
Look for white or gray gaps. They look like air pockets. Your hair may catch on the lifted edge. Tapping a lifted area can sound hollow. Knowing why helps you learn how to fix lifted acrylic nails at home.
A few common triggers:
- Skipping nail dehydrator or primer before a fill.
- Filing the natural nail too smooth or too thin.
- Flooding product onto the cuticle or skin.
- Long wear without a fill, often past three weeks.
- Hot showers, steam, or harsh cleaners without gloves.
- Poor product mix or low quality products.
Safety first: When you should not repair at home
Do not repair if you see redness, throbbing, or green spots. Green staining can mean trapped bacteria. When in doubt, remove and let the nail rest. Do not seal in moisture.
Avoid a home fix if the lift covers more than one third of the nail. Also avoid a fix if the acrylic is cracked over the stress area. If you feel heat, pain, or pressure, remove the product. Seek a pro if you have allergies, strong odor from the nail, or any bleeding. Do not try how to fix lifted acrylic nails at home if the nail plate is split.

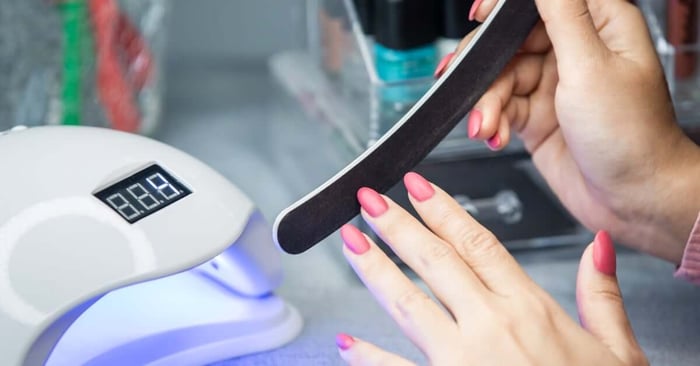
Tools and products you need
You can do a clean, safe fix with a small kit. Keep it ready in one pouch.
- 180 and 240 grit nail files and a fine buffer.
- Cuticle pusher and cuticle nippers.
- Lint free wipes and a soft dust brush.
- 70% or higher isopropyl alcohol for cleaning.
- Nail dehydrator and acid free primer.
- Nail glue with a precision tip.
- Silk wrap or a plain tea bag for patches.
- Builder gel or polygel and a UV or LED lamp.
- Non wipe gel top coat or regular top coat.
- Cuticle oil for aftercare.
- A face mask and good light for safety.
If you use acrylic liquid and powder, be sure it is EMA based. Avoid MMA products. These tools make how to fix lifted acrylic nails at home safe.
Step by step: How to fix lifted acrylic nails at home
Follow these steps for how to fix lifted acrylic nails at home. Work on one nail at a time. Move slow and stay gentle.
- Wash and dry your hands
Wash with soap. Dry very well. Moisture fights adhesion. - Assess the lift
If you see green, stop and remove the nail. If the lift is small and dry, you can patch. Shorten long tips to reduce stress. - Sanitize and prep
Wipe the nail with alcohol. Push back the cuticle. Trim loose dead skin only. - Remove only the loose product
Use a 180 grit file. Feather the lifted edge until it blends. Do not pry. If the acrylic is attached, leave it. - Etch the natural nail where needed
Gently remove shine on the new growth only. Use a 240 grit file. Keep pressure light to protect the plate. - Dust and cleanse
Brush away dust. Wipe with alcohol. Let it dry fully. - Dehydrate and prime
Apply nail dehydrator. Then apply acid free primer to the natural nail only. Do not touch your skin with primer. - Choose your fix method
Small lift near an edge
- Cut a small piece of silk or tea bag.
- Add a thin line of nail glue under the lifted edge.
- Lay the silk on top. Press flat.
- Add a little more glue to saturate the silk. Let it set.
Small to medium lift or fill zone
- Apply a thin slip layer of builder gel.
- Add a tiny bead where the lift was.
- Keep the apex slightly behind the center.
- Flash cure for 10 to 15 seconds, then full cure.
- Refine the blend
File with 180 grit to smooth the ridge. Buff with a fine buffer. Keep the cuticle area flush and soft. - Seal the nail
Apply gel top coat. Cap the free edge. Cure as directed. With regular top coat, let it dry fully. - Oil and wait
Apply cuticle oil. Avoid long water exposure for two hours. This is the clean way for how to fix lifted acrylic nails at home.
Pro tip: Keep the apex. It acts like a bridge and saves the nail. A flat nail lifts fast. A balanced nail lasts.
Quick patch method vs full rebalance
Both repairs work, but they suit different needs.
Use a quick patch when:
- The lift is tiny and near one corner.
- You need a fast fix for a few days.
- You plan a salon visit soon.
Use a full rebalance when:
- Growth is two to three weeks or more.
- The lift is around the cuticle or both sidewalls.
- You want two more weeks of wear.
Pros of a quick patch:
- Fast and simple.
- Good for chips and edges.
- Uses glue and silk or a tiny gel dot.
Pros of a full rebalance:
- Restores structure and the apex.
- Better for medium lifts.
- Lasts longer with fewer snags.
Choose the method for how to fix lifted acrylic nails at home based on the size and location of the lift.

Aftercare: Seal, hydrate, and protect
Good aftercare locks in your work. It also helps future adhesion.
- Oil your cuticles twice a day. Hydrated skin peels less.
- Wear gloves for dishes, cleaning, and gardening.
- Keep nails at a practical length. Shorter nails lift less.
- Book or do a fill every two to three weeks.
- Do not pick or pry. If it lifts, file it smooth, then patch.
Aftercare is part of how to fix lifted acrylic nails at home. Small habits make a big change in wear time.
Prevention: Habits that stop lifting before it starts
Prevention is easy and saves time.
- Wash, dry, and dehydrate before product.
- Use acid free primer only on the natural nail.
- Keep product off the skin and cuticle.
- Build a soft apex to reduce stress.
- Cap the free edge with color and top coat.
- Let each gel layer cure as directed.
- Use quality EMA acrylic or trusted builder gels.
- Avoid long hot soaks and steam.
- Do chores with gloves.
- Do not use your nails as tools.
Prevention is the best tip for how to fix lifted acrylic nails at home. Good prep is the real secret.

Common mistakes I see and what to do instead
I have made these mistakes. Many clients have too. You can avoid them.
- Gluing down a dirty lift
Instead, clean, remove loose product, dehydrate, then glue or gel. - Filing the natural nail too thin
Instead, use 240 grit and light strokes. You need only to remove shine. - Flooding product into the cuticle
Instead, leave a tiny margin and float product. Then brush it back. - Skipping the apex
Instead, add a small bead and blend. A strong curve stops lift. - Touching the nail after prep
Instead, keep hands off. Oil from skin ruins adhesion.
I learned how to fix lifted acrylic nails at home the hard way. These tweaks made my repairs last much longer.

When to see a pro and what to ask
See a pro if lifting returns within days. Also go if you see green stains, cracks over the stress area, or any pain. Chronic lifting can signal product mismatch or an allergy.
Ask your tech:
- What primer and system do you use?
- How do you prepare the cuticle area?
- Do you use EMA monomer or builder gel?
- Can we adjust length or shape to reduce stress?
- How often should I book fills?
If you still need help with how to fix lifted acrylic nails at home, a pro can guide your product choices and technique.
Frequently Asked Questions of how to fix lifted acrylic nails at home
Can I just glue the lifted part down?
Not until you clean and dehydrate the area. Trapped moisture can cause green stains and poor adhesion.
How long will a home fix last?
A small patch can last a few days to a week. A mini rebalance can last one to two weeks with good care.
Which file grits should I use?
Use 180 grit for blending acrylic and 240 grit for the natural nail. A fine buffer helps smooth edges before top coat.
Can I shower right after I fix it?
Wait at least two hours if you used glue. Gel cures faster, but waiting still helps reduce early lift.
Is the tea bag method safe?
Yes, for tiny edge lifts. It acts like a mesh. Always clean, dehydrate, and seal to keep it sanitary.
Can I repair a crack across the nail?
You can patch with silk and builder gel for short term use. If the crack reaches the stress area, it is best to see a pro.
Is this process the same for polygel or tips?
The prep and blend are the same. Use the matching primer and builder, then cure as directed for that system.
Conclusion
You can stop a small lift with clean prep, a careful patch, and a strong seal. Now you know how to fix lifted acrylic nails at home with simple steps and smart aftercare. Start with one nail, go slow, and let your results guide the next move.
Try a quick patch today, then plan a full rebalance this week. Share your progress, ask a question, or subscribe for more at home nail care guides.
Amazon and the Amazon logo are trademarks of Amazon.com, Inc, or its affiliates.