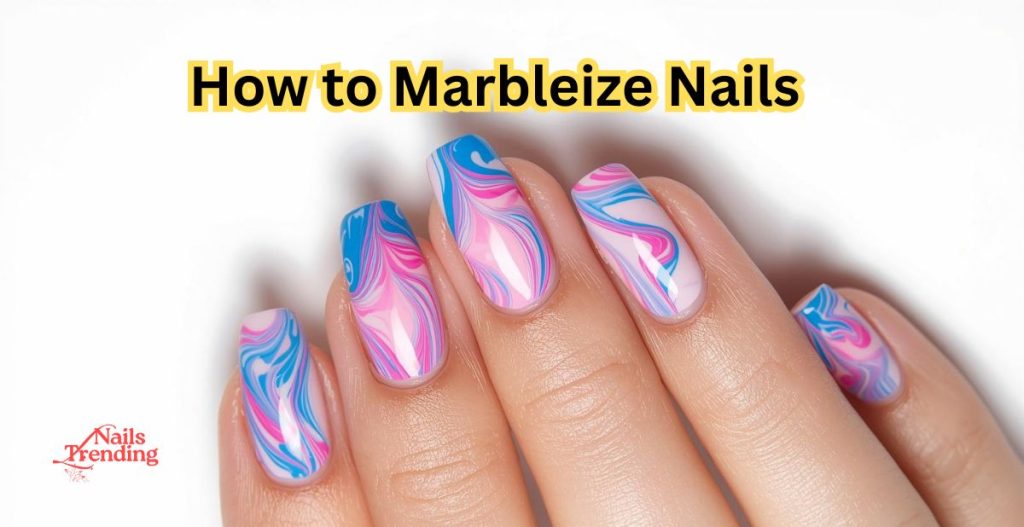
If you’ve been scrolling through Instagram or Pinterest lately, you’ve probably noticed one of the hottest trends taking over nail art: marble nails. Sleek, chic, and effortlessly stylish, marbleized nails mimic the natural swirls and veining of marble stone, giving your manicure a touch of luxury without the price tag of a salon visit.
But what exactly does it mean to marbleize nails? Simply put, it’s the art of creating swirling, stone-like patterns on your nails using polish or gel. The finished look is versatile—perfect for an elegant night out, but also subtle enough for everyday wear.
The best part? You don’t have to be a professional nail tech to pull it off. In this guide, I’ll walk you through different methods of marble nails—from classic water marbling to acrylic techniques, gel designs, and the trending blooming gel method. You’ll also get insider tips, step-by-step instructions, and answers to common questions so you can master the marble effect right at home.
By the end, you’ll know not only how to marbleize nails like a pro, but also which method works best for your style, skill level, and nail type.
What Does It Mean to Marbleize Nails?
To marbleize nails means to create a swirling, stone-like effect that looks just like polished marble. Think of the natural veins and flowing lines you see on a marble countertop—that’s exactly what nail artists recreate on a smaller scale. The result is chic, timeless, and surprisingly easy to achieve with the right technique.
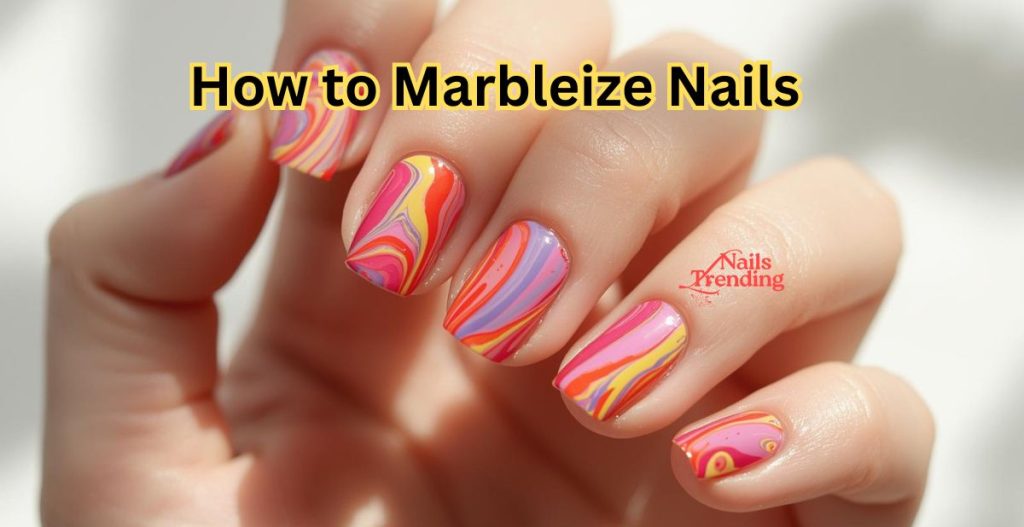
One of the best things about marble nail art is its versatility. You can do it with almost any nail medium—regular polish, gel polish, acrylic extensions, or even the trendy blooming gel method. Each approach gives a slightly different look: water marbling tends to be bold and dramatic, gel polish allows for a softer, watercolor feel, and acrylic or blooming gel techniques create precise, salon-level designs.
I still remember my first attempt at marble nails. I had seen the look all over Pinterest and thought, “How hard could it be?” I grabbed two contrasting polishes, a toothpick, and a little cup of water to try the water marble technique. Let’s just say… the results were more abstract art than marble countertop. But here’s the good part—I learned that marble nails don’t have to be perfect. In fact, the irregular swirls are what make them look natural and unique. After a few tries, I started to love how each nail turned out different, like a set of mini works of art.
So, whether you’re a beginner experimenting at home or someone who loves a polished salon look, marbleizing nails is all about embracing the beauty of organic, fluid designs. Once you learn the basics, you’ll find endless ways to customize the look with colors, finishes, and styles that match your mood.
Tools & Supplies You’ll Need
Before you start learning how to marbleize nails, it’s important to gather the right tools. The good news? Most of these items are things you probably already have at home, and the rest are inexpensive additions that will make your DIY manicure so much easier.
Here’s a quick checklist of essentials:
- Nail polishes (2–3 colors): Choose shades that contrast or complement each other. For example, white and gray give that classic marble look, while pinks, blues, or metallics create a modern twist. You can use either regular nail polish or gel polish depending on your preference.
- Base coat & top coat: The base coat protects your natural nails and helps polish stick better. The top coat seals in your design, adds shine, and makes your manicure last longer.
- Cup of water: If you’re trying the water marbling method, you’ll need a small cup of room-temperature water. This is where the polish spreads and creates those dreamy swirls.
- Toothpick, dotting tool, or thin nail art brush: These are used to drag and swirl the polish into a marble effect. Even a sewing needle or hairpin can work in a pinch.
- Tape or petroleum jelly: Protecting the skin around your nails is a lifesaver during marbling. Applying tape or a thin layer of petroleum jelly makes cleanup so much easier.
- Cotton swabs & nail polish remover: For tidying up any polish that sneaks onto your skin or cuticles.
Pro Tip: Set up your space before you begin. Marble nails can get a little messy, so laying down some paper towels or working over a flat surface will save you clean-up time later.
With these tools ready, you’ll be fully equipped to create beautiful marble nails right at home—no salon visit required.
Method 1 – How Do You Marble Nail Polish with Water Marbling?
One of the most popular ways to marbleize nails is the water marbling method. It looks complicated at first, but with a little patience and practice, you can create stunning, one-of-a-kind nail art that no two people will ever have the same.
Here’s a simple step-by-step guide:
- Prep your nails with a base coat.
Start with clean, dry nails. Apply a base coat to protect your natural nails and help the design stick better. Many people like to use a white or light-colored polish as a base to make the marble colors pop. - Drop polish into water.
Fill a small cup with room-temperature water. Choose 2–3 nail polish colors and carefully drip them into the water, one after another. The polish will spread out into rings, like ripples. - Swirl to create a marble effect.
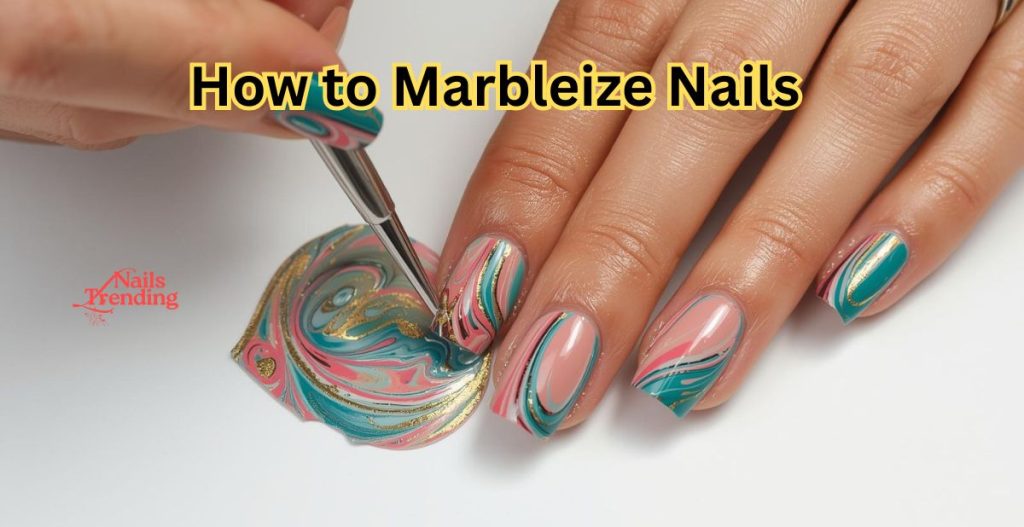
Take a toothpick, needle, or thin brush and gently drag through the polish on the water’s surface to create swirls. This is where your creativity shines—make it abstract, wavy, or even flower-like. - Dip your nail into the design.
Position your nail over the part of the design you like best and dip it slowly into the water. Keep your finger in while using the toothpick to remove excess polish floating on the surface before pulling your nail out. - Clean up edges and finish with top coat.
Remove tape or wipe away petroleum jelly if you used it to protect your skin. Use a cotton swab dipped in remover for any stray polish. Seal the look with a glossy top coat to lock in your design.
Time: About 20–30 minutes depending on how many nails you marble.
Best for: Bold, unique designs every single time. No two nails will ever look identical, which is part of the beauty of water marbling.
Pro Tip: If the polish isn’t spreading in the water, try switching to a thinner formula or adjusting the water temperature.
Method 2 – How to Do Marble Effect with Regular Nail Polish (Without Water)
If dipping your fingers into cups of water feels a little too messy, don’t worry—you can still create a gorgeous marble effect using just regular nail polish. This method is much simpler, making it perfect for beginners or anyone short on time.
Here’s how to do it step by step:
- Apply a base color.
Start with a solid base shade of your choice—white, nude, or light gray works beautifully because it makes the marbled colors stand out. - Add drops of a second shade.
While the base is still tacky, place a few drops of a contrasting polish on top. You don’t need much—just a couple of drops per nail will do. - Swirl gently with a brush or sponge.
Use a thin nail art brush, toothpick, or even the edge of a makeup sponge to lightly swirl the colors together. Keep it soft and subtle to mimic natural marble veins. - Seal with a top coat.
Once you’re happy with the pattern, let it dry for a minute and apply a glossy top coat. This blends the design together and gives it a smooth, professional finish.
Pros: This technique is far less messy than water marbling—no cups, no cleanup around your nails, and no floating polish to deal with.
Personal Tip: When I first tried marble nails, this was the method I started with. It’s incredibly forgiving, and you can get lovely results even without much nail art experience.
Method 3 – How to Do Marble Acrylic Nails
If you’re looking for a marble design that really lasts, acrylic nails are your best friend. Instead of just painting the marble pattern on top, the effect is embedded into the acrylic itself, which means it won’t chip away as polish sometimes does.
Here’s the basic process:
- Prep the nails. Apply nail forms or tips, then lay down a clear or light base layer of acrylic.
- Mix the colors. Pick two or three acrylic powder shades (white, black, gray, or even pastels work beautifully).
- Apply small beads. Place tiny acrylic beads of each color onto the nail.
- Swirl gently. Use your brush to softly swirl them together, creating the marble effect without over-blending.
- Shape and finish. Once set, file the nails into shape and seal with a glossy top coat.
Why it lasts longer: Since the design is part of the acrylic structure, it won’t fade or peel like polish. With proper care, marble acrylic nails can last 3–4 weeks before a fill is needed.
My experience: I first tried this design at a salon, and honestly, the results were flawless—smooth, natural-looking marble veins that I couldn’t stop staring at. Later, I tried a DIY attempt at home with acrylic powders, and while it wasn’t perfect, I learned that patience and practice make a huge difference. If you’re new to acrylics, I’d recommend letting a pro do it at least once so you can see the technique up close.
Method 4 – How to Do Marble Gel Nails
Gel polish is another fantastic way to achieve marble nails, especially if you love that glossy, salon-fresh finish. Unlike acrylic, gel marble designs are created on top of the nail, which makes them more beginner-friendly.
Here’s a step-by-step guide:
- Apply a base coat + cure. Start with a solid foundation by applying base gel and curing it under a UV or LED lamp.
- Add your gel polish colors. Choose 2–3 shades that complement each other—white with gray, black, or even metallics work beautifully.
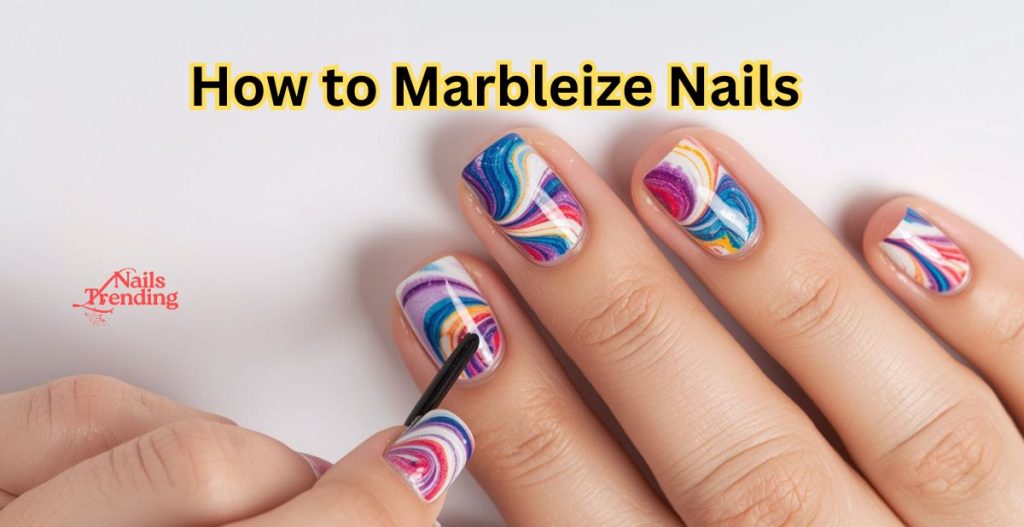
- Swirl lightly with a thin brush. Use a fine liner brush to create soft, vein-like lines. Less is more here—the lighter the swirl, the more realistic it looks.
- Cure under the lamp. Lock in your design with a quick cure.
- Finish with a top coat. Apply a glossy or matte top coat, depending on your style preference.
Pro tip: Keep your swirls soft and slightly transparent. Natural marble isn’t overly bold—it’s delicate and fluid, and that’s what makes it so elegant.
Method 5 – How to Do Marble Nails with Blooming Gel
If you’ve ever scrolled through nail art videos on Instagram or TikTok, you’ve probably seen blooming gel in action. This special gel polish makes your design spread naturally, creating stunning marble effects almost effortlessly.
Here’s how to use it:
- Apply base gel + cure. Just like regular gel nails, start with a cured base coat.
- Apply blooming gel (don’t cure yet). This is the magic layer that allows your colors to “bloom.”
- Add dots or lines of colored gel. Place tiny streaks, dots, or squiggles of polish on top of the wet blooming gel.
- Watch it spread. The polish naturally expands into soft, marbled patterns—no heavy swirling required.
- Cure under the lamp. Once you’re happy with the design, cure to lock it in place.
- Seal with a top coat. Finish with a glossy top coat for that luxe, stone-like shine.
Why it’s great: Blooming gel gives you salon-like results at home with very little effort. It’s especially forgiving for beginners since the gel does most of the work for you.
Pro Tips for Perfect Marble Nails
Want your marble nails to look like they were done at a salon? Here are a few expert tips to keep in mind:
- Choose contrasting colors. Light and dark shades (like white and black, or nude and rose gold) create the most realistic marble effect.
- Work quickly. Nail polish and gel can dry fast, so be ready to swirl before it sets.
- Avoid over-swirling. Too much blending makes the design look muddy instead of natural.
- Add metallic accents. A touch of gold or silver polish can take your marble manicure from simple to luxurious.
- Hydrate after. Finish with cuticle oil to keep your nails healthy and shiny.
Common Mistakes & How to Avoid Them
Even the most creative marble nail designs can go wrong if you’re not careful. Here are some common mistakes and simple ways to prevent them:
- Using the wrong water temperature. For water marbling, the water should be room temperature. If it’s too hot or cold, the polish won’t spread properly.
- Choosing too many colors. Stick to two or three shades. Adding too many can make the design look messy instead of elegant.
- Skipping skin protection. Always use tape or petroleum jelly around your nails before water marbling—this makes cleanup much easier.
- Overmixing the polish. Swirl gently and stop early. If you over-swirl, the colors will blend into one muddy shade instead of a marble effect.
My Personal Experience with Marble Nails
When I first tried water marbling, I was excited but also a little overwhelmed. I set up my cup of water, dropped in the polish, and started swirling. The design looked beautiful in the water—but dipping my nail in was a whole different challenge. I ended up with polish all over my fingers, and only a few nails actually looked like marble. Cleanup took forever, but I remember feeling proud of at least one nail that turned out perfect.
Later, I tried gel marble nails, and the process felt much easier to control. With a thin brush, I could swirl the gel exactly how I wanted before curing it. The final look was cleaner, more consistent, and lasted longer without chipping. It gave me that sleek “salon” finish right at home.
Now, I personally prefer gel marble designs because they’re less messy and more durable. But trying both taught me an important lesson: patience is everything. For beginners, I recommend starting with gel or the regular polish swirl method, since they’re easier to master before jumping into water marbling.
FAQs
❓ How do you water marble your nails without a mess?
Use tape or petroleum jelly around your cuticles to protect the skin. Work over a paper towel for easy cleanup, and use a small cup of room-temperature water for best results.
❓ What colors work best for marble nails?
High-contrast colors create the most striking marble effect. Popular combos include black and white, nude and gold, or pastel shades for a softer look.
❓ Do I need blooming gel for marble designs?
Blooming gel isn’t required, but it makes creating smooth, flowing marble patterns much easier, especially with gel polish. It spreads the colors naturally for a professional finish.
❓ How long do marble gel nails last?
With proper application and a top coat, marble gel nails can last 2–3 weeks without chipping. Acrylic marble nails tend to last even longer.
❓ Can I do marble nails on acrylic extensions?
Yes! Acrylic nails hold marble designs exceptionally well. You can use regular polish, gel, or even embed the design into the acrylic for long-lasting results.
Final Thoughts
Marble nails are one of the most versatile and chic nail art styles, whether you prefer water marbling, regular polish, acrylic, gel, or blooming gel methods. Each technique has its own charm, and with practice, you can achieve salon-quality results at home.
The key takeaway: practice makes perfect, and every marble design is unique—no two nails need to look exactly the same. Don’t be afraid to experiment with colors, textures, and techniques.
Ready to try your own marble nails? Grab your favourite polishes, a few tools, and start creating your one-of-a-kind marble masterpiece today!
Amazon and the Amazon logo are trademarks of Amazon.com, Inc, or its affiliates.